
How to Hold Yarn and Crochet Hook for Beginners
- May 13
- 4 min read
Here’s another blog post for crochet beginners and in this one, we finally get to the practical part.
You got the hook, you got the yarn… now what? You might be asking yourself: How do I even hold these things at once?
Your hands might feel stiff, you hold your hook awkwardly and tightly, and everything just feels a bit unnatural at first.
So let me show you a few basic ways to hold your hook and yarn that you might like.
However, there is NO perfect way to hold your hook and yarn. This is something you’ll figure out over time simply by practicing, being patient, and finding what feels comfortable for you.
Prefer to watch watch instead? I break it down here:
How to Hold a Crochet Hook
There are many different ways to hold a crochet hook, but there are 2 most common positions you might naturally go for.
Remember that there is no perfect way to hold your hook. The goal is simply to feel comfortable and have good control over your hook and yarn.
Here are the 2 most common crochet hook holds, plus one more variation that some crocheters naturally use over time.
Knife Grip
This is one of the most common crochet holds.The hook is held similarly to a knife, with your hand resting over the hook.
Many crocheters find this grip:
more stable
more natural for beginners
easier for longer crochet sessions

Pencil Grip
This hold is similar to holding a pencil or pen.
Some crocheters prefer this grip because it can feel:
lighter
more precise
easier for smaller movements

Relaxed/Modified Grip
Many crocheters naturally develop their own variation over time.
You might:
move your thumb placement
hold the hook more loosely
slightly rotate your hand
And that’s completely normal.

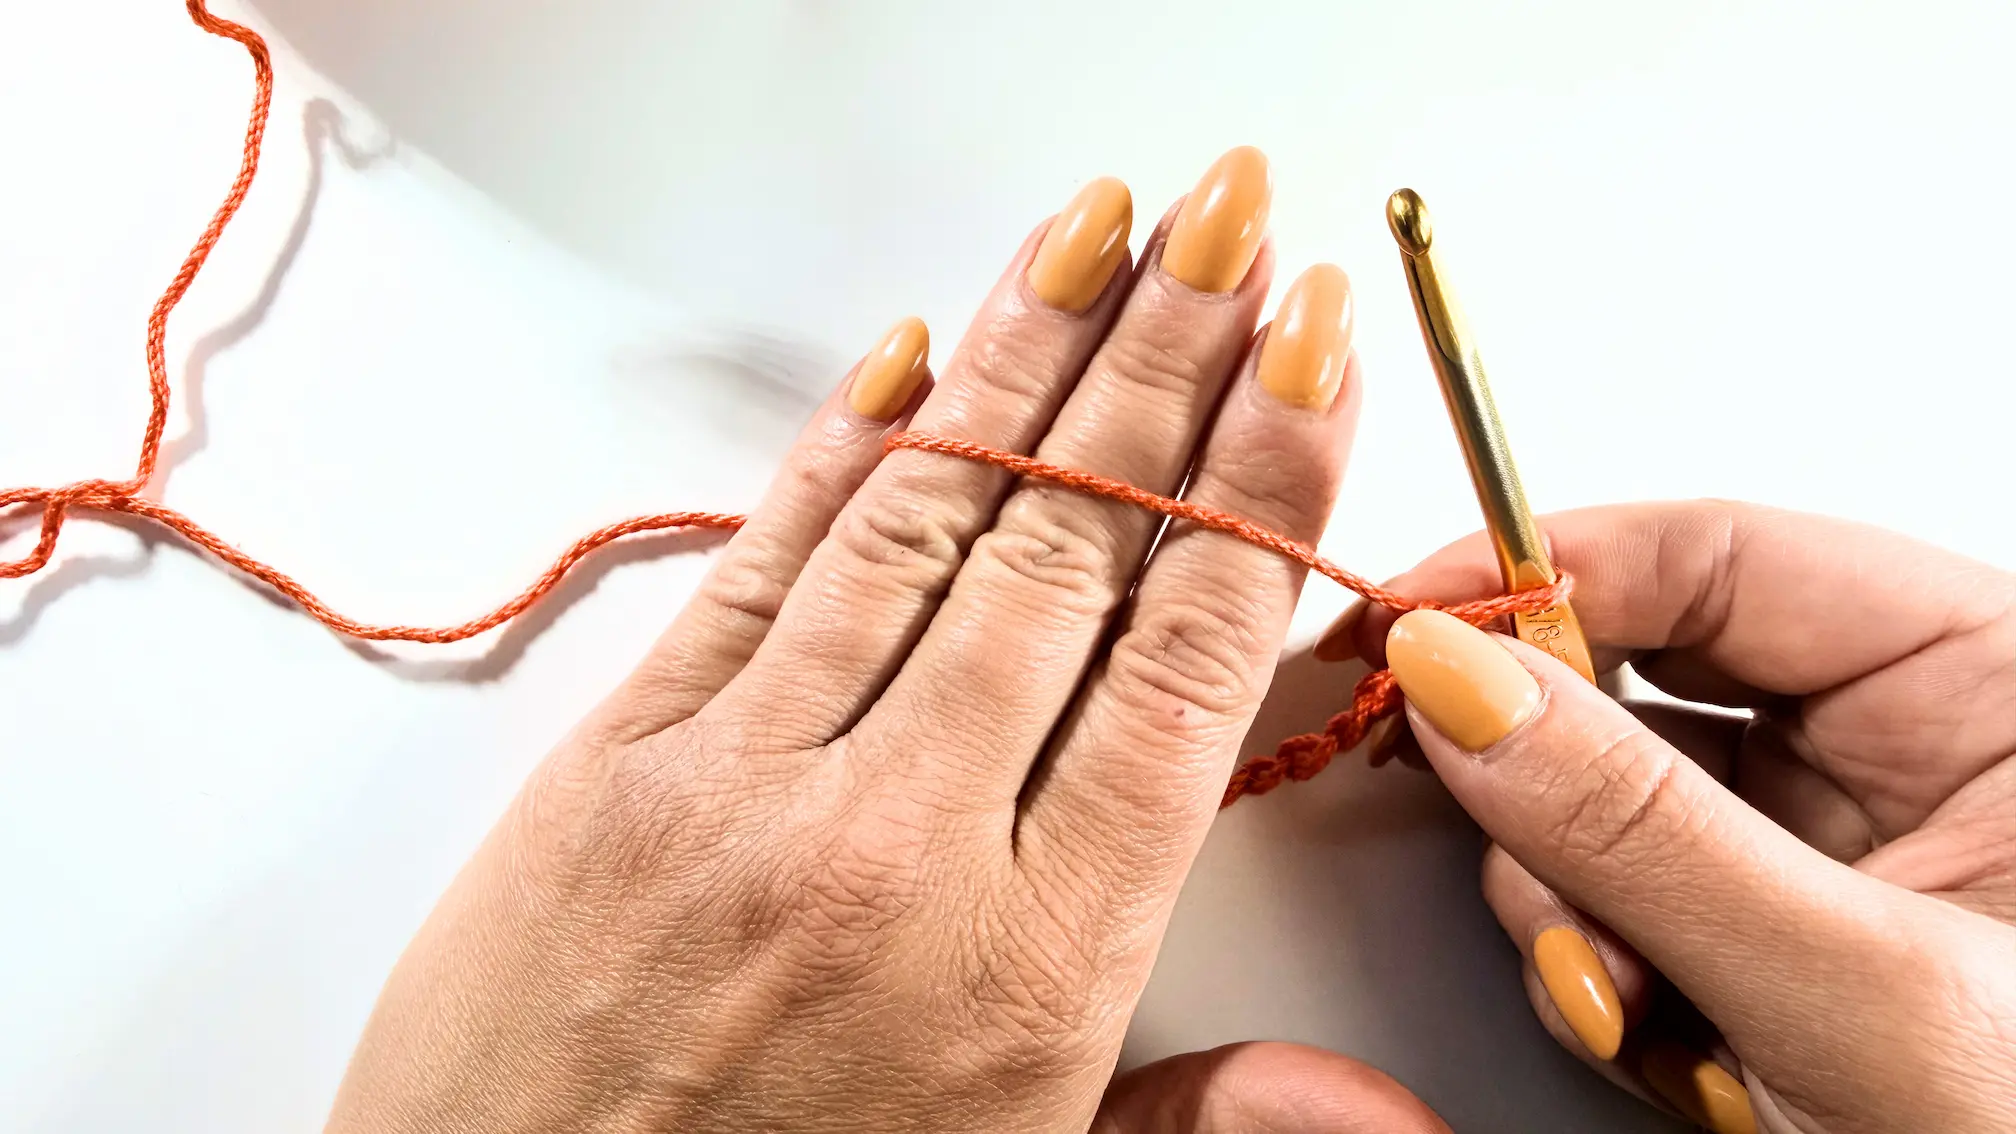
How to Hold Crochet Yarn
So now you know how to hold the hook or at least a few possible variations. Now let’s have a look at how to hold the yarn.
Just like holding a crochet hook, there are many different ways to hold your yarn and there is no right or wrong style.
Holding yarn is mainly about controlling the tension of your crochet while still feeling comfortable. Keep experimenting until you find a method that feels natural in your hands. Below, you can see two different possible ways to hold the yarn.
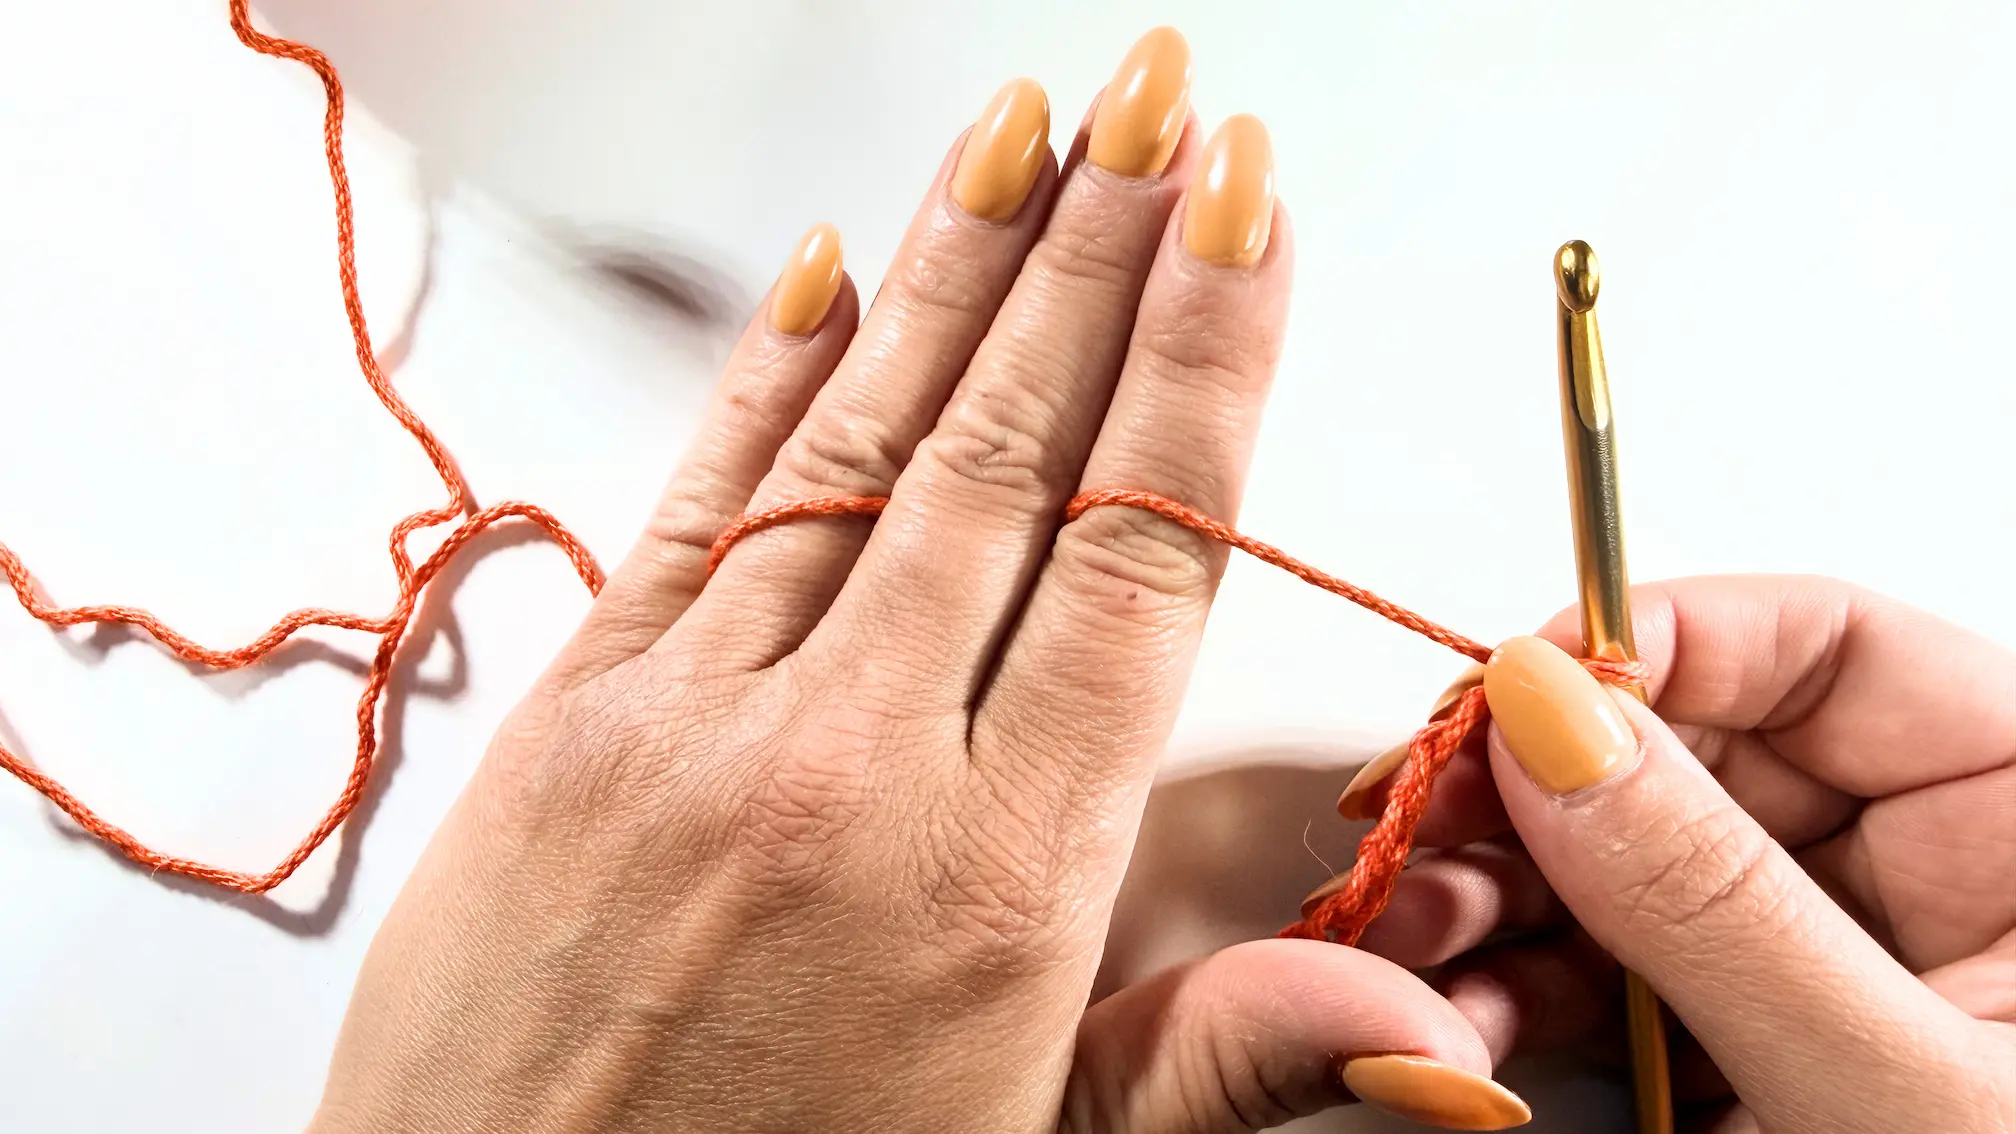
And here is my personal yarn hold :D
Completely different… but it works for me, and that’s the whole point. You want it to feel comfortable and natural for YOU.

Holding Your Project
Now you know how to hold your hook and yarn, but it’s also very helpful to properly hold your project while crocheting.
Usually, you’ll use your thumb and middle finger to hold the project or the stitches you’re currently working into.
This helps:
keep the project stable
create more control
and make it easier to insert your hook into the stitch

If Your Tension Is Too Tight or Too Loose
Now you hold your yarn and hook and it’s finally time to practice :)
Please remember!
At first, it might feel awkward. You’re using muscles more than usual and your hands are still learning the coordination between the yarn, hook, and stitches.
Your first project will most likely not look very pretty and that’s completely normal. Right now, you are learning your tension and getting familiar with the yarn and hook.
I promise that with practice and patience, it will slowly get easier and easier.
If Your Tension Is Too Tight
You’ll notice it when it becomes pretty hard to insert the hook into the stitches because they are too tight. Your hands might also feel sore from your tense grip.
Try to relax your hands a little bit (I know… easier said than done 😄) and loosen your yarn slightly. A bigger hook might help too!
If Your Tension Is Too Loose
If your tension is too loose, your stitches might look floppy with uneven gaps between them.
Try to get a bit more control over the yarn, maybe a different yarn hold would help. You can also try slowing down your crocheting. A smaller hook might help your stitches feel a bit tighter and more even.
Ready to Practice Your First Stitches?
Now that you know how to hold your yarn, hook, and project, it’s time to start practicing the basic crochet stitches.
I already created a step-by-step beginner tutorial where I show you:
how to make a slip knot
foundation chain
single crochet
half double crochet
and double crochet
You can check it out here: How to Crochet for Absolute Beginner
Everything Crochet Beginners Actually Need in One Place
If you don’t want to keep second-guessing things like yarn, hook sizes, or even gauge, I created a Crochet Starter Kit for Beginners as a clear starting point.
It brings everything together so it actually makes sense. Not just pieces from different tutorials.
Inside, you’ll find:
the basics explained in a simple way
a clear understanding of yarn, hooks, and how they connect
step-by-step guidance for the basic stitches
how to read crochet patterns
two beginner-friendly patterns to practice
You’ll also get a printable cheat sheet with things like hook sizes, yarn weights, and basic terms. Something you can quickly refer to while you crochet.
It’s all designed to help you start with confidence, not confusion.
You can check it out here:


