
How to Crochet C2C in Even Moss Stitch – Full Guide with Pattern & Video
- May 8, 2025
- 6 min read
Updated: Jan 13
Corner to corner crochet doesn’t always have to be done with double crochet—and that’s exactly what I explored in this tutorial.
I’ve been really enjoying the texture of the Even Moss Stitch lately, and decided to give it a try using the C2C method. It works up a little differently than the classic C2C with double crochet, but the result is beautiful and full of texture.
In this post, I’ll walk you through how to crochet C2C in Even Moss Stitch, whether you're making a square or a rectangle. And if you’re looking to learn the Even Moss Stitch in regular rows first, I’ve linked that tutorial under this link Even Moss Stitch.

If you wish to support my work you can do so with Buy Me a Coffee (my version is Buy Me Yarn, you know why:) ).
It's a symbolic amount that supports me in maintaining my blog and producing more free content for you. Find out more by clicking the link or button.
BIG THANKS for everyone who supports me by purchases, likes, shares, comments, tags or/and feedbacks! It means a lot to me.
This post contains affiliate links for the yarns I used and truly love. It also displays ads. I may earn a small commission if you choose to make a purchase through these links or interact with the ads—at no extra cost to you. The revenue I earn through ads and affiliate links helps support my small business and allows me to continue sharing free crochet patterns and content with you. Thank you so much for your support—it truly means the world to me.
All patterns and images in this post are for personal use only. They may not be sold, copied, or claimed as your own. You’re more than welcome to comment, like, or share this post with others!
Before we get into the actual pattern, I also created the Ultimate Crochet Hack Sheet! It's 2 pages with basic crochet abbreviations and symbols, hook sizes in US and UK versions, all the yarn types (with recommended hooks and projects), etc. Feel free to click on the pic or a link to my shop where you can find more details.
Video Tutorial
Check out my YouTube video tutorial where I cover everything. It's a fantastic complement to any written pattern. You're welcome to leave feedback in the video comments.

Recommended Materials
In this tutorial, I use LionBrand Cotton24/7 cotton yarn. I find that the texture stands out more with cotton yarn, and its bright colors are beneficial during tutorials. For this yarn I use a 4mm/G-6 crochet hook.
However, if you're new to crocheting and just practicing, I highly recommend using any solid color acrylic yarn that works with a 5mm/H-8 hook size.


Below is the crochet chart for the C2C in Even Moss Stitch. First pictures is increasing both sides for square and rectangle. Second picture is for the square and third picture is for the rectangle.
It's an excellent method for learning to read crochet charts, and understanding written instructions can sometimes be beneficial.


Directions for C2C in Even Moss Stitch
This direction applies to both the square and rectangle versions.
Start with Ch 2.

ROW 1 - In the first chain (ch), work a Half Double Crochet (HDC) followed by a Slip Stitch (Sl St) and another HDC, then chain 1 (this is just a turning chain). I strongly suggest placing a stitch marker in the first stitch of this row. You have 3 stitches in total.

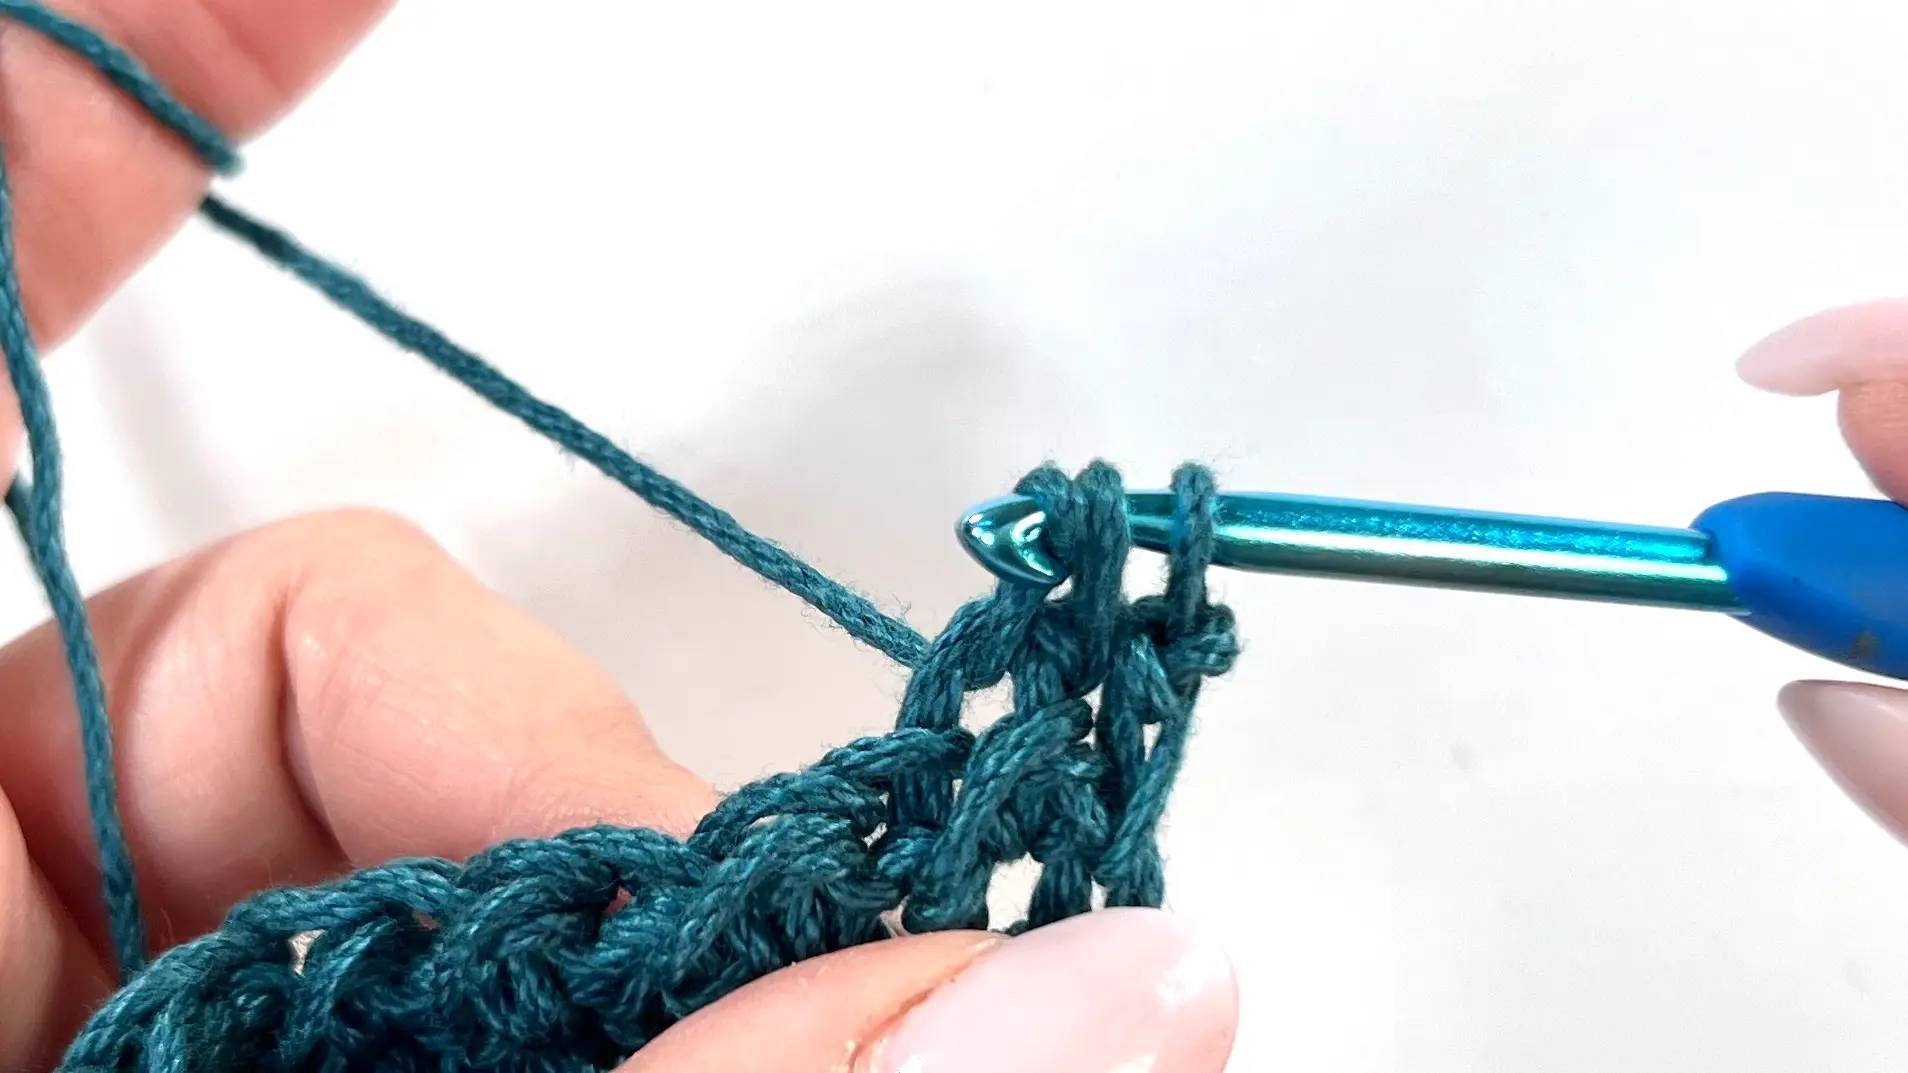
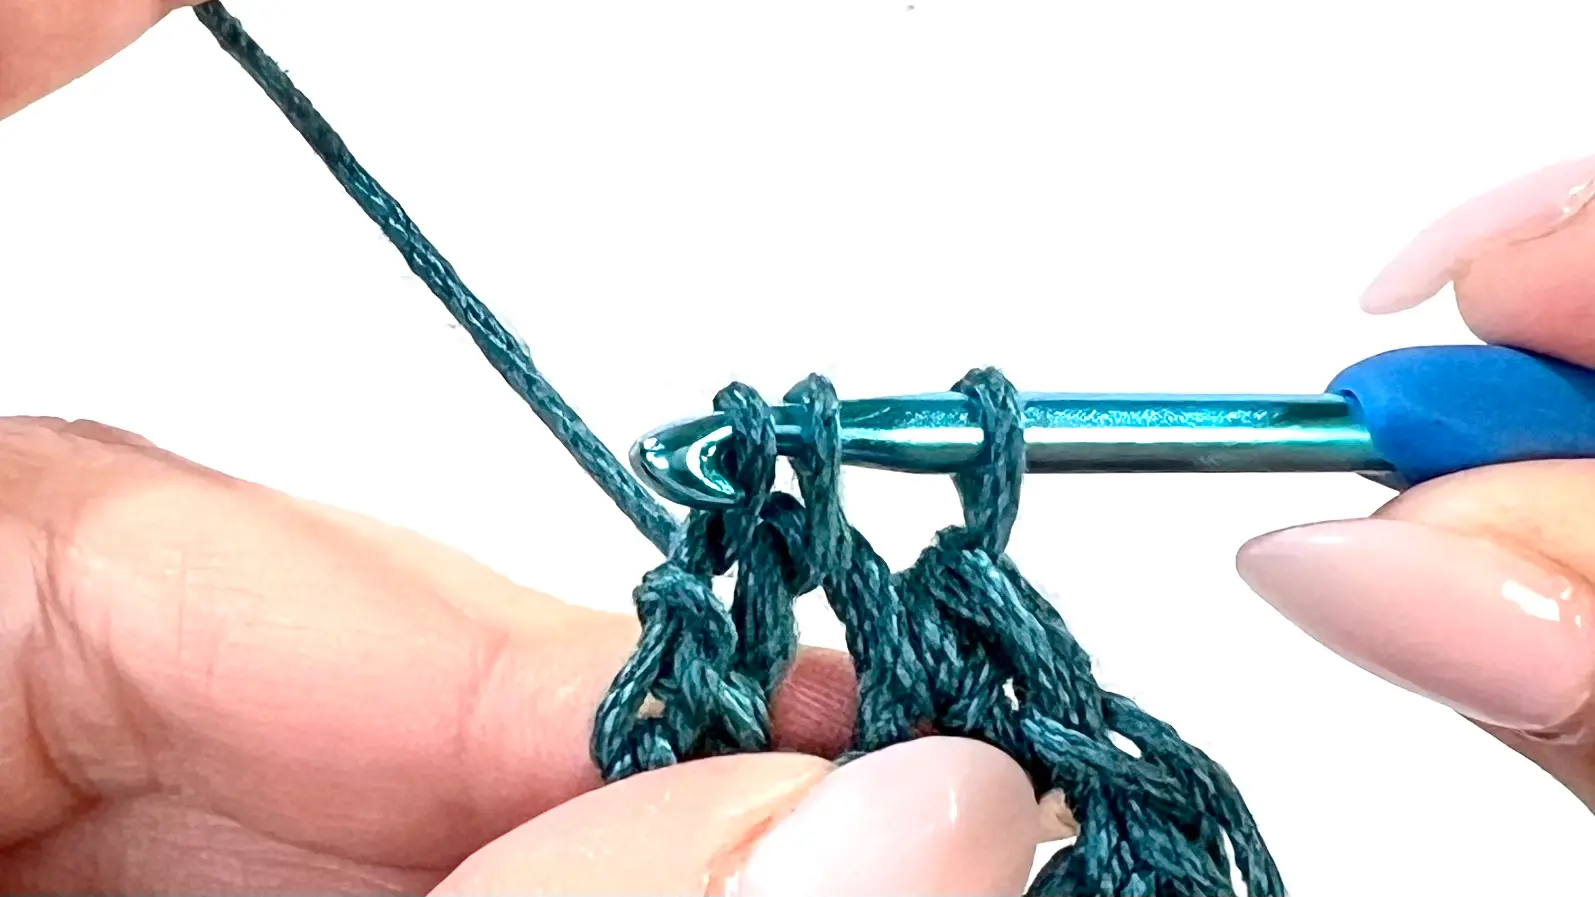
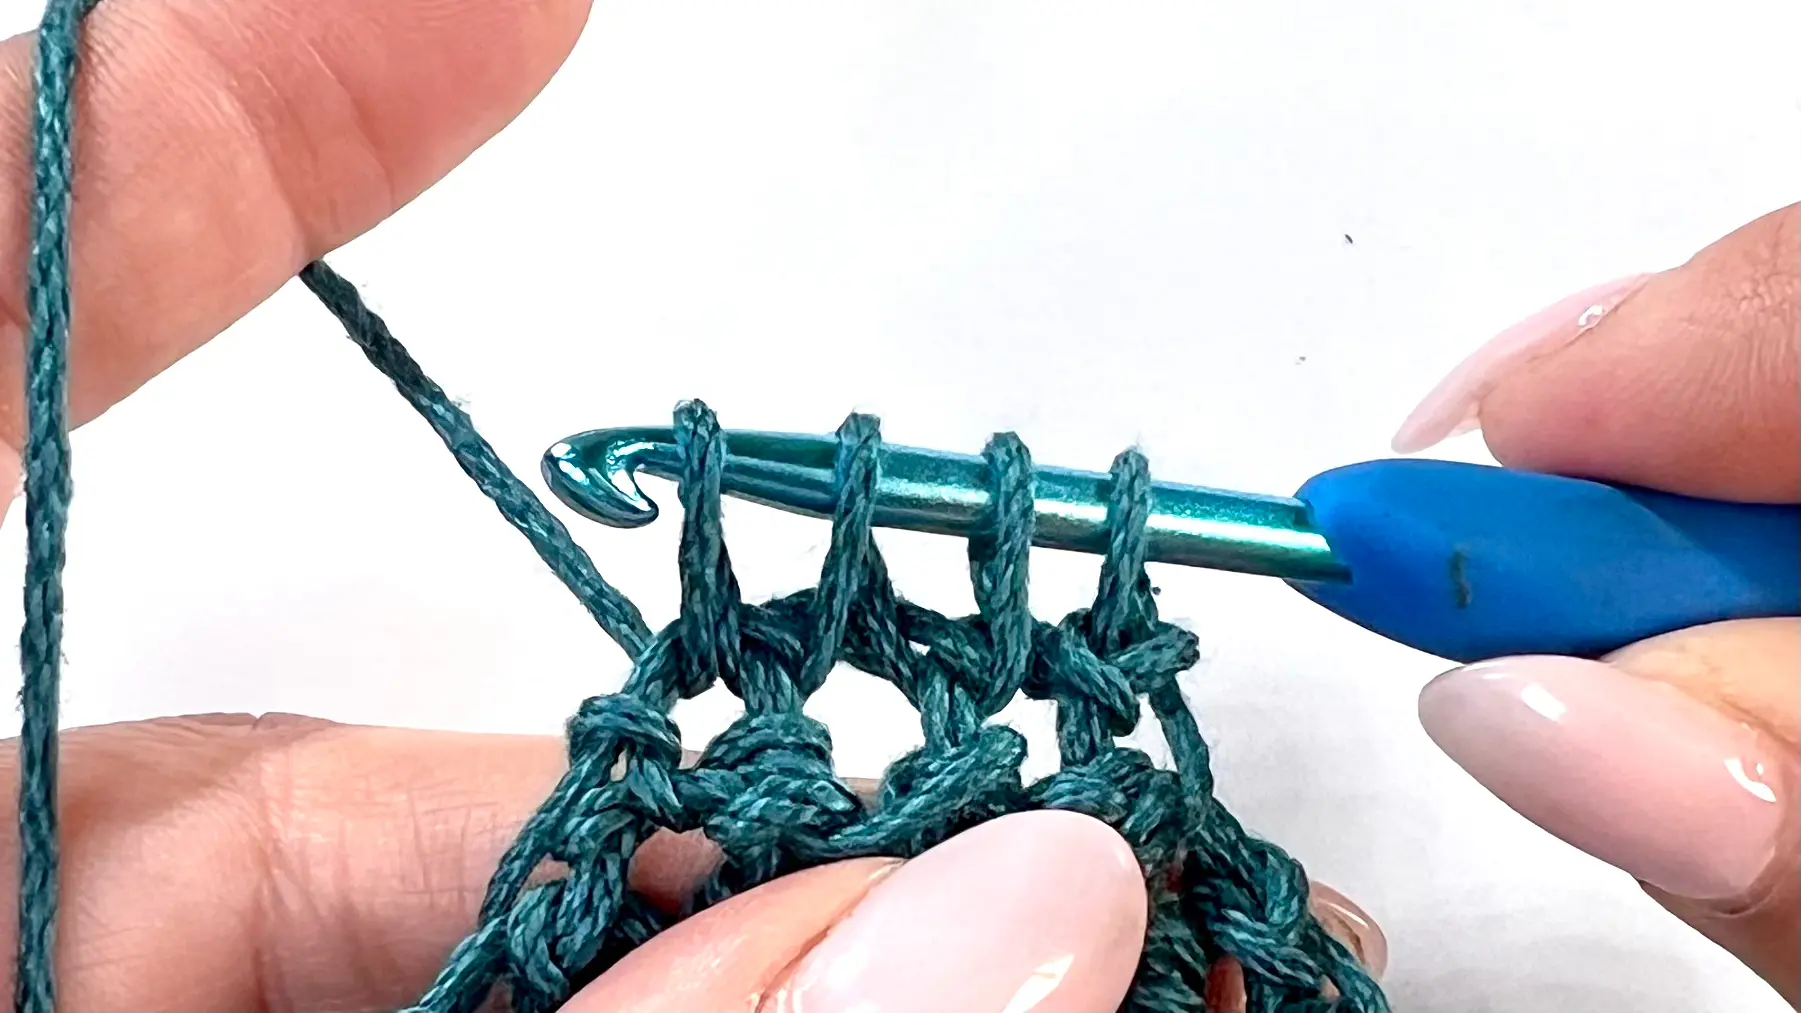
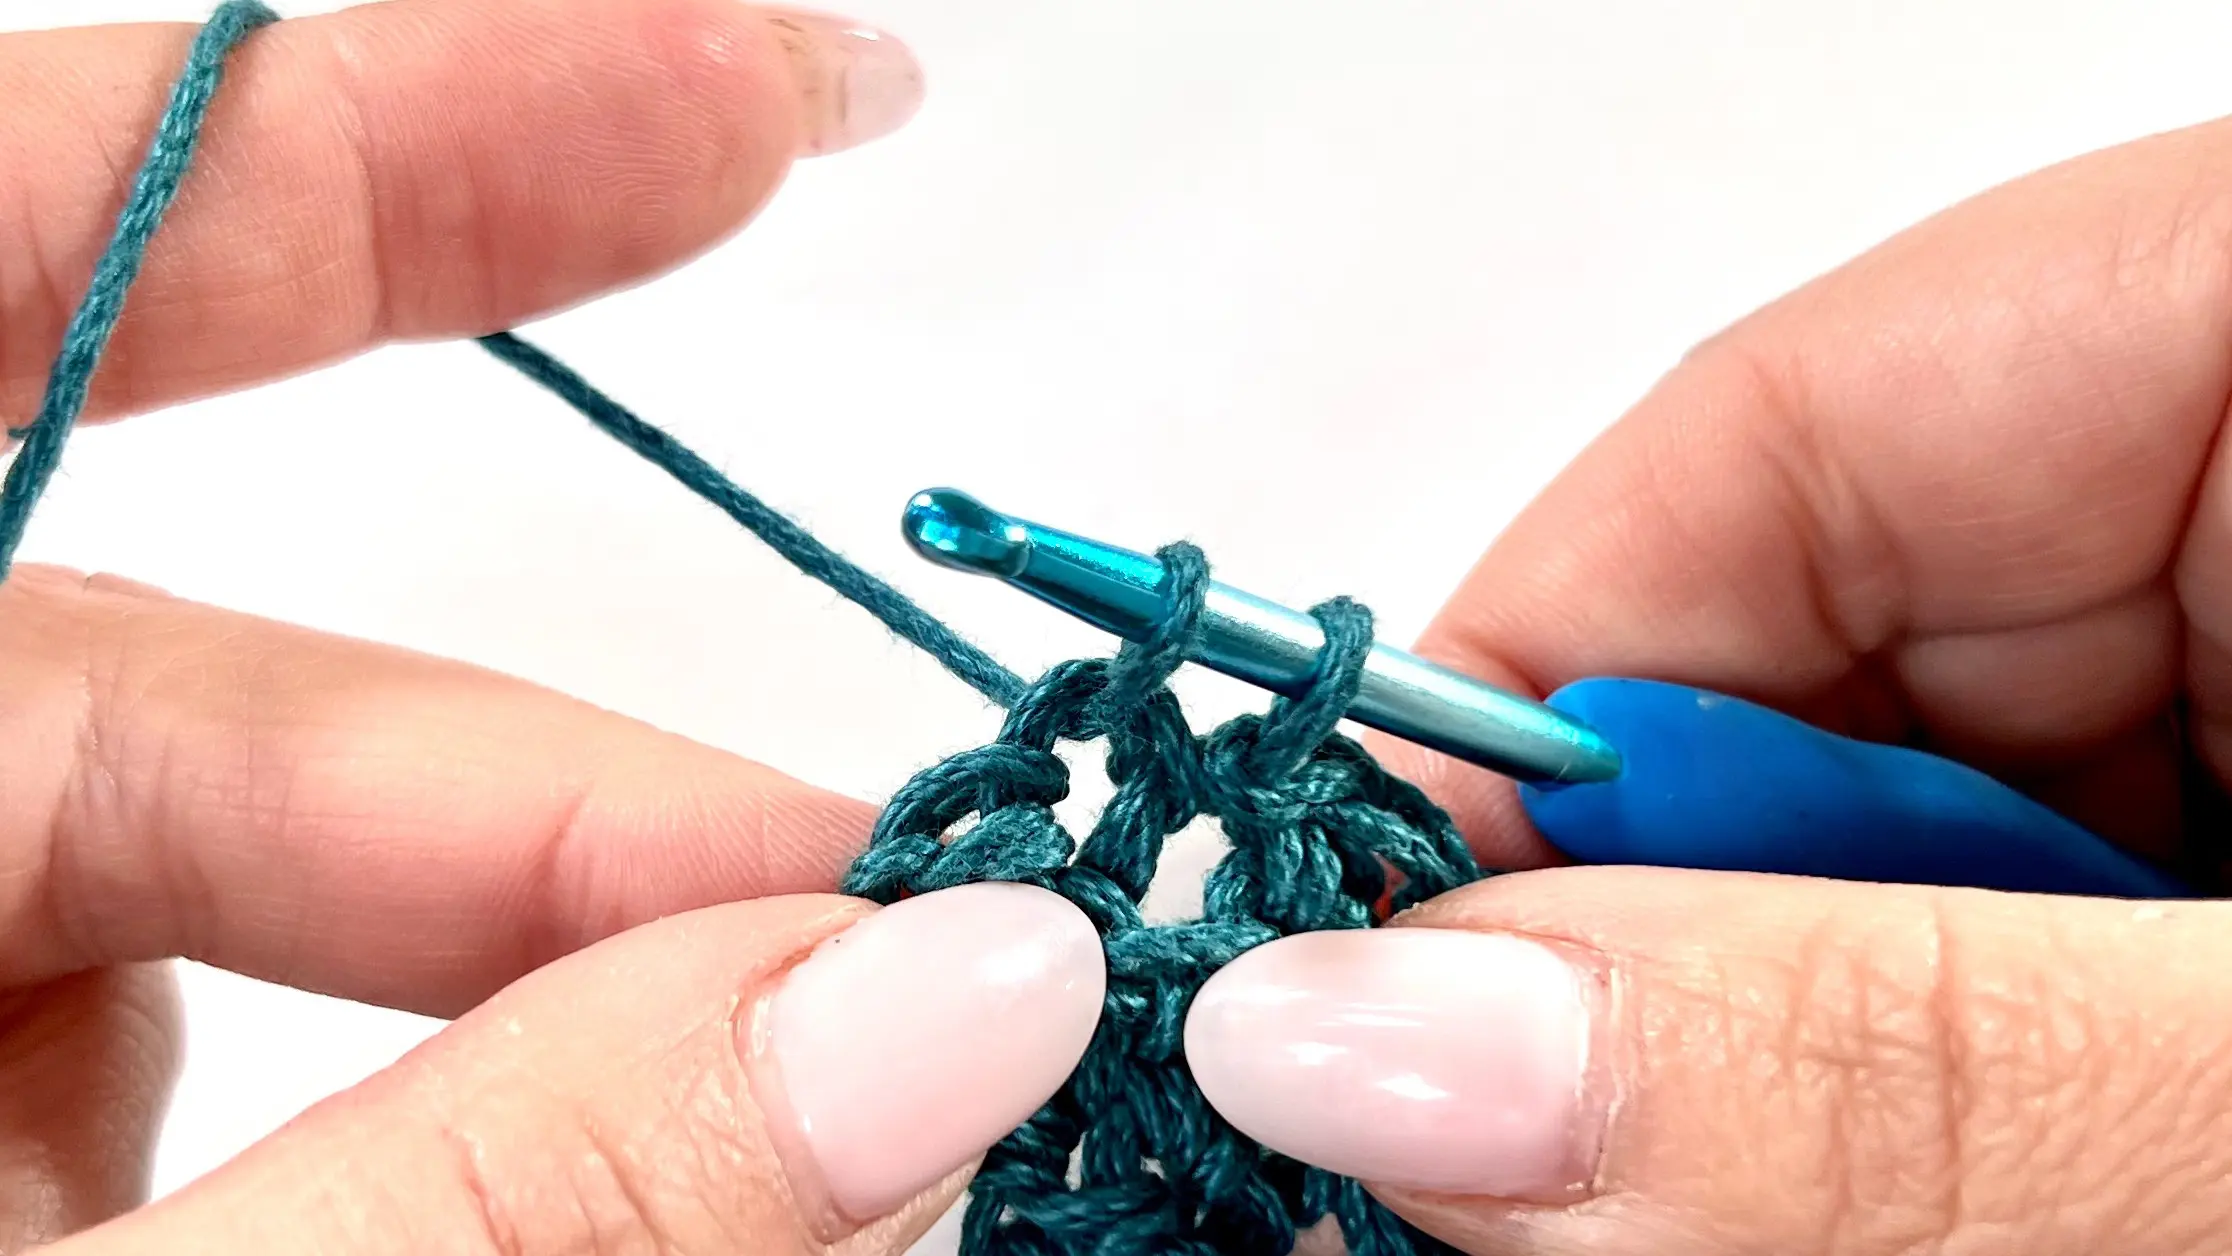
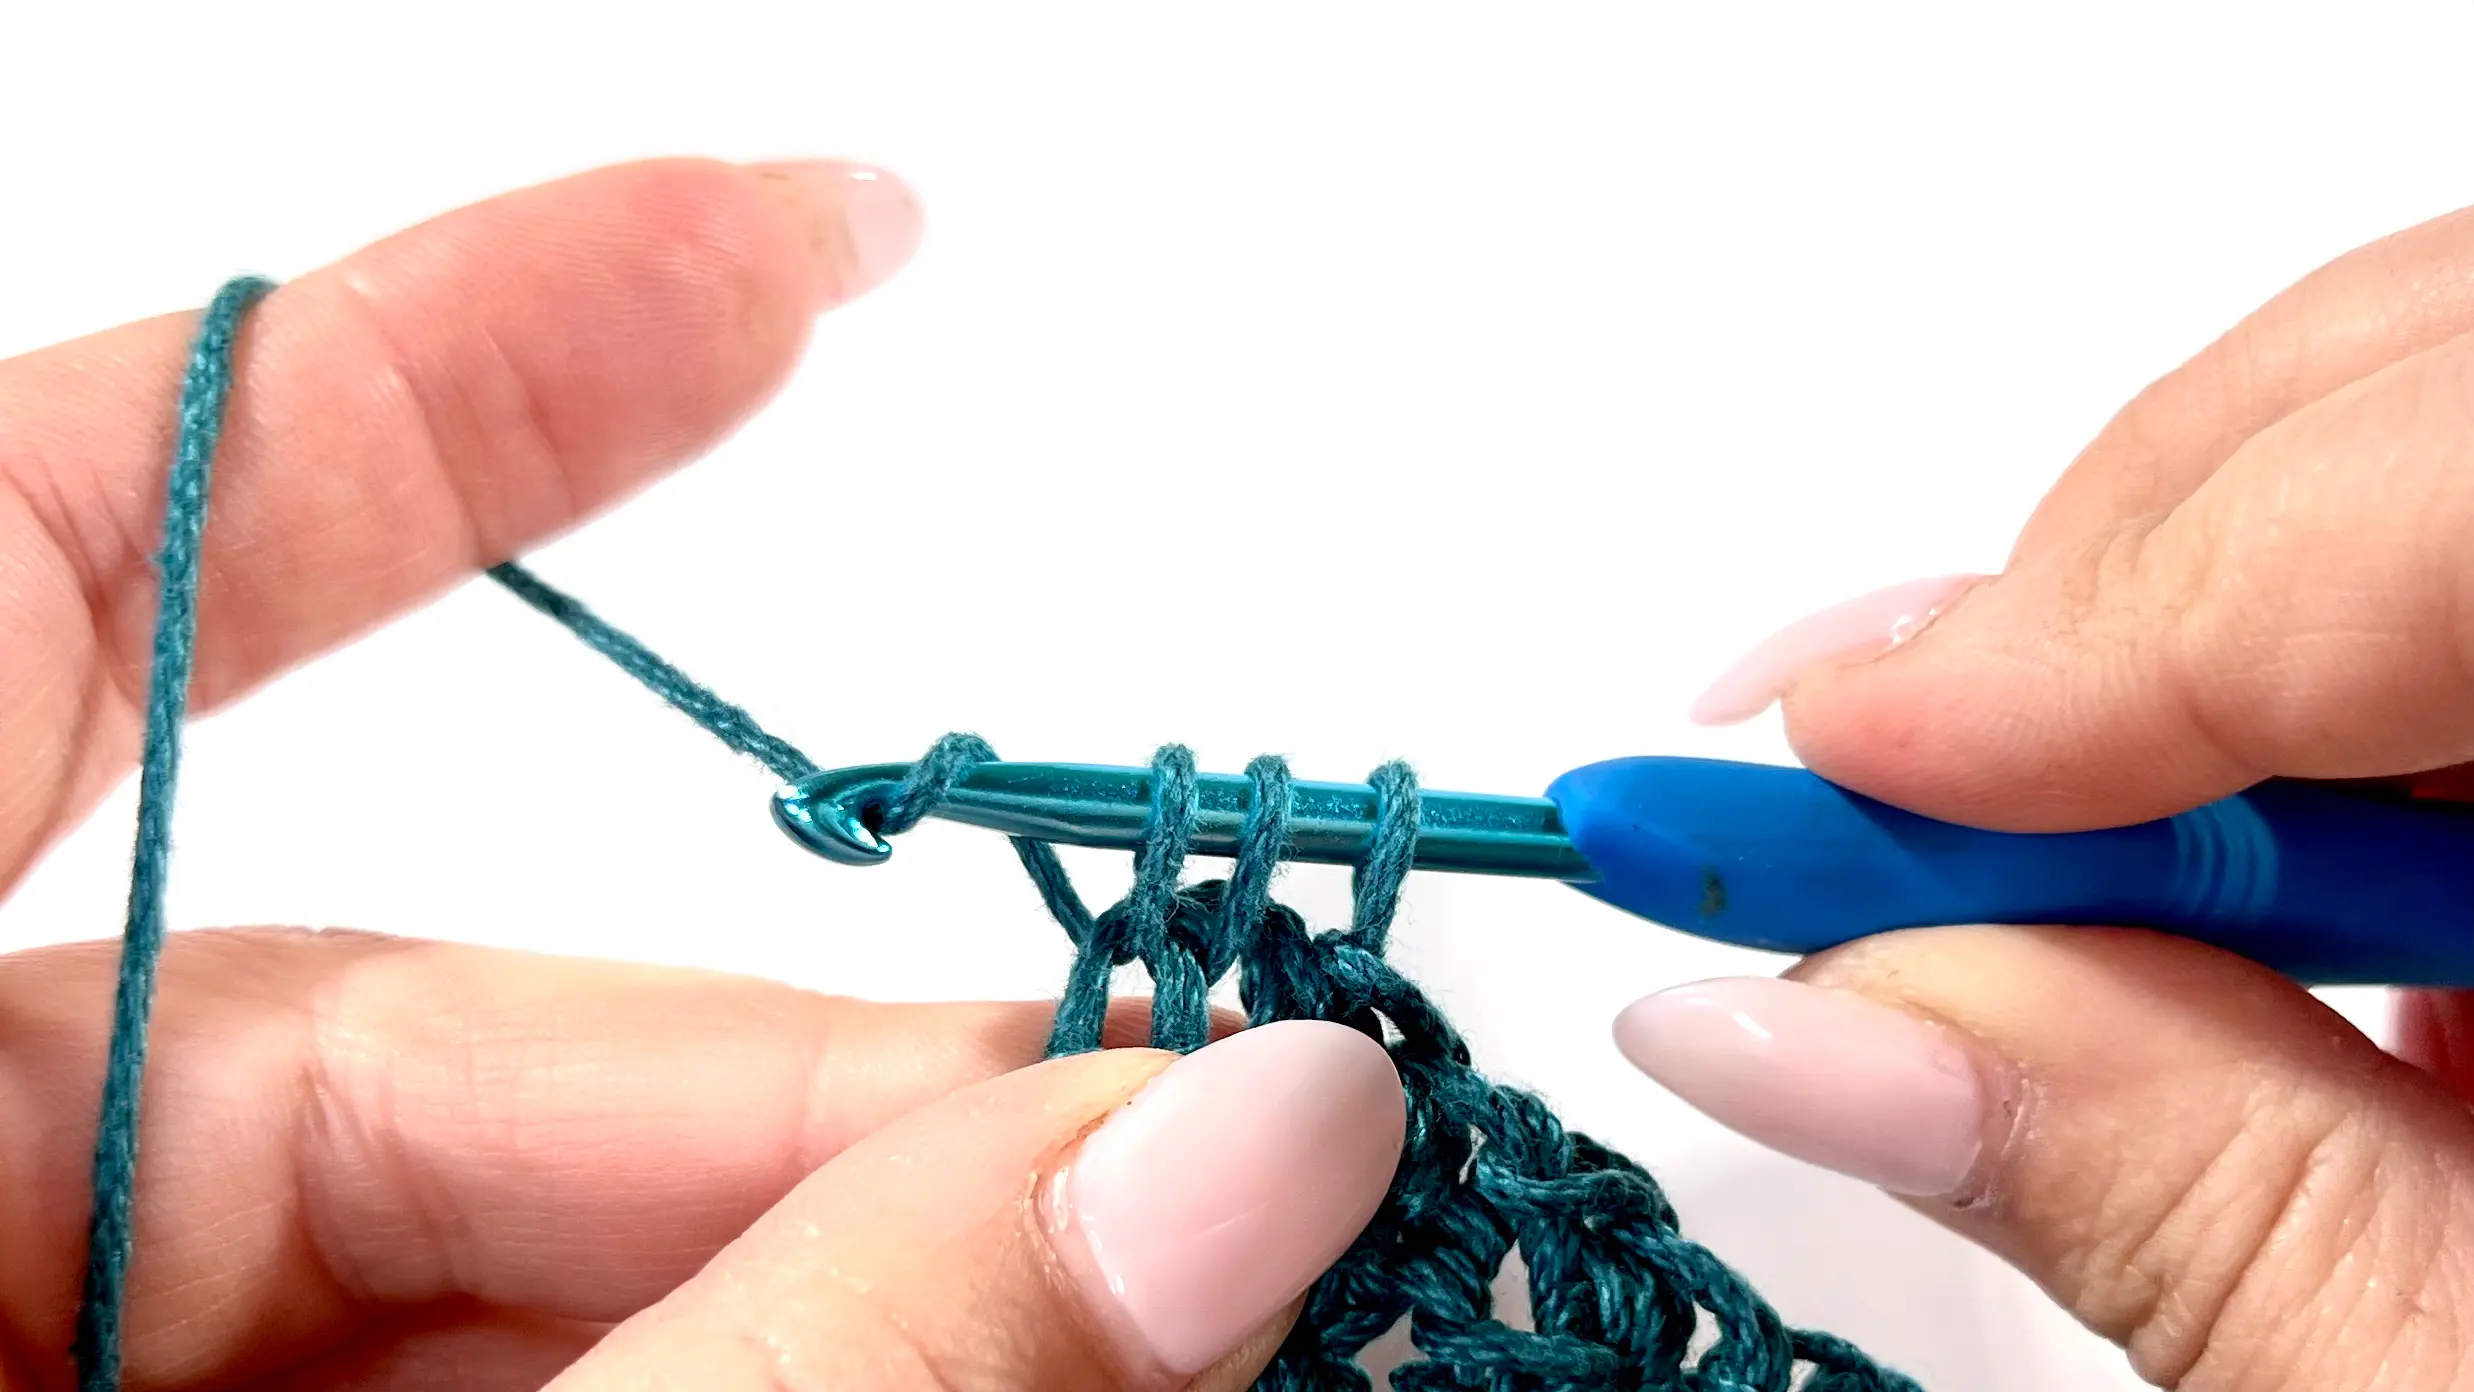
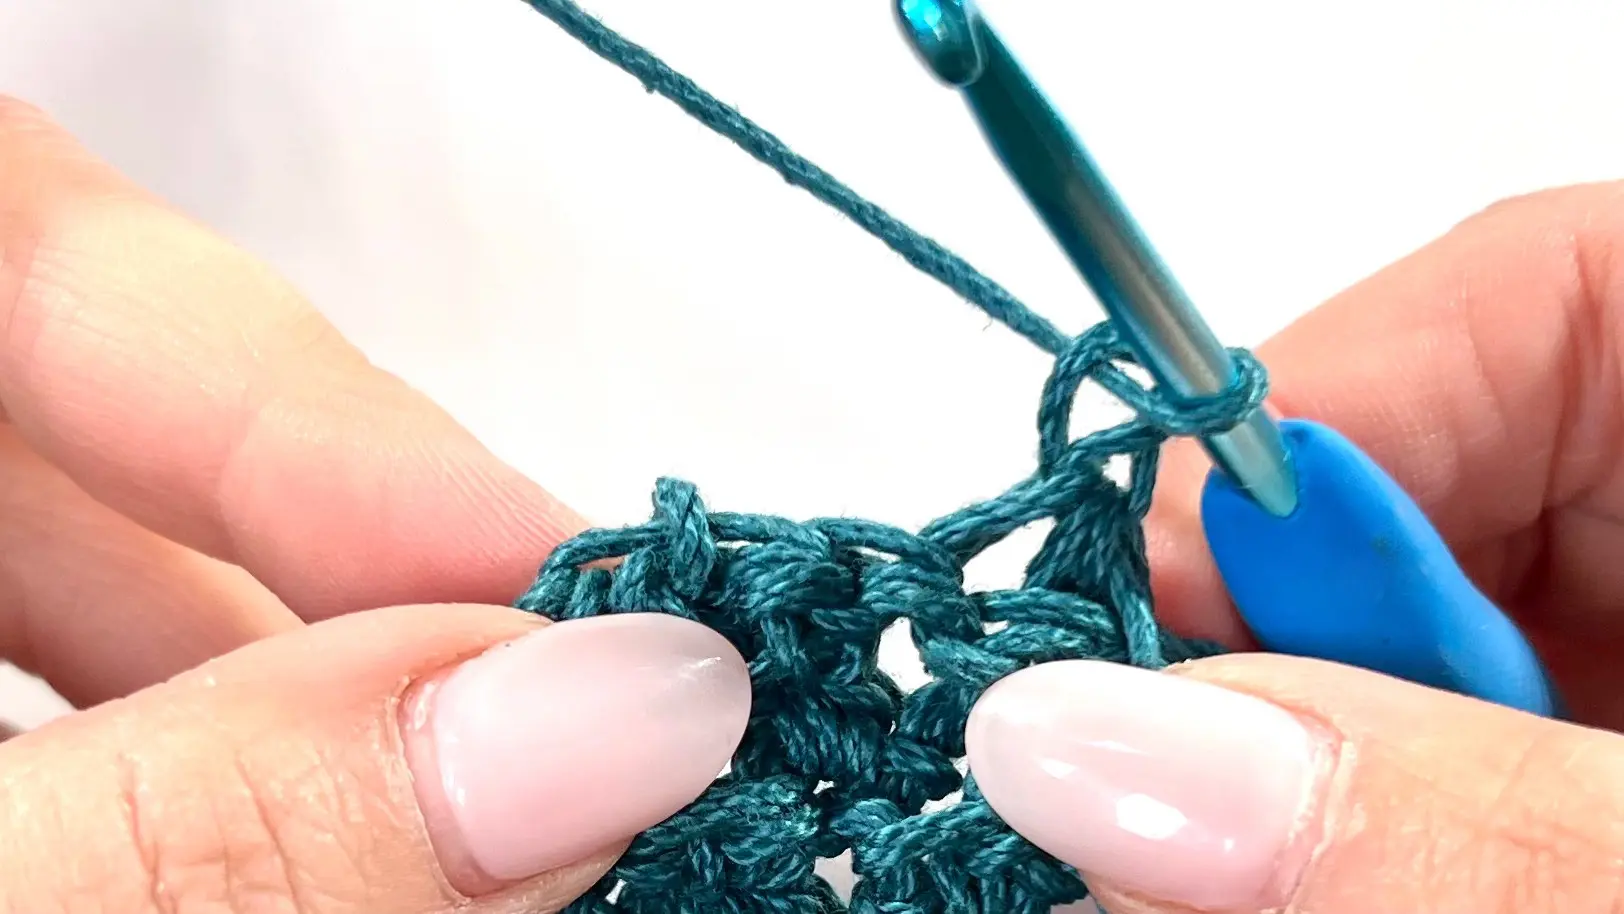
ROW 2 - From this point, you'll be adding always 2 stitches to each row!
In the first stitch, work a HDC followed by a Sl ST, then continue alternating with HDC. In the last stitch, work a Sl ST followed by a HDC.
Remember to always perform the opposite stitch from the previous row and continue alternating HDC with Sl ST to achieve the correct texture.
The images below illustrate how ROW 2 is completed. You should have 5 stitches in total.


ROW 3 - Continue repeating ROW 2 until you reach the desired length for the square and rectangle. For the rectangle, proceed until you achieve the desired length for the shorter side (further details are provided in the rectangle instructions).

Directions for Square C2C in Even Moss Stitch
For the square, I prefer to create a middle row without increasing or decreasing stitches. This approach helps the corners to be nicely rounded and enhances the overall appearance.
In this row, begin with a SL ST instead of a HDC to maintain the consistent texture by always using the opposite stitch from the previous row. You should also finish this middle row with a SL ST.


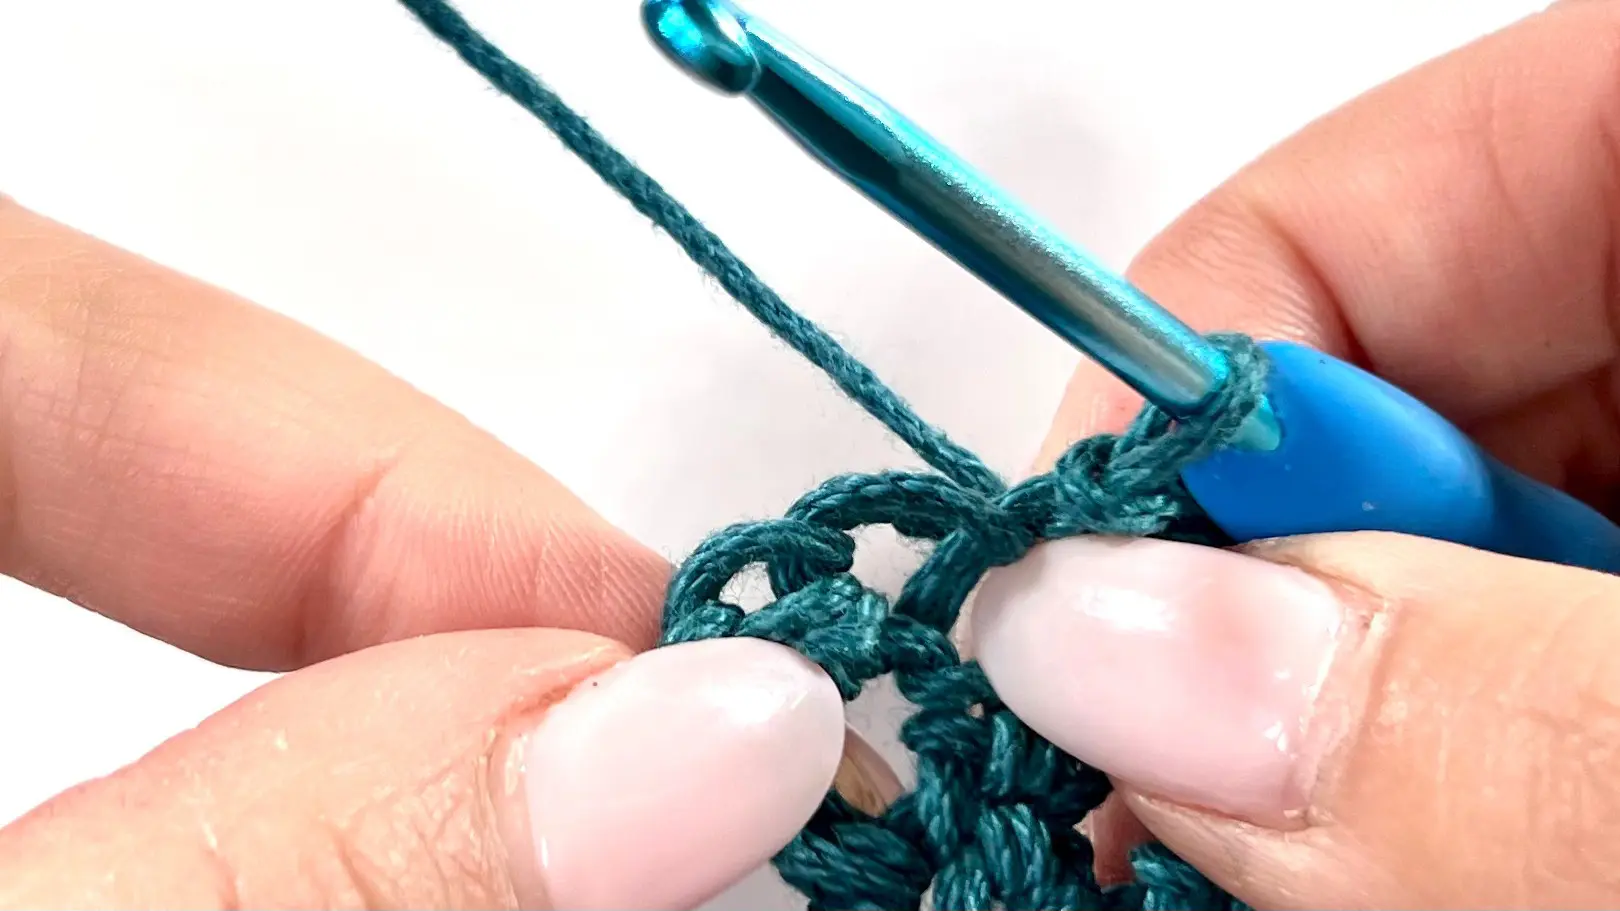
Now it's time to decrease on both sides to form a square shape. For the decreasing rows, you'll consistently reduce the row by about 2 stitches, decreasing at the first two stitches and the last two stitches.
Place the hook into the first stitch, Yarn Over (YO), and draw up a loop (you will have two loops on your hook). Next, insert the hook into the following stitch, YO, and draw up a loop (you will now have three loops on your hook). Pull the first loop through the remaining two loops.
This completes a 2SL STS together decrease. For the next stitch, create a HDC in the Sl ST from the previous row, which you can recognize by its tighter texture, and continue alternating between SL ST and HDC until you reach the last two stitches, where you will perform the decrease again.


Insert the hook into the second-to-last stitch, yarn over, and pull up a loop. Then, insert the hook into the last stitch, yarn over, and pull up another loop. Use this loop to pull through both loops, completing your decrease at the end of the row.


Keep decreasing on both sides until you have 3 stitches remaining.
You will reduce three stitches into one. Just add another step to the decrease you've been doing by inserting into the 3rd stitch, YO, and pull up a loop (you'll have 4 loops on your hook). Then, YO and pull through all four loops. Your square is complete, and you can now secure your project.


C2C in Even Moss Stitch of Square shape is DONE

Directions for Rectangle C2C in Even Moss Stitch
For the rectangle, unlike the square, there's no middle row without increasing or decreasing. However, the process starts the same way as with a square, where you increase both sides until you achieve the length of the shorter side of the rectangle.
To achieve the rectangle shape, from now on you'll be increasing only one side when the other will be only decreasing.

I recommend using coloured stitch markers for the increase side and the decrease side. You may only need them for the first two rows until it becomes clear which side you are increasing or decreasing.
Remember to always maintain the stitch in the correct order (opposite stitch from the previous row) to preserve the texture.
Choose a side (unless a specific pattern indicates otherwise) and begin decreasing on that side. Although the technique for decreasing in a rectangle differs slightly, it is not a mistake to use the same technique as for the square.
I completed the decrease at the end of the row. When you reach the last two stitches (or the first two if it's at the beginning of the row), apply the same method as for the square until you have three loops on your hook. Instead of pulling the first loop through the other two, perform a YO and pull it through all three loops, as demonstrated in the pictures below.

From now on, decrease only on this side. When you turn the project, continue decreasing on this side, but on the other side, increase at the end of the row and again after turning.
You should begin to see the outline of the rectangle.

After reaching your desired length for the long side of the rectangle, start decreasing both sides in the same way as you did with the other side until you have only three stitches remaining. Then, decrease all three stitches in the same way as you would for the square Insert the hook into the next stitch, YO and pull up a loop, then repeat this process for the following two stitches until there are 4 loops on your hook. Next, YO and pull through all 4 loops.


C2C in Even Moss Stitch of Rectangle shape is DONE

And that’s a wrap on the Corner-to-Corner (C2C) Even Moss Stitch! Whether you're working up a square or a rectangle, this textured stitch pattern brings beautiful structure and rhythm to your crochet. With its gentle repeats and clean edges, it’s perfect for everything from washcloths to bags and beyond. Scroll down to see how both shapes look finished—ready to be used on their own or joined into larger projects.
If you enjoyed this tutorial, I’d love to hear from you! Leave a comment below to let me know what you’re making, or tag me on Instagram @happyheartsy so I can see your beautiful creations. And don’t forget to share this post with a fellow crocheter who’d love to try this stitch too 💛


Comments