Meadow Daisy Bag – Free Crochet Pattern with Granny Squares
- May 2, 2025
- 8 min read
Updated: Jan 13
I’ve always been a little late when it comes to hopping on trends — and granny squares were no exception. But now that I’ve made my own, I completely understand why everyone falls in love with them. There’s something so charming about piecing together little squares, each one carrying a bit of joy and nostalgia.
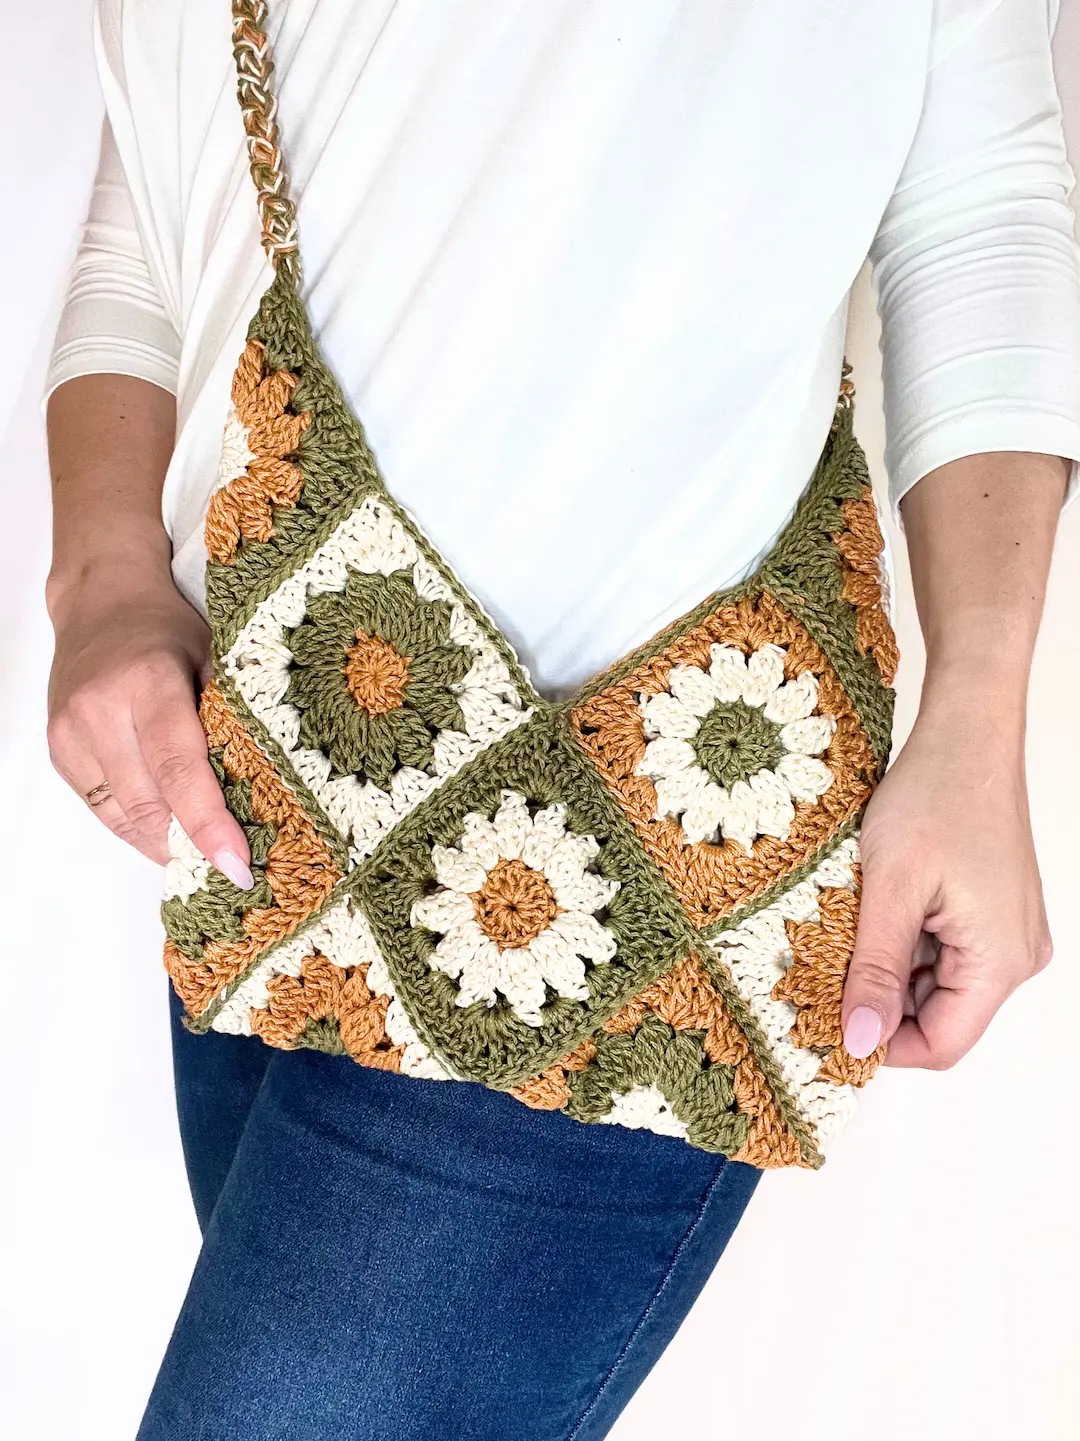
The Meadow Daisy Bag was born out of my love for cozy, handmade things — and my practical need for a smaller bag that still fits all my essentials. Wallet, phone, maybe even my book reader for a cozy afternoon out... it’s just the right size for all the important things. I hope this free crochet pattern brings you as much happiness as it brought me while making it.
If you'd like to support my work and get a printable, ad-free version of this pattern, please visit my shop or Ravelry.
If you like my crochet content but aren't interested in buying my patterns, that's perfectly fine. :) I offer my patterns for free on my blog so everyone can access them!
Additionally, there's an alternative way to support my work through Buy Me a Coffee (in my case, it's Buy Me Yarn, and you know the reason:) ). It's even cheaper than my current patterns. For more information, you can click the link above or the button below.
HUGE THANKS to everyone who supports me through purchases, likes, shares, comments, tags, or feedback! It truly means a lot to me.

This post contains affiliate links for the yarns I used and love and it also displays ads. I make a small commission if you purchase through these links or through the Ads which in no way affects the cost to you. The revenue I receive from Ads, and affiliate links, help me to support my small business which allows me to share my free crochet patterns/content with you. Thank you for your understanding and your support! It means a lot to me.
This pattern and all images associated with this pattern cannot be sold or claimed as your own.
You are allowed to sell finished project. Feel free to mention me for creating this pattern, it would make my day and I can share your finished blanket on my social media if you allow.
Don’t forget to share your project on Instagram! If you have your account you can tag me under
@happyheartsy. I would love to see your finished Meadow Daisy Bag so I can share it with others.
Before we get into the actual pattern I also created the Ultimate Crochet Hack Sheet! It's 2 pages with basic
crochet abbreviations and symbols, hook sizes in US and UK version, all the yarn types (with recommended hooks and projects) etc. Feel free to click on the pic or a link to my shop where you can find more details.

What you need for this Meadow Daisy Bag:
Hooks - 4.5mm for the daisy squares
6mm - for the strap (I use three stranded yarn)
Scissors, Yarn Needle, Stitch Markers (+ optional - button
Gauge: not necessary for this pattern (for bigger bag, use thicker yarn and bigger hook, for smaller one the opposite)
Measurements: 1 daisy square = 4"
Final Measurement for the bag without strap = 11" x 11"

NOTES:
Try to weave in the tails right away
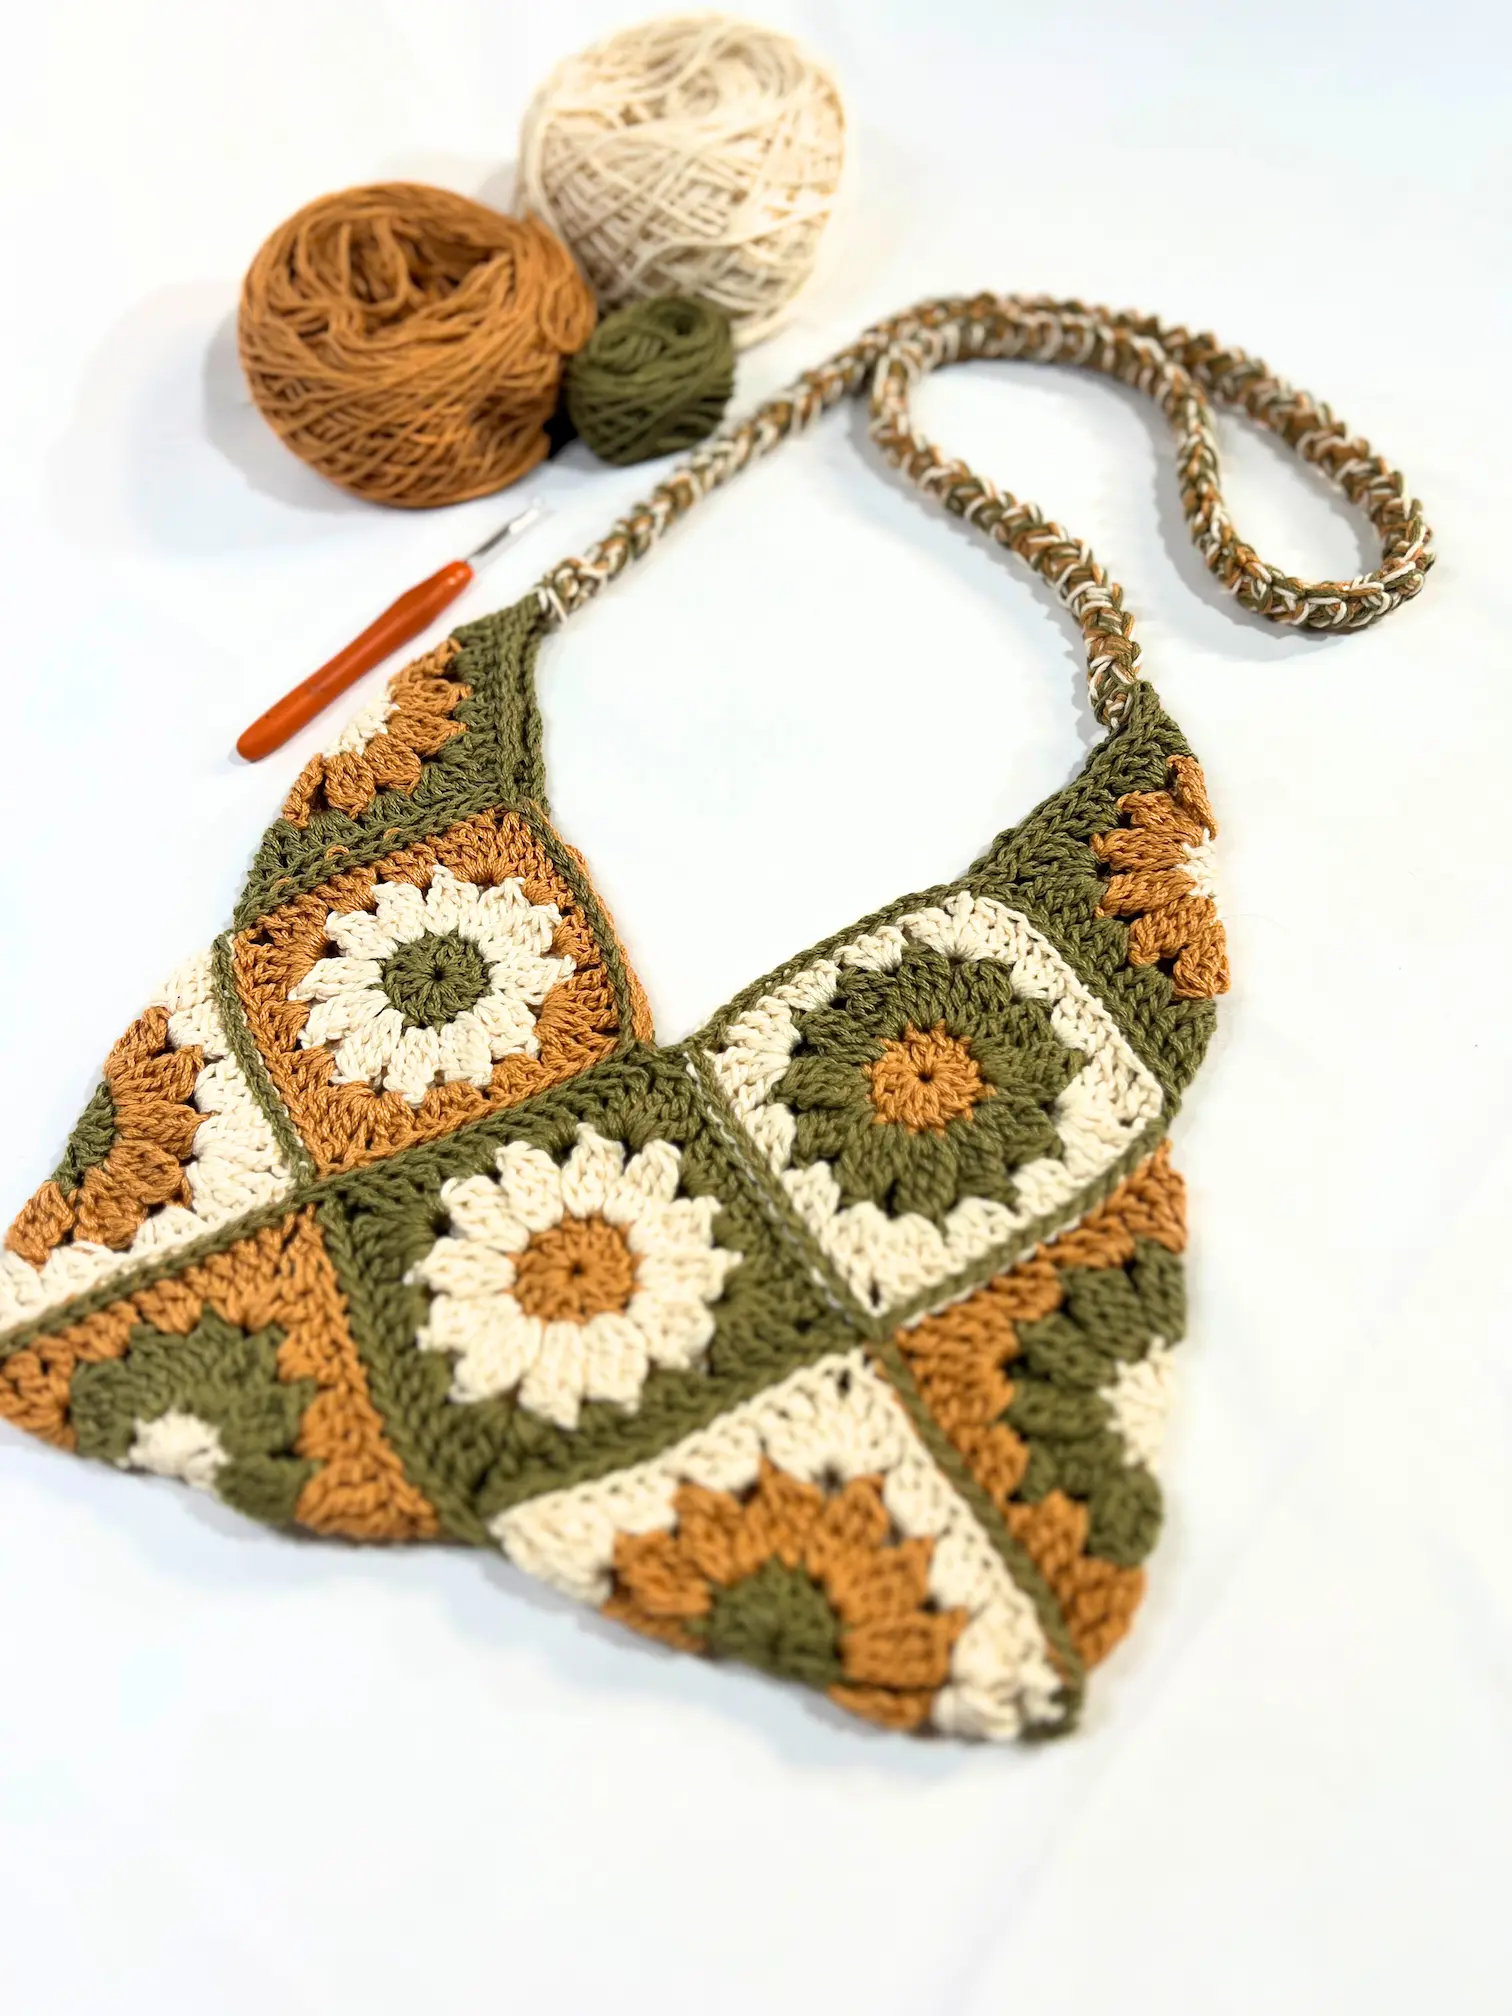
This bag is out of 12 squares. I did all 6 variants of three colours so you make one same daisy square twice.
If you use my pattern with various versions, ensure you arrange the squares properly to achieve the same daisy squares on each side.
Colour variants:
You can decide whether to keep it simple by using the same colour order for all daisy squares or to follow my exact pattern.
If you choose my pattern, I have 6 variations using three colours, each repeated twice. So, I made each daisy square twice.
Below are the variations beginning from the centre
A B C x2
A C B x2
B A C x2
B C A x2
C A B x2
C B A x2
Abbreviations:
Ch - Chain
MR - Magic Ring
YO - Yarn Over
St - Stitch
DC - Double Crochet
TC - Treble Crochet
Ch Sp - Chain Space

DIRECTIONS
Start with magic ring OR (Video Tutorial - 6:42 - RND 1 (Magic Ring)ch 4 and into the first ch make a slip stitch (you create a loop - Video Tutorial - 3:52 - RND 1 (Creating loop from chains)
RND 1 - Ch 2 (counts as a first DC of the round), work 11 DC into the ring. Then, make a sl st into the top of the 2nd ch. Cut the yarn and weave in the tails. You should have a total of 12 stitches.
RND 2 - Video Tutorial - 12:50 - RND 2
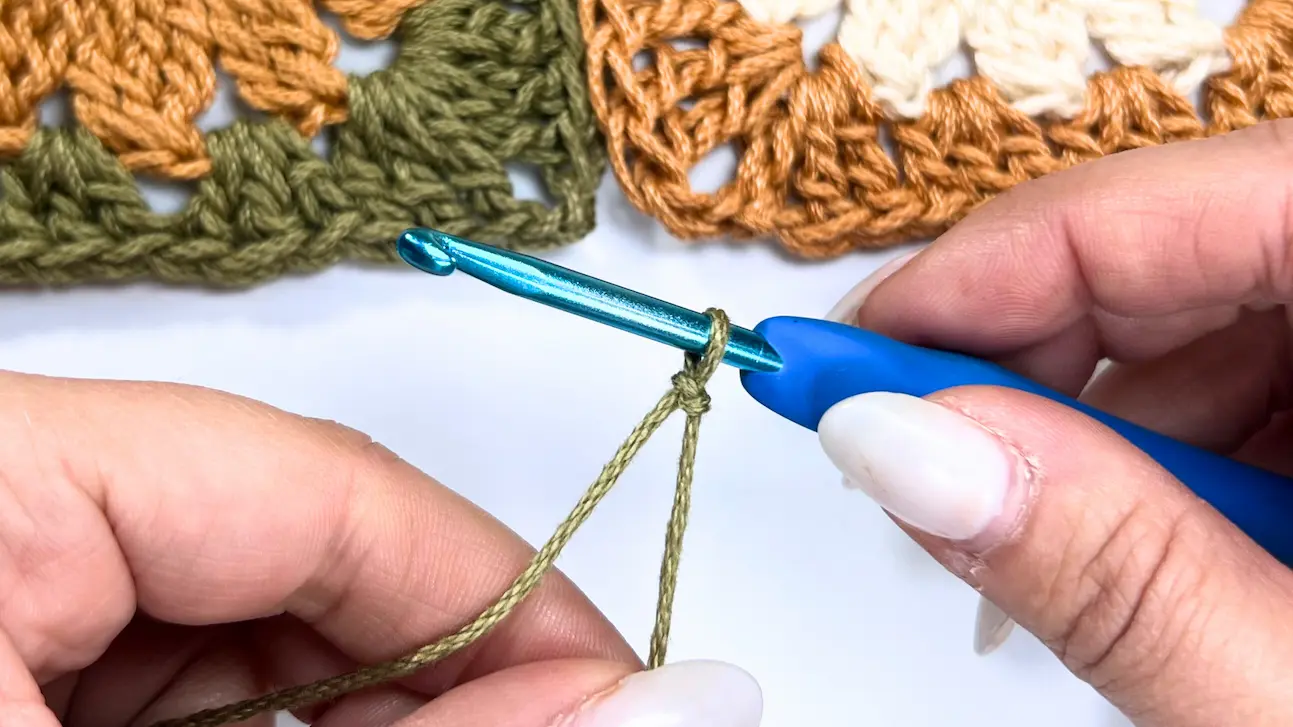
Insert the hook into any stitch (excluding the one where you joined the first round), place a new yarn colour over the hook, and pull it through. Here's a little tip: make the first chain using the tail as well, then keep the tail at the bottom and work around it. This way, you won't need to weave in this tail.
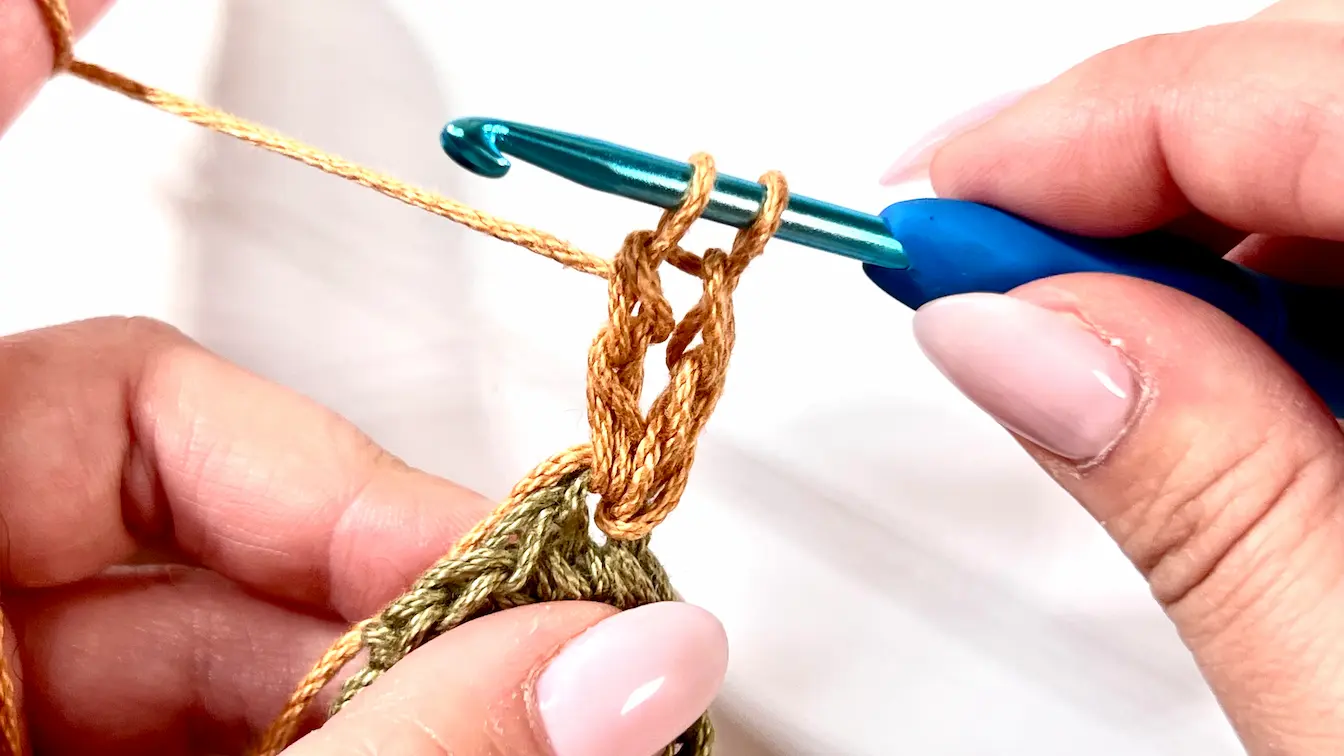
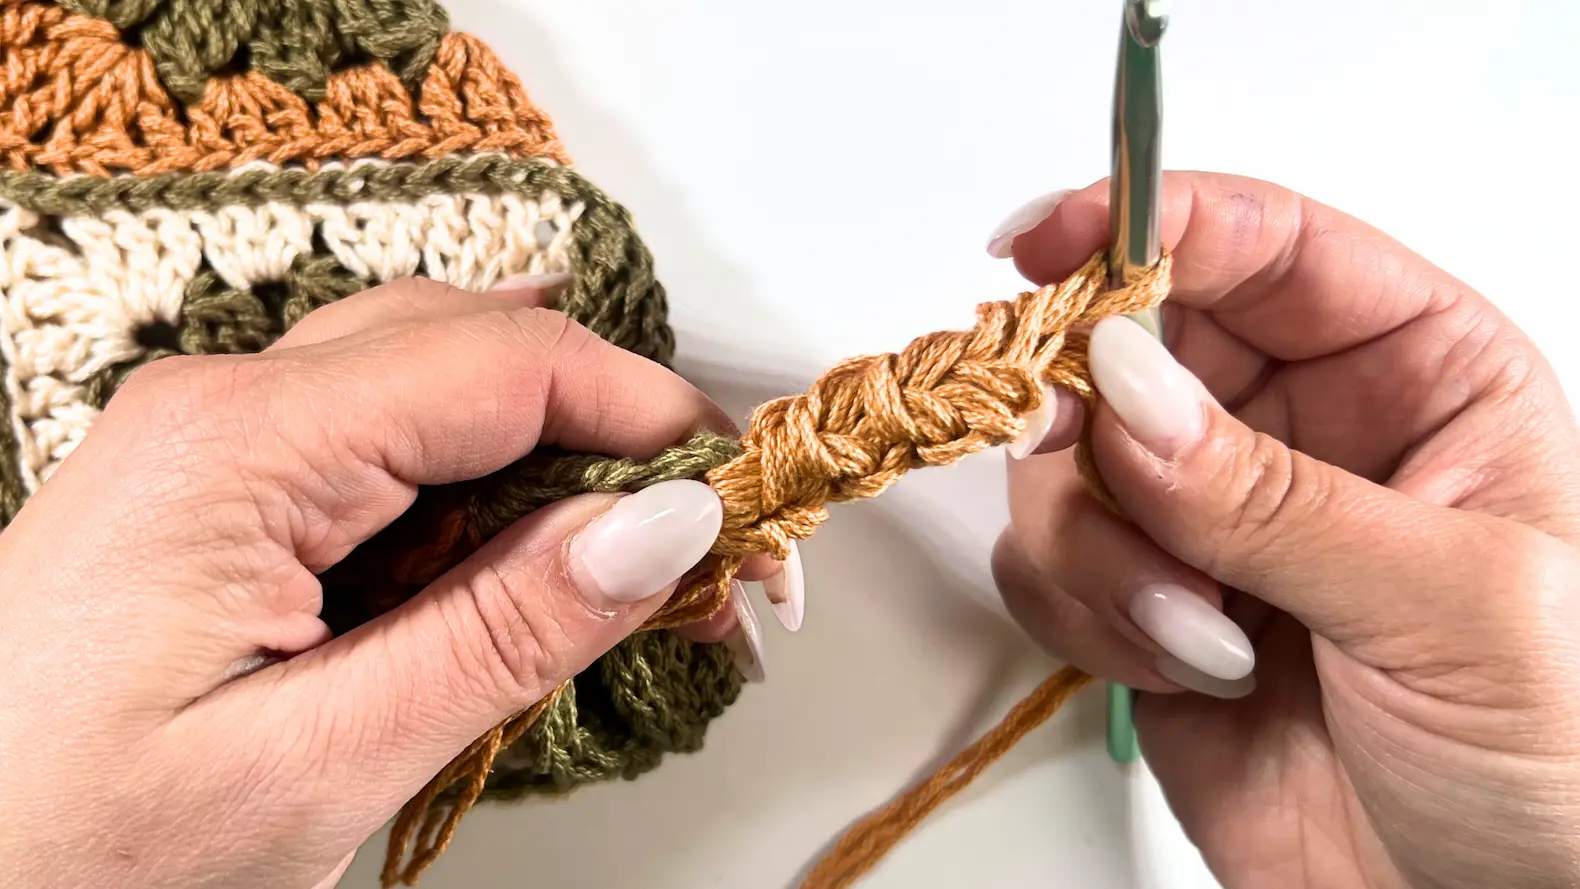
Now let’s start to make the petals: Make another 2 more chains (in total 3 chains = 1 Treble Crochet) and YO twice.
Next, insert the hook into the same stitch, YO and draw up a loop (you should have 4 loops on your hook). YO and pull through two loops, yarn over and pull through two loops (leaving 2 loops on your hook). YO twice.

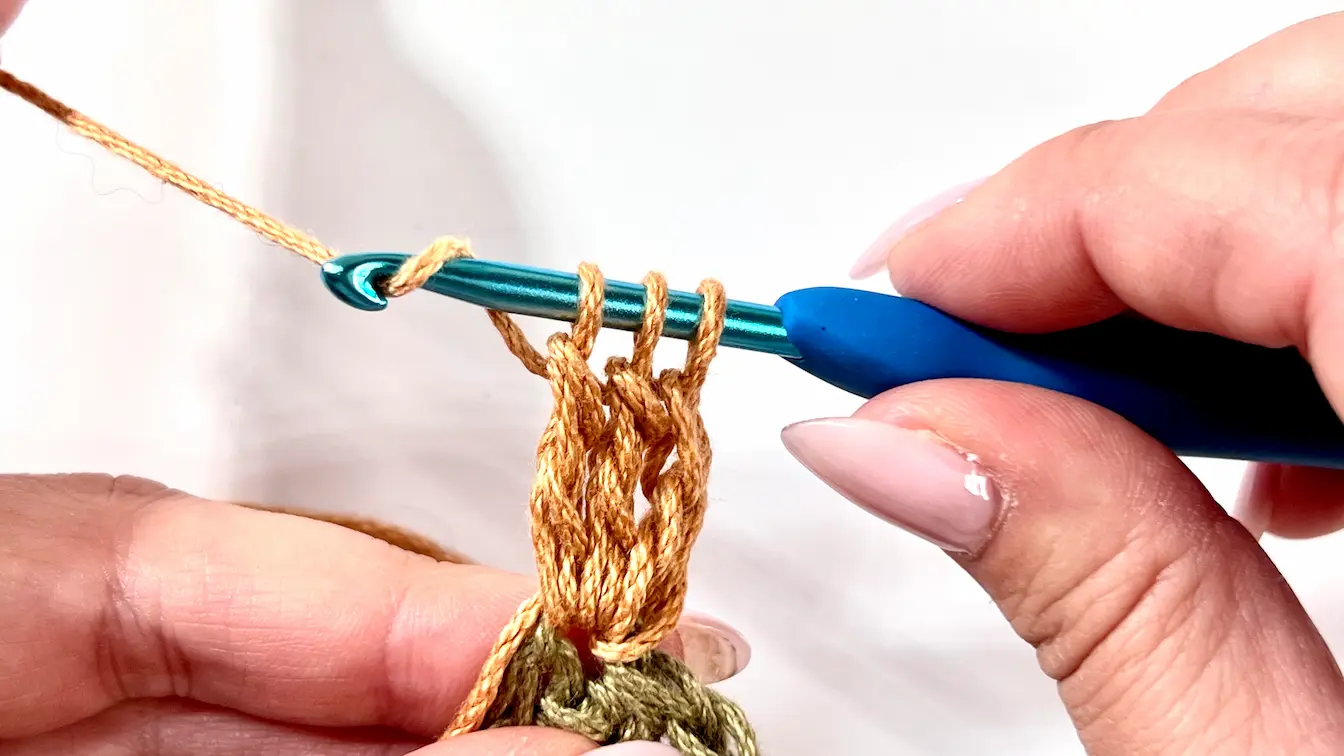
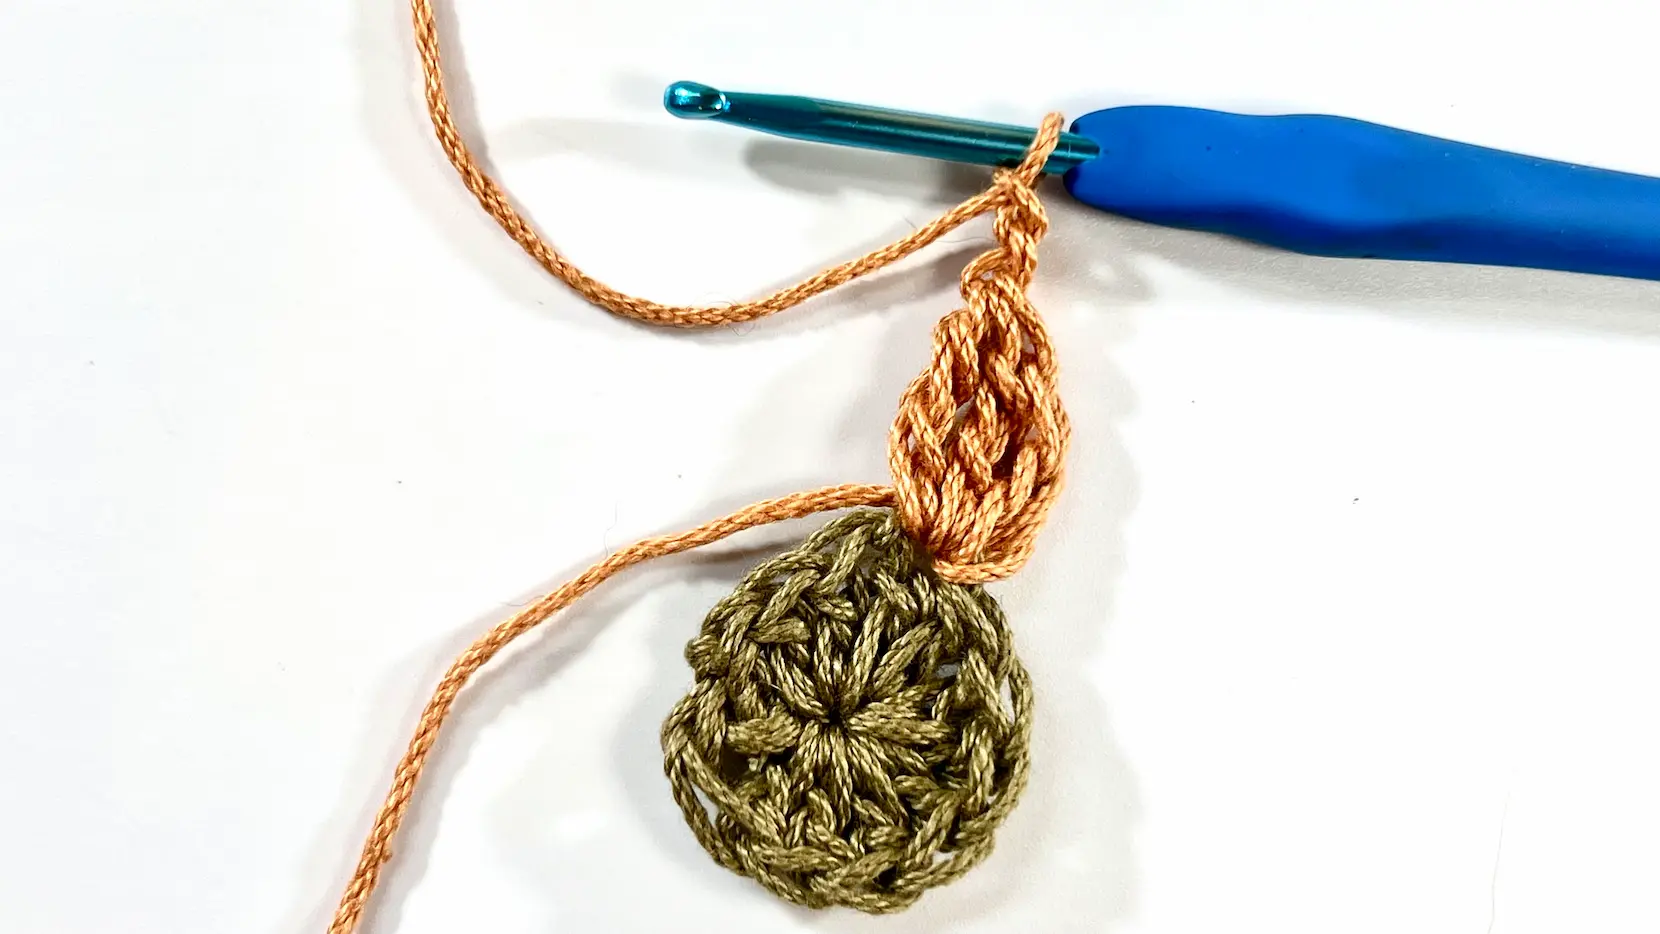
Next, insert the hook into the same stitch once more. YO and draw up a loop (you'll have 5 loops on your hook). Then YO and draw a loop through two loops, YO and draw a loop through the first two loops. You should now have 3 loops on your hook. YO and pull through all three loops (you have just made the first petal) Then ch 2.
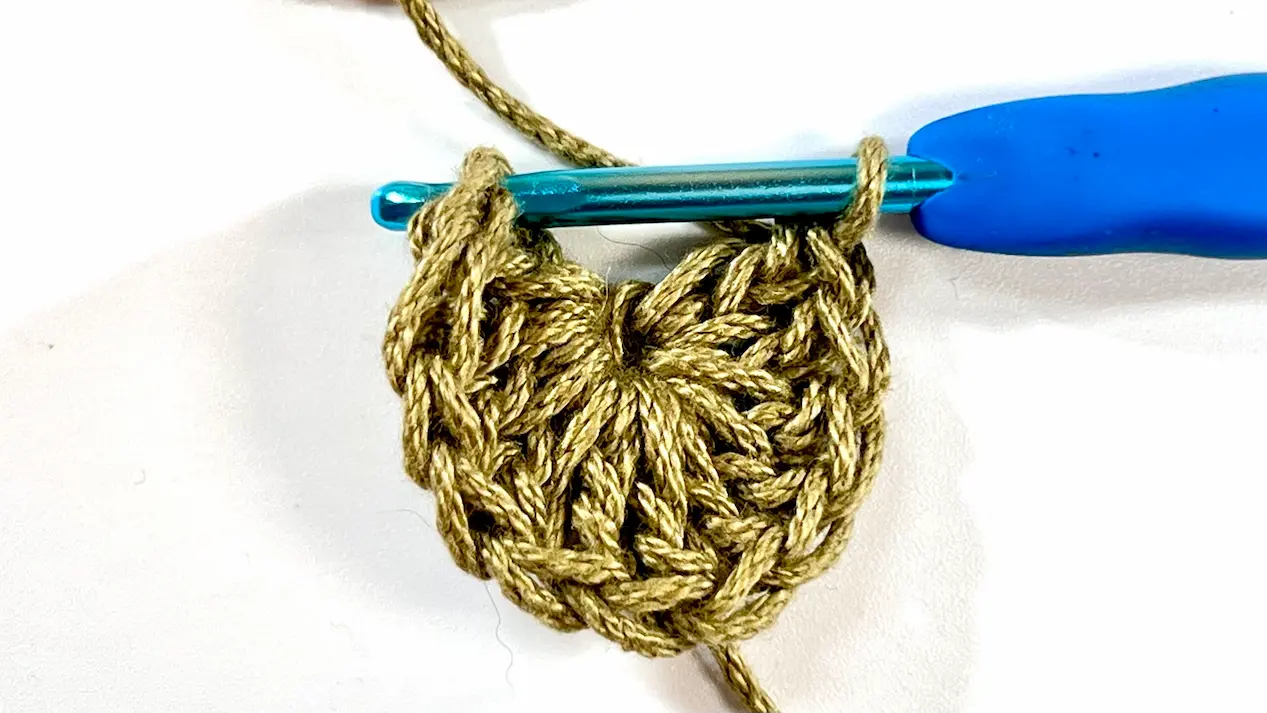
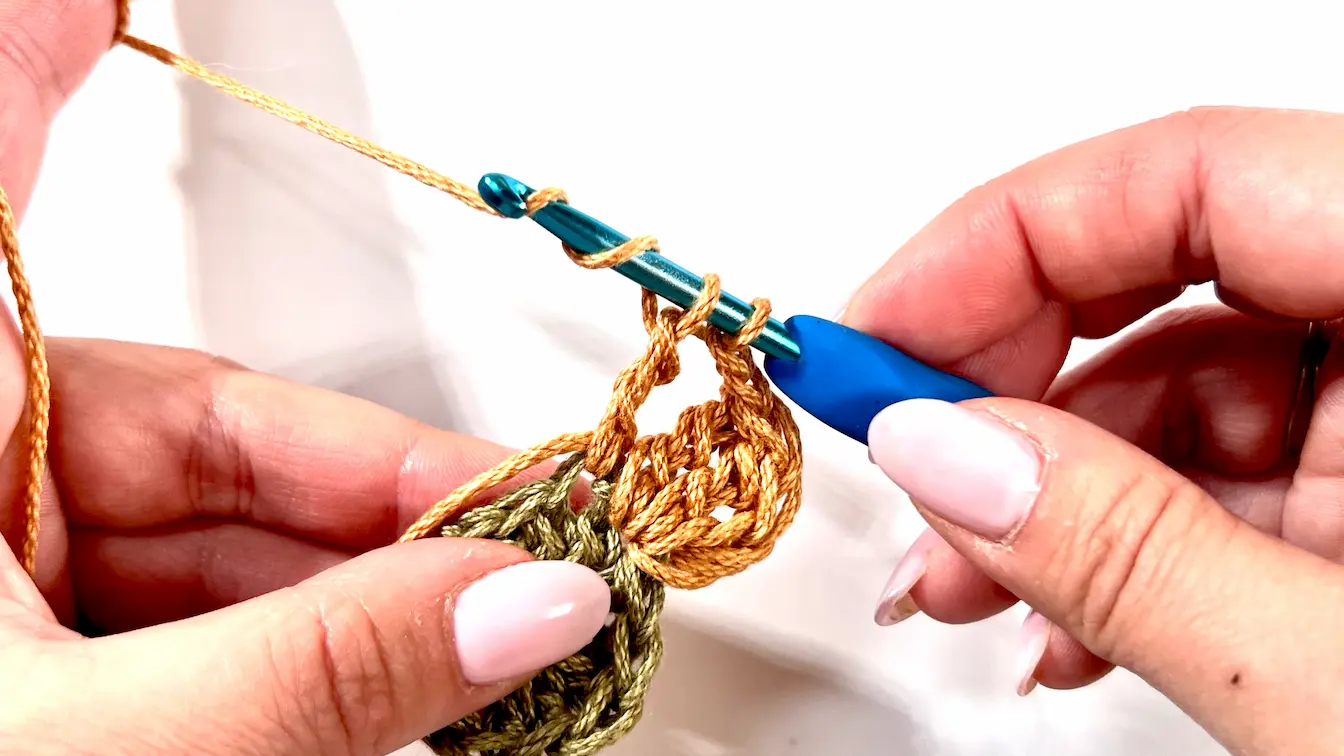
For the second petal, make TC3together = YO twice and insert the hook into the next stitch, YO and pull up a loop. YO and pull through first two loops then YO and pull up a loop through the next two loops (you should have two loops on your hook). Then repeat this one more time (you should have three loops on your hook) and then repeat it for the last time (you have 4 loops on your hook). YO and pull up a loop through all 4 loops. Ch 2.

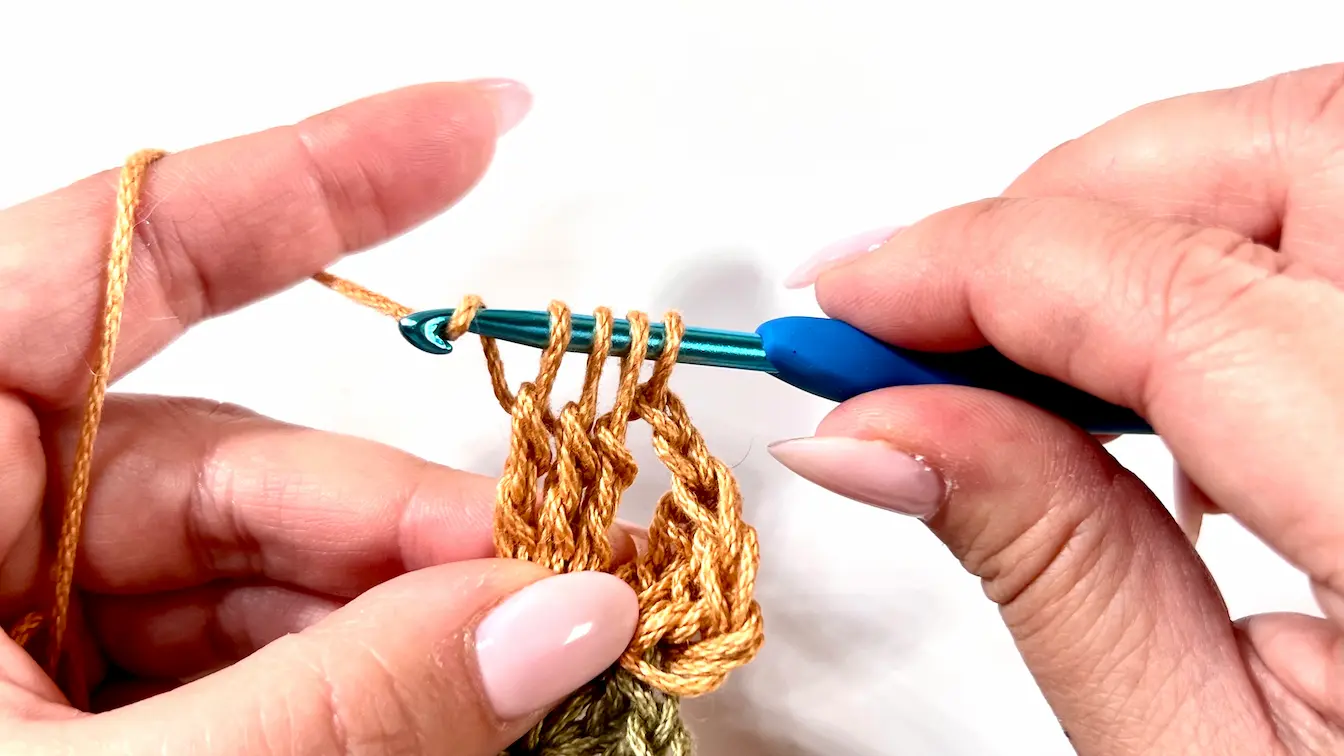
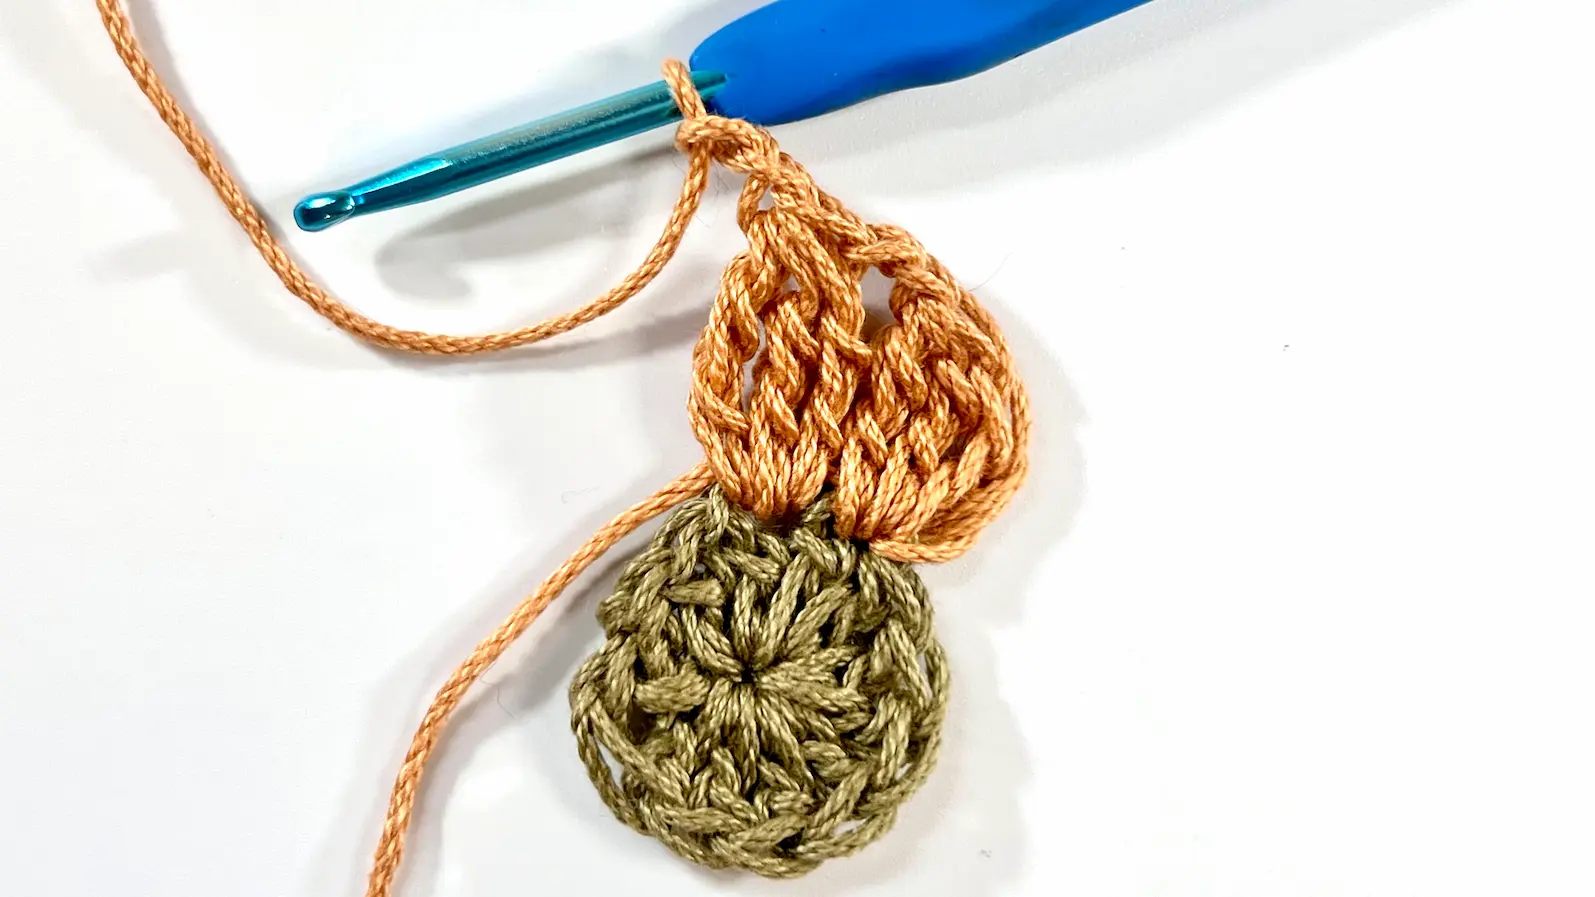
Repeat this second petal in every stitch around. You will have a total of 12 petals. Remember to make 2 chains between each petal, including between the last and the first petal.
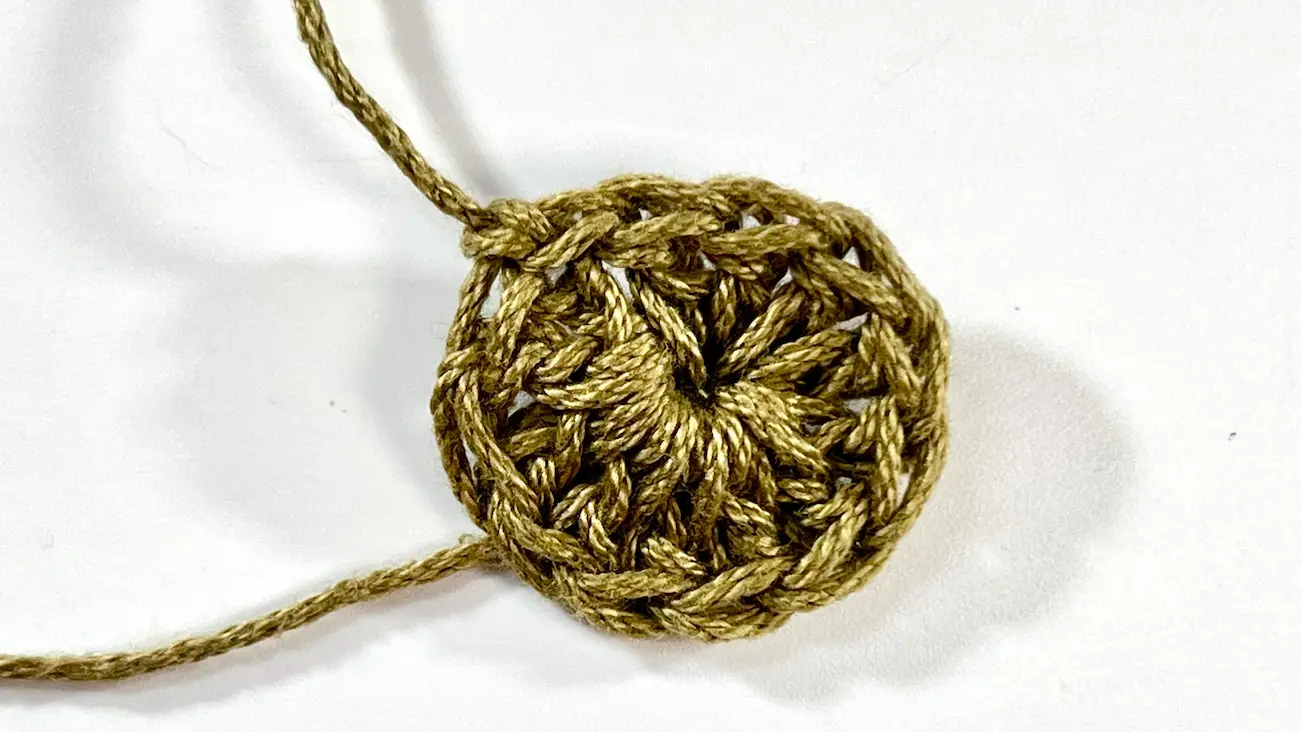
Then secure the yarn, cut it and weave in the tails.

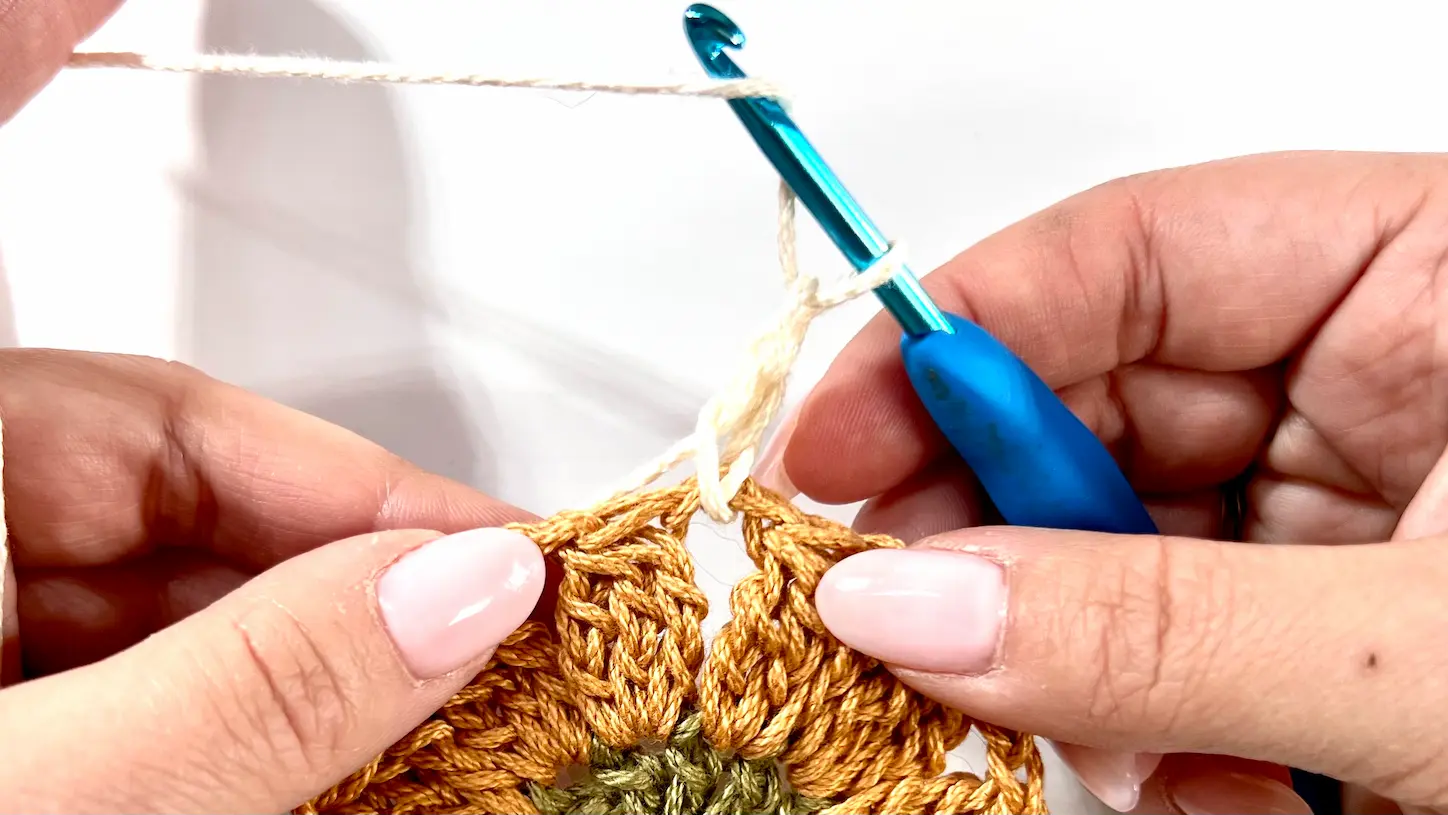
RND 3 - Video Tutorial - 23:07 - RND 3
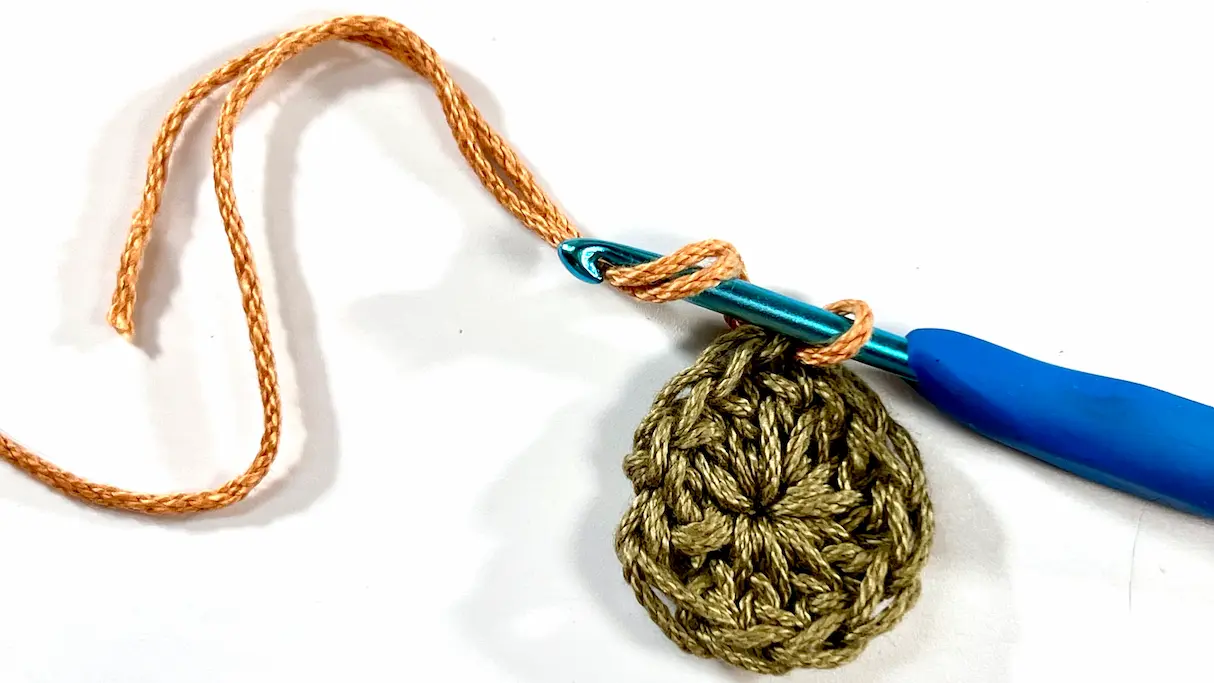
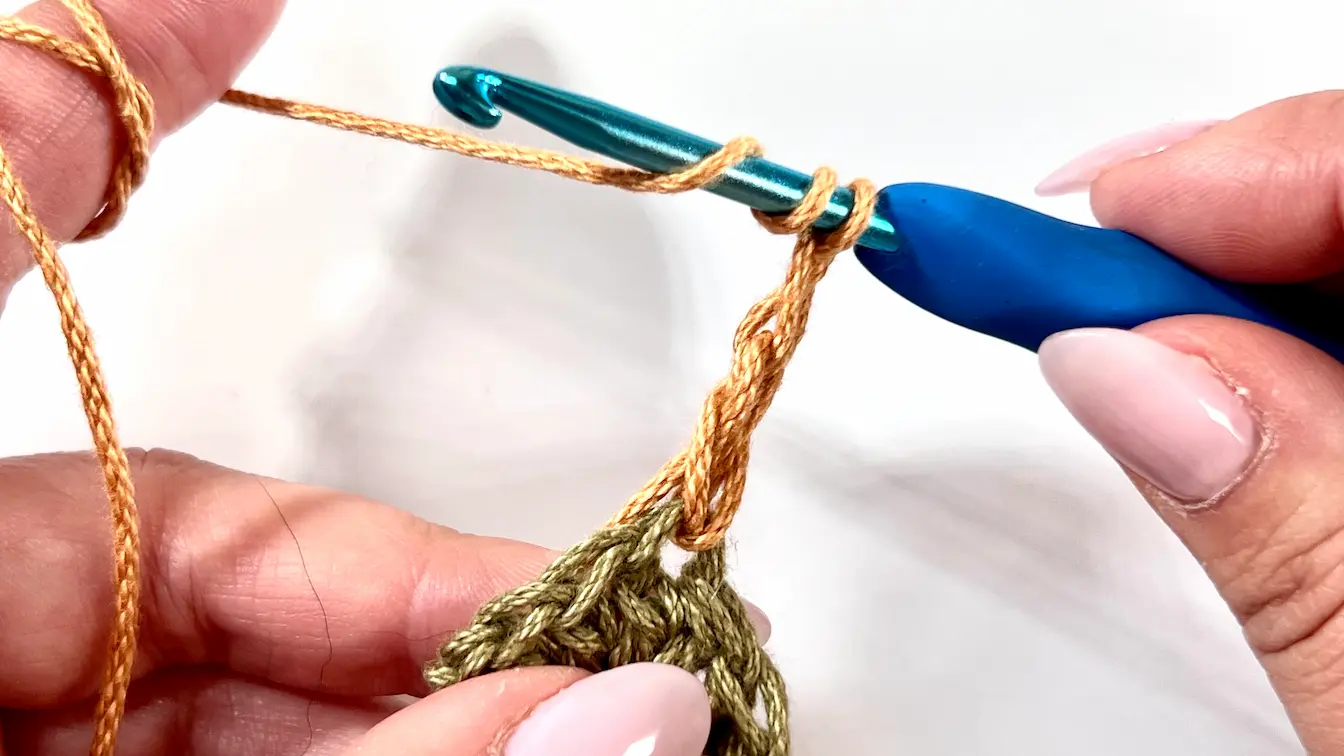
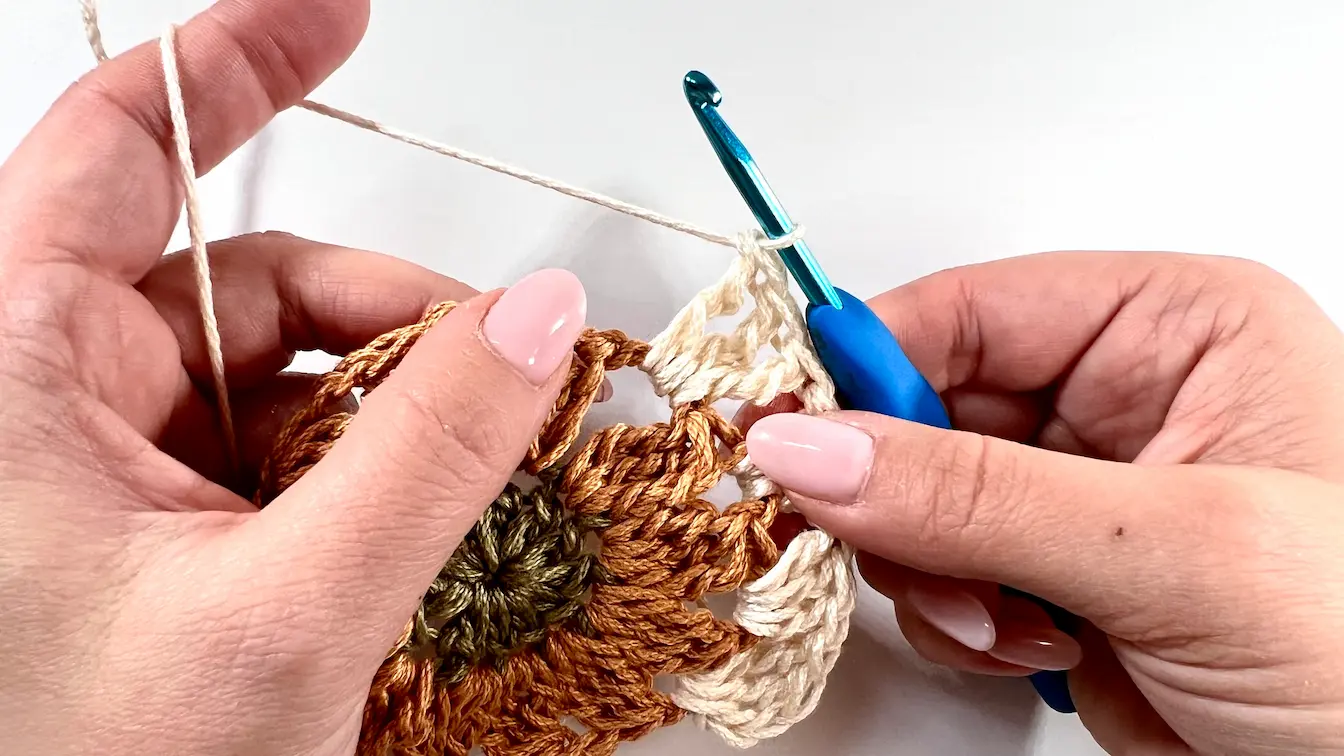
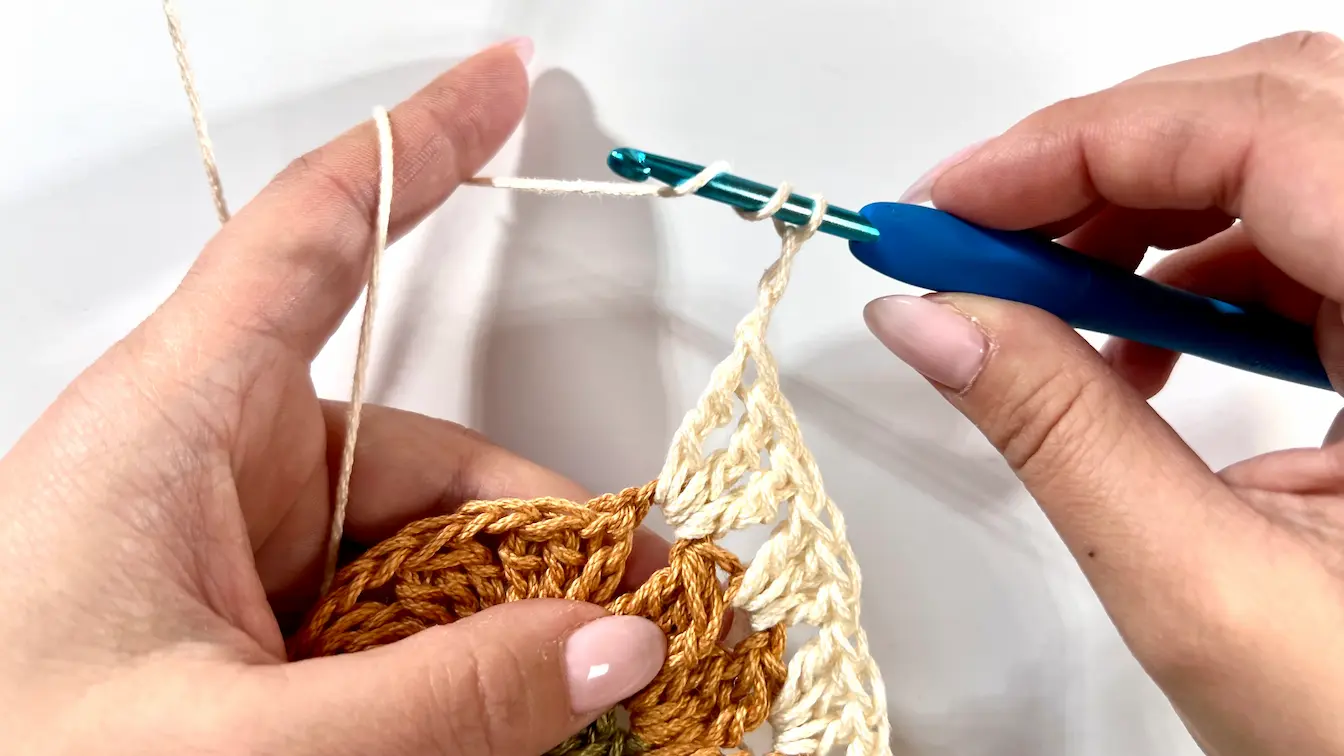
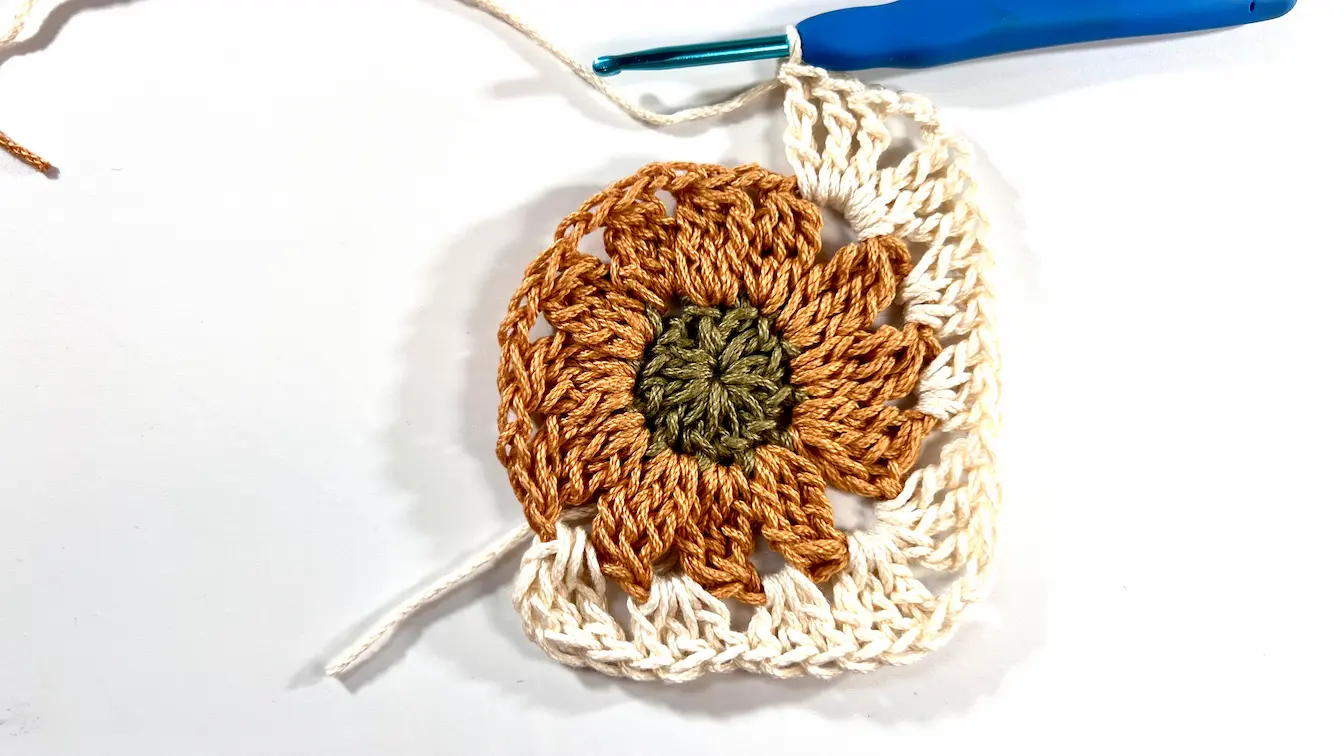
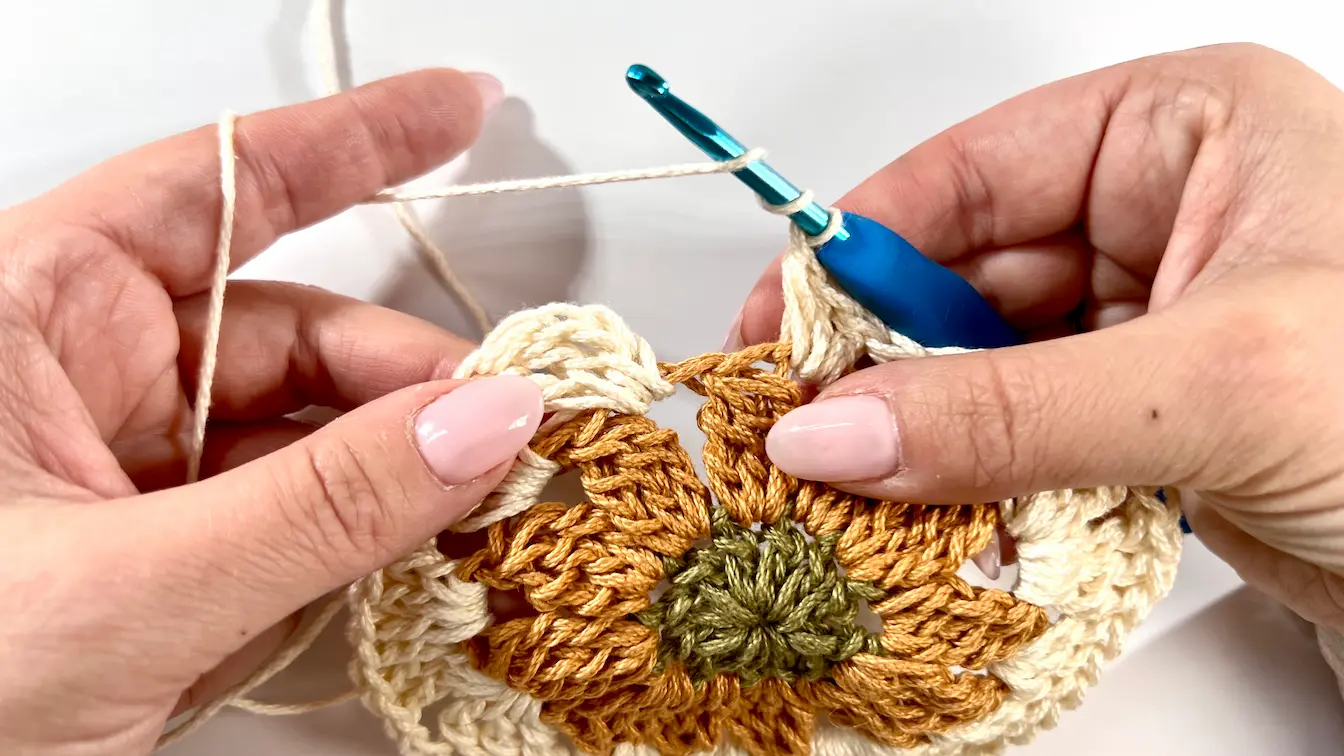
Place the hook into any 2ch space (except the one where you started the 2nd round) and attach a new yarn colour to your hook. Chain 3 (this counts as the first TC). Next, work 2 more TC into the same chain space (this forms the first half of a corner that will be completed at the end of the round).
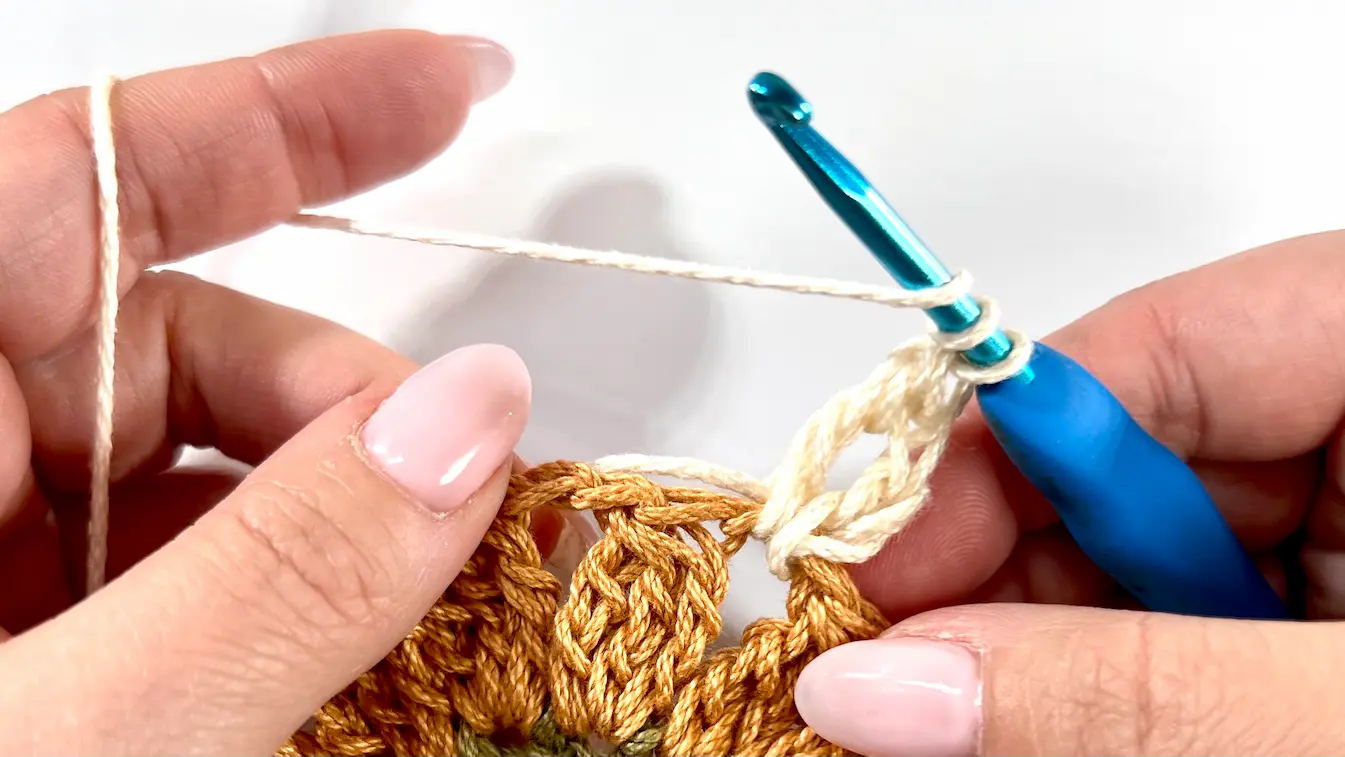
Into the next two 2ch spaces make 3DC in each space.

In the next 2ch space create a corner = into this space make 3TC + ch2 + 3TC.
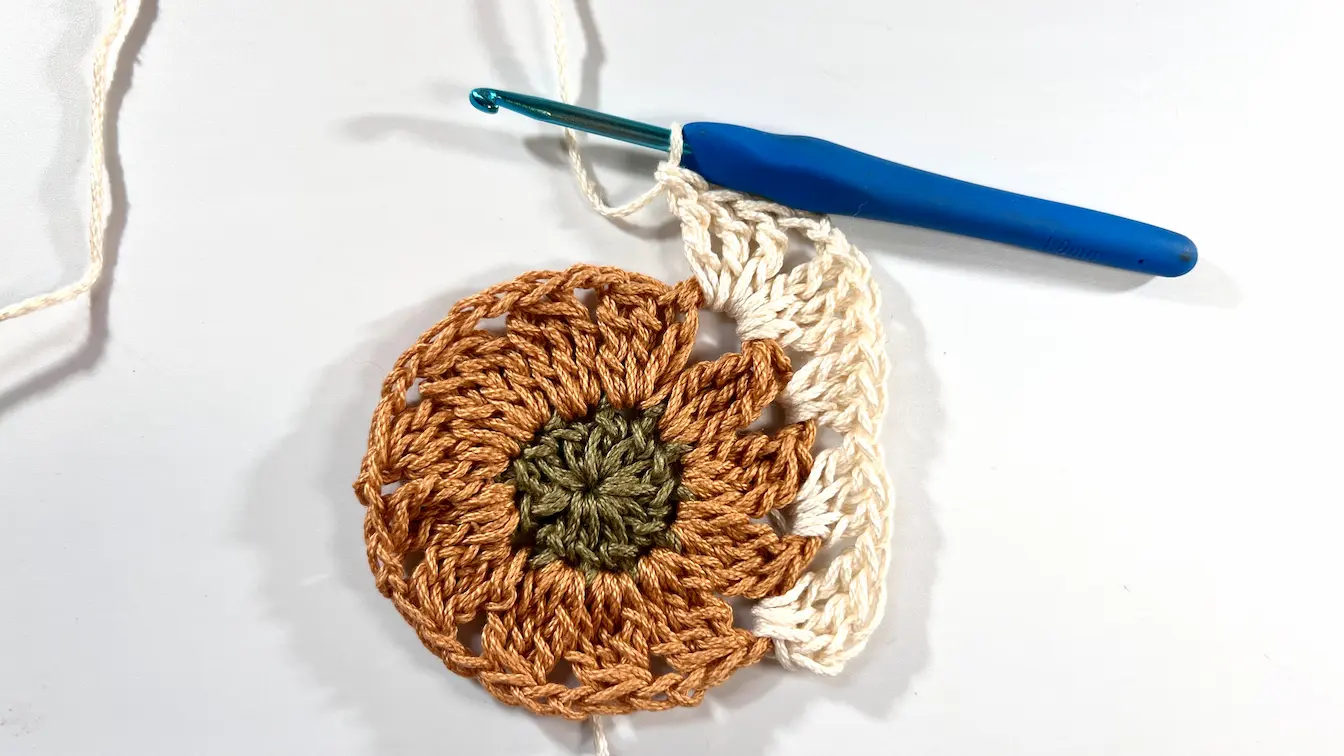
From this point, work 3DC into each of the next two 2ch spaces, followed by the 2nd corner, then 3DC into the next two 2ch spaces, and the 3rd corner. After that, again work 3DC into the next two 2ch spaces. For the 4th corner, complete it with 3TC into the same 2ch space as the first half of the corner we began at the start of the row, and ch 2. Then join with a sl st. Secure it and cut the yarn. Weave in the ends.
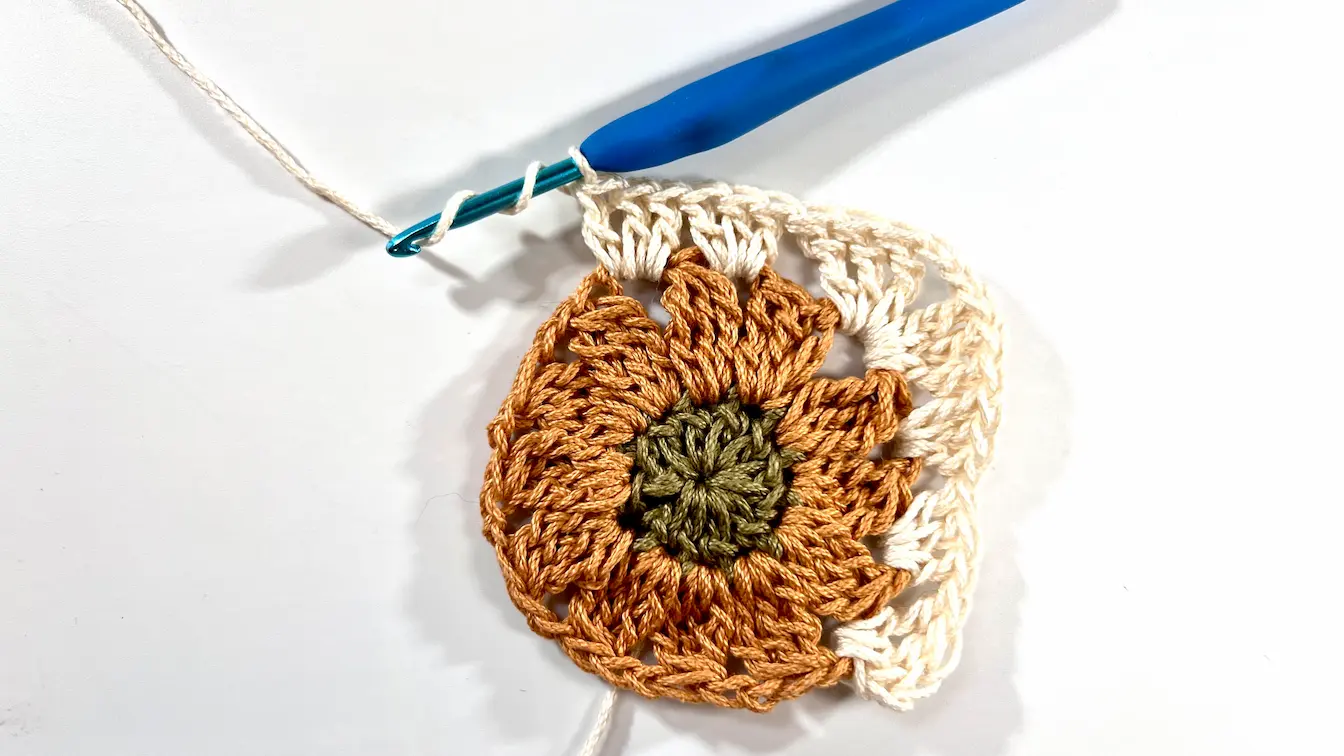
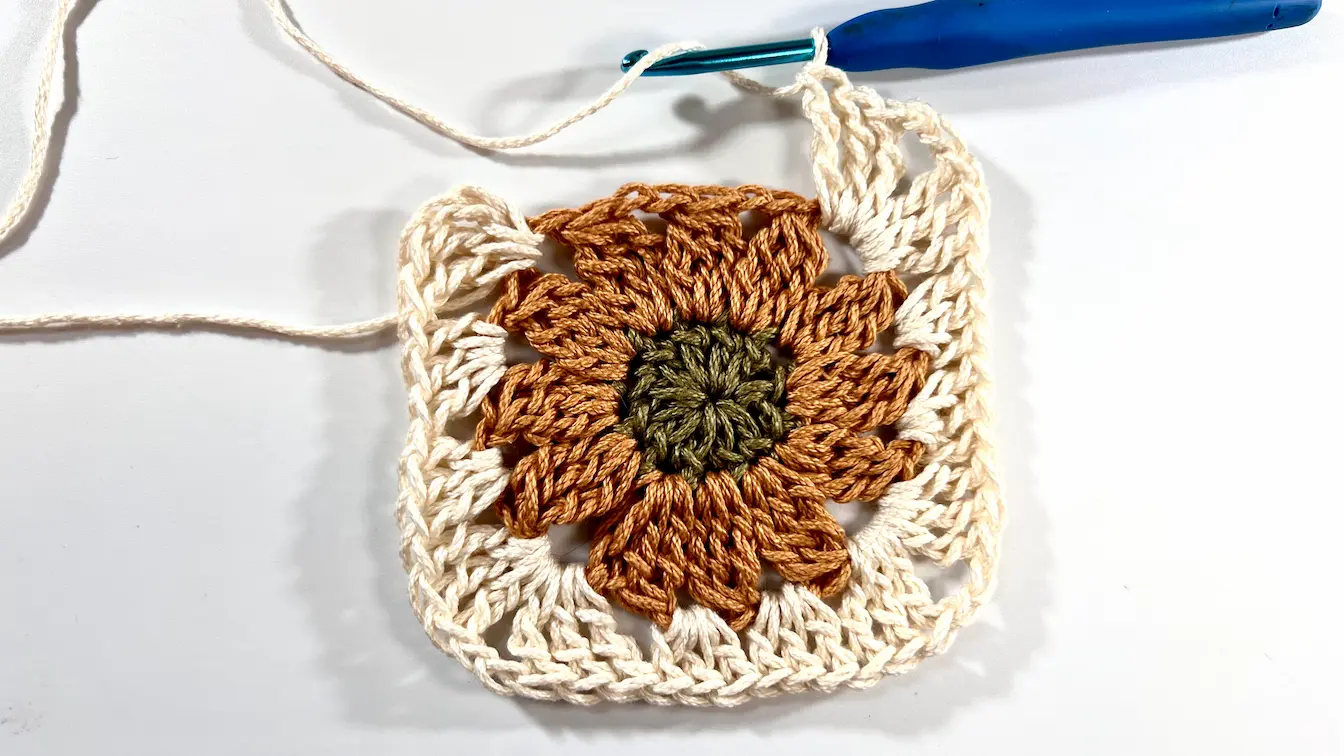
You finished your first daisy square!

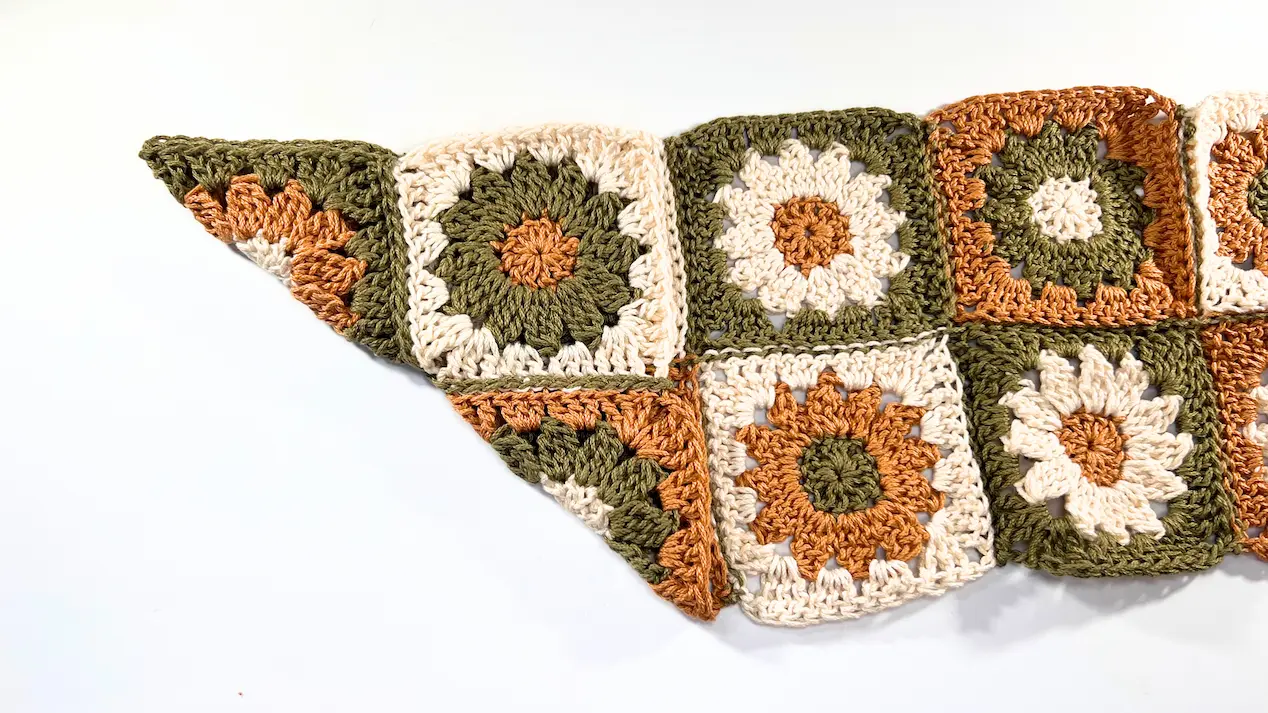
Folding and Seaming
Video Tutorial - 28:23 - Folding and Seaming
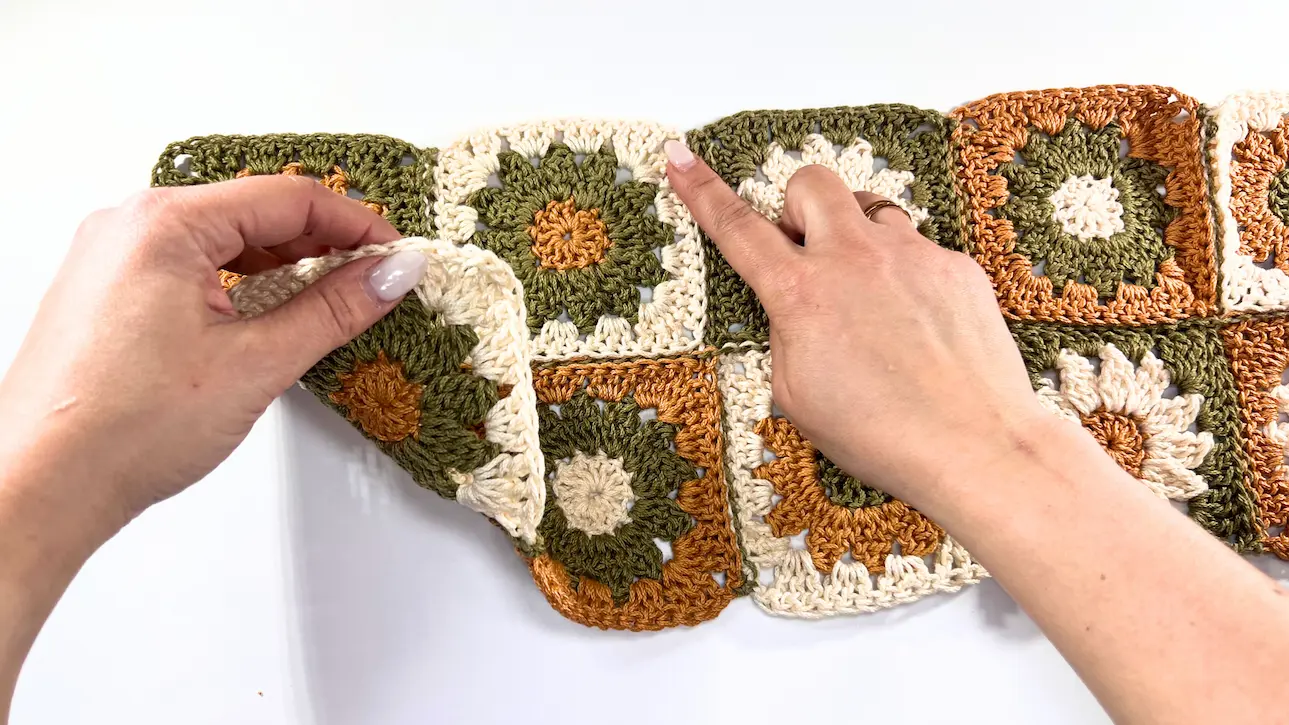
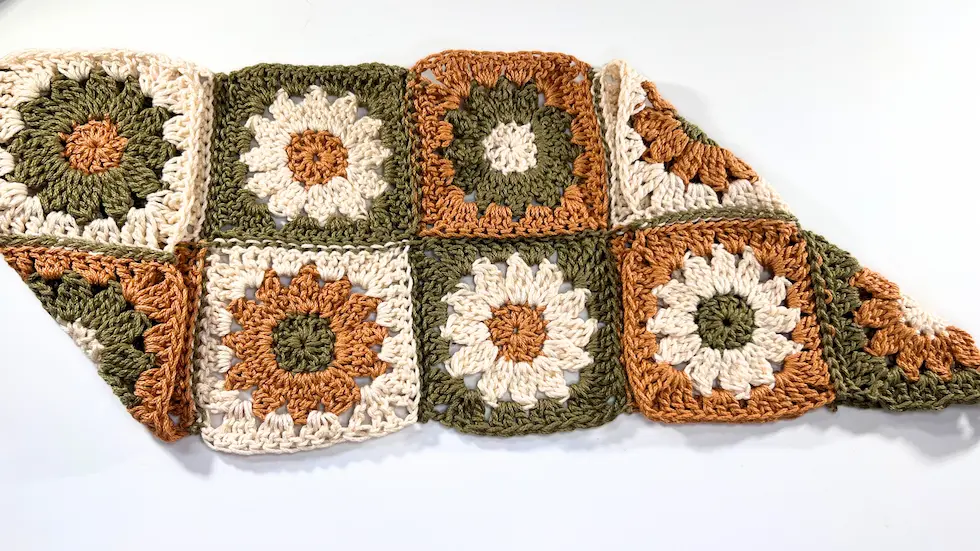
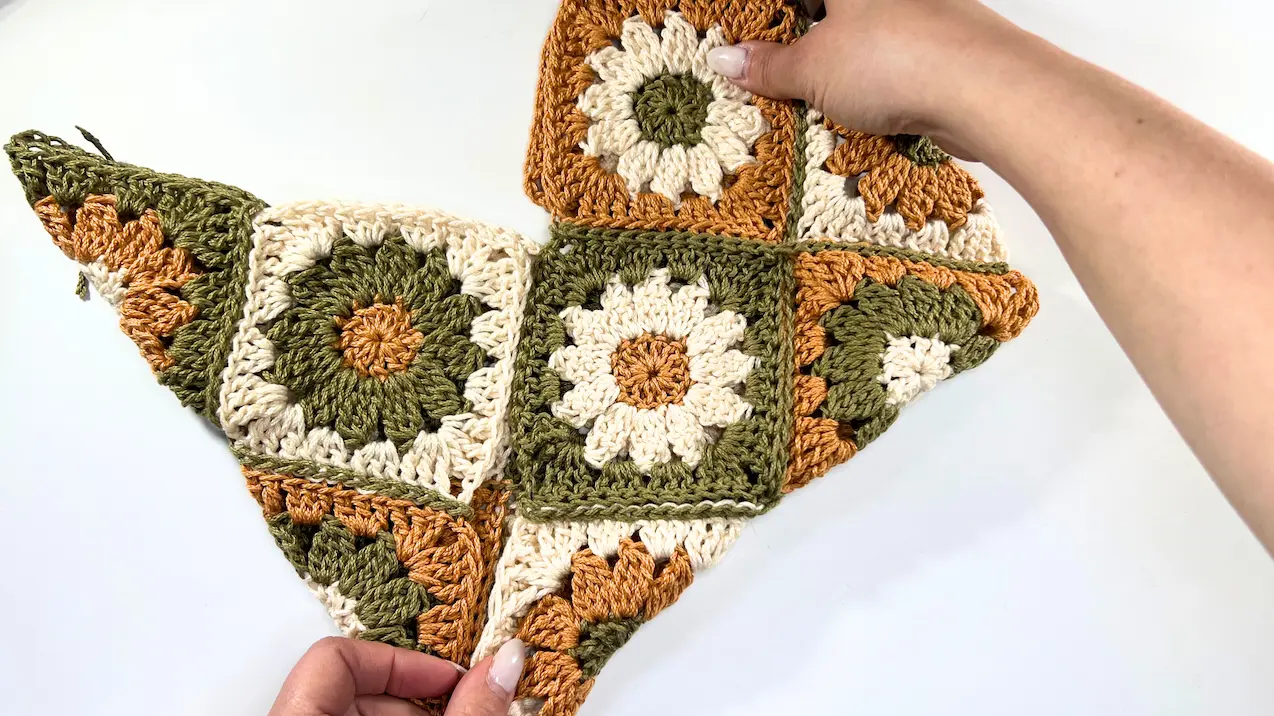
Now is the time to arrange your squares and fold them into the bag. Use your stitch markers to hold the layout in place, allowing you to seam the sides together calmly. ENSURE that you lay all of them with the same side facing out (there's a slight difference between the right side and the wrong side). If you selected all 6 variants like I did, arrange them in the exact order shown in the picture below. This way, when you fold it, you'll achieve the same colour variation on both sides.

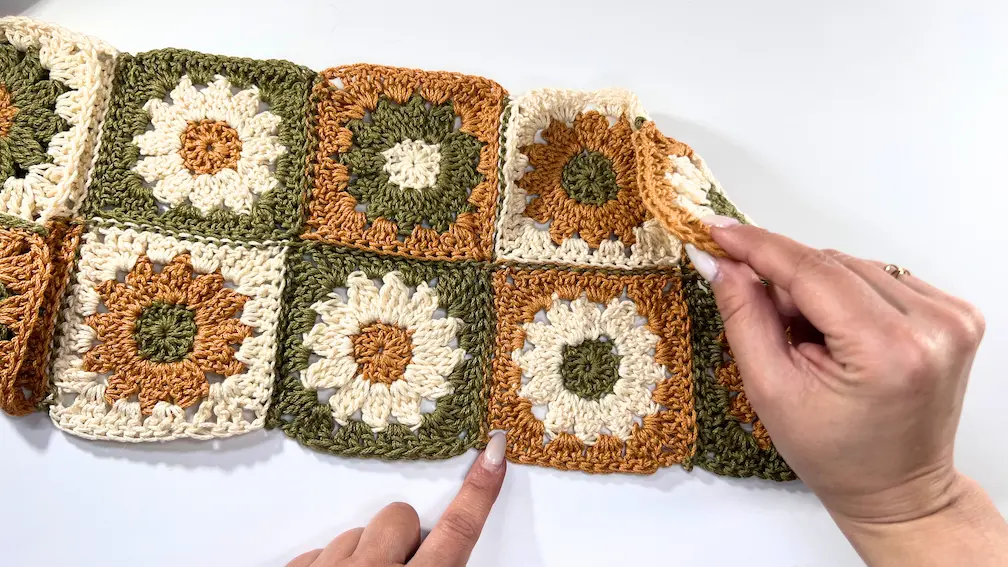
Take the yarn you want to use for seaming the squares and begin seaming from left to right in the center of two squares placed one above the other. This method ensures a quicker layout securing, allowing you to finish the short sides afterward.
I use a slip stitch for this seaming as it creates nice details.
PLEASE NOTE, seam the squares with the right side facing out to achieve a nicer appearance with the slip stitch.
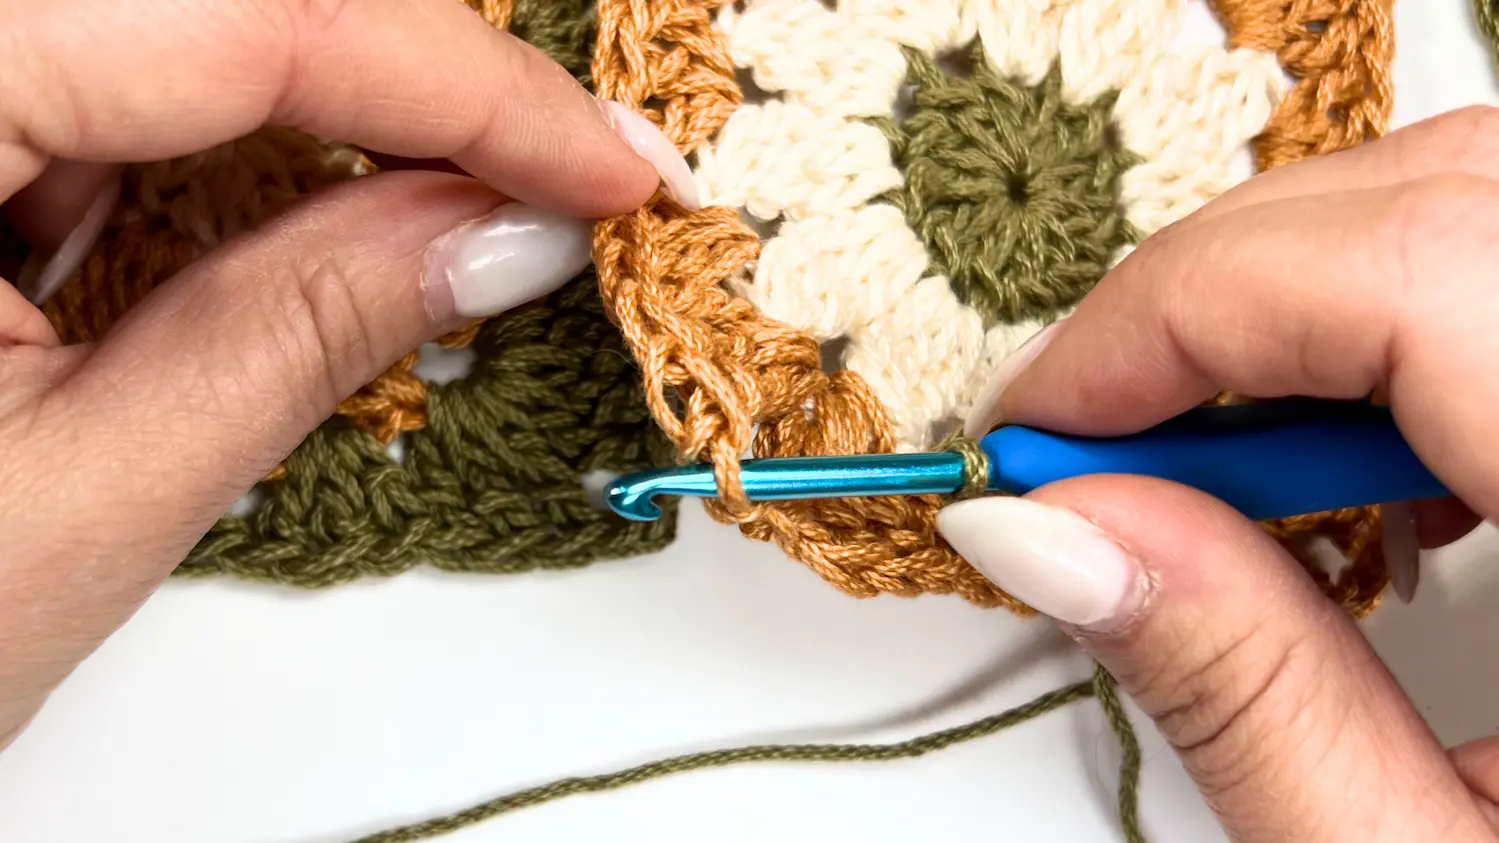
How to Seam Squares with Slip Stitch
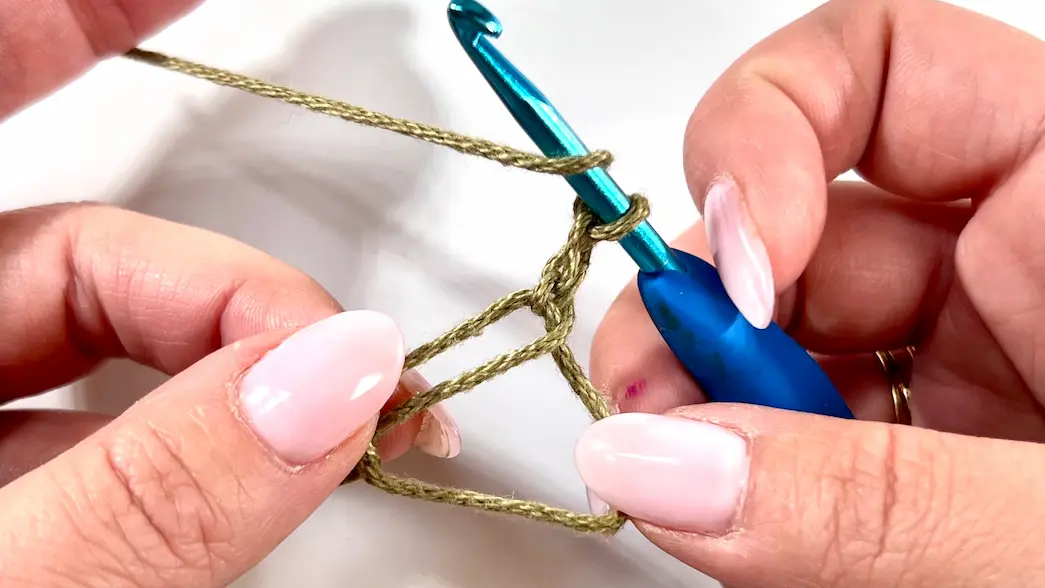
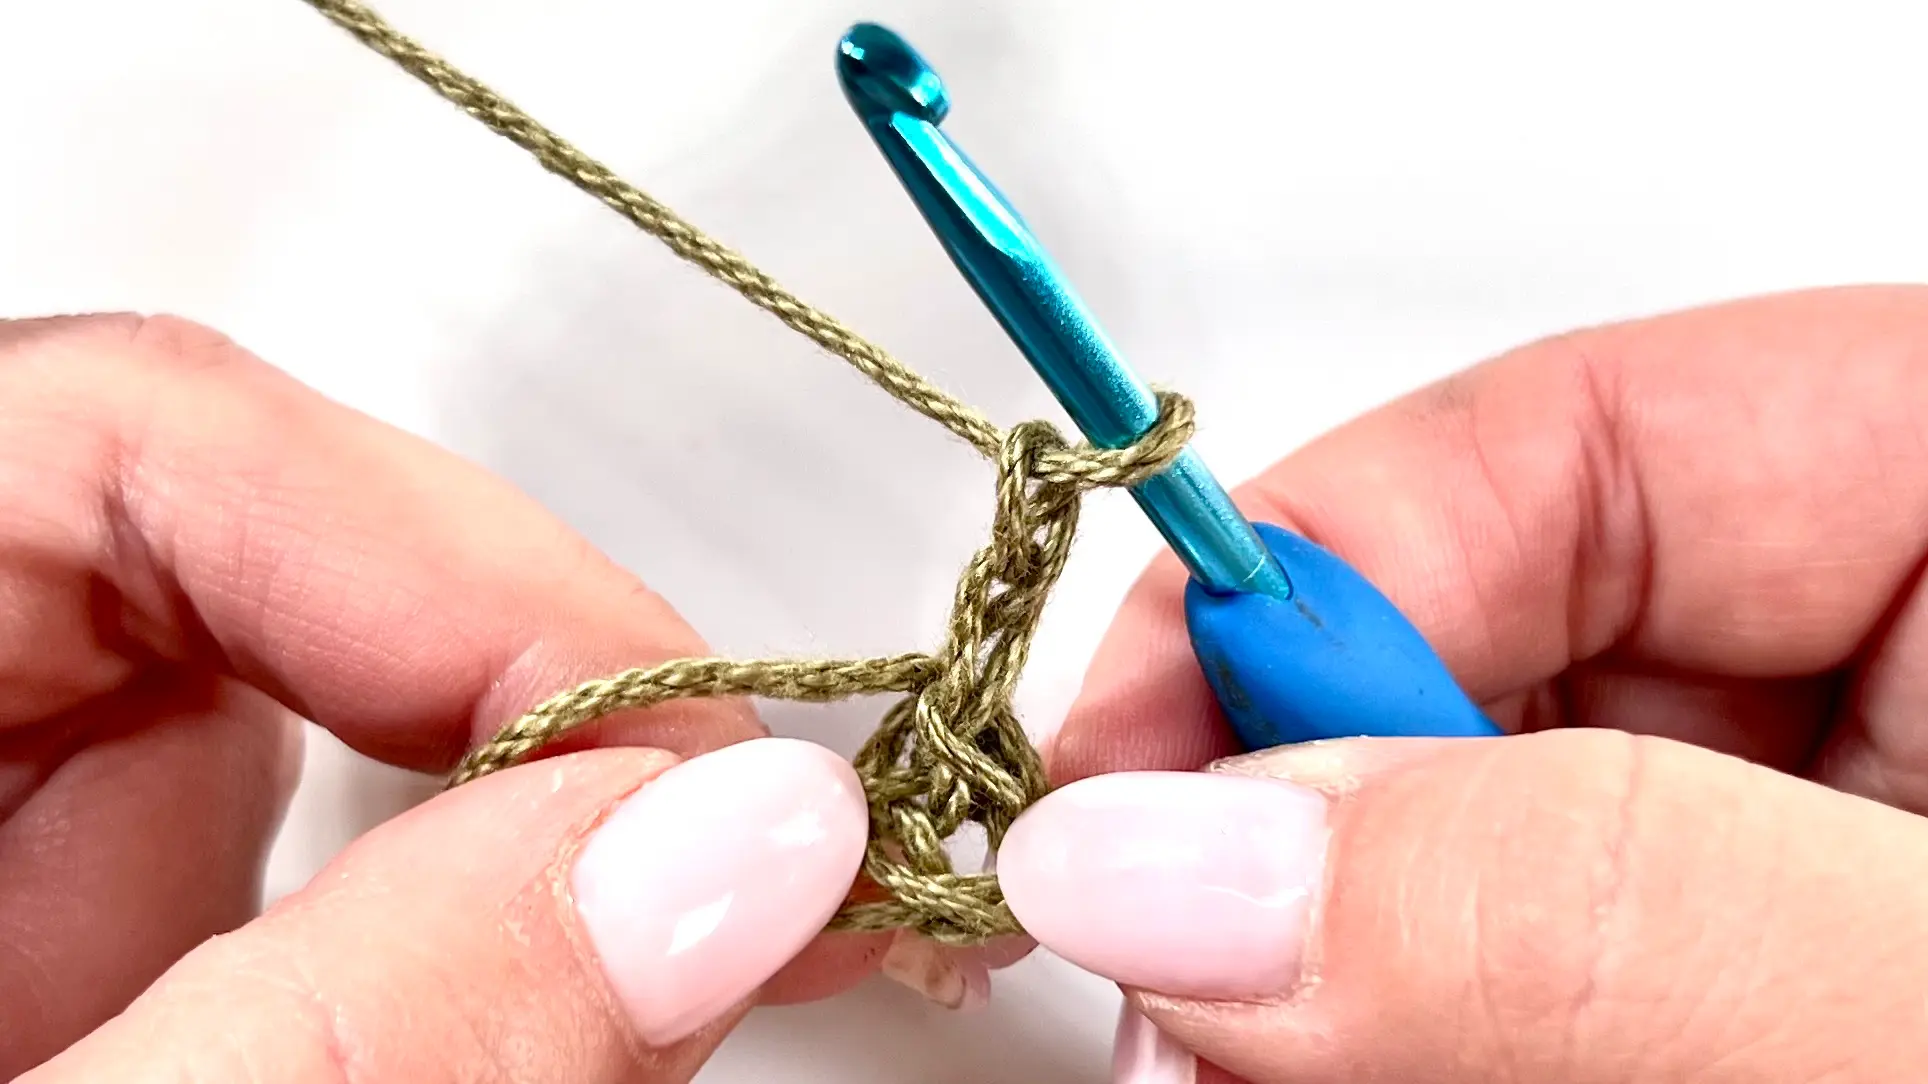
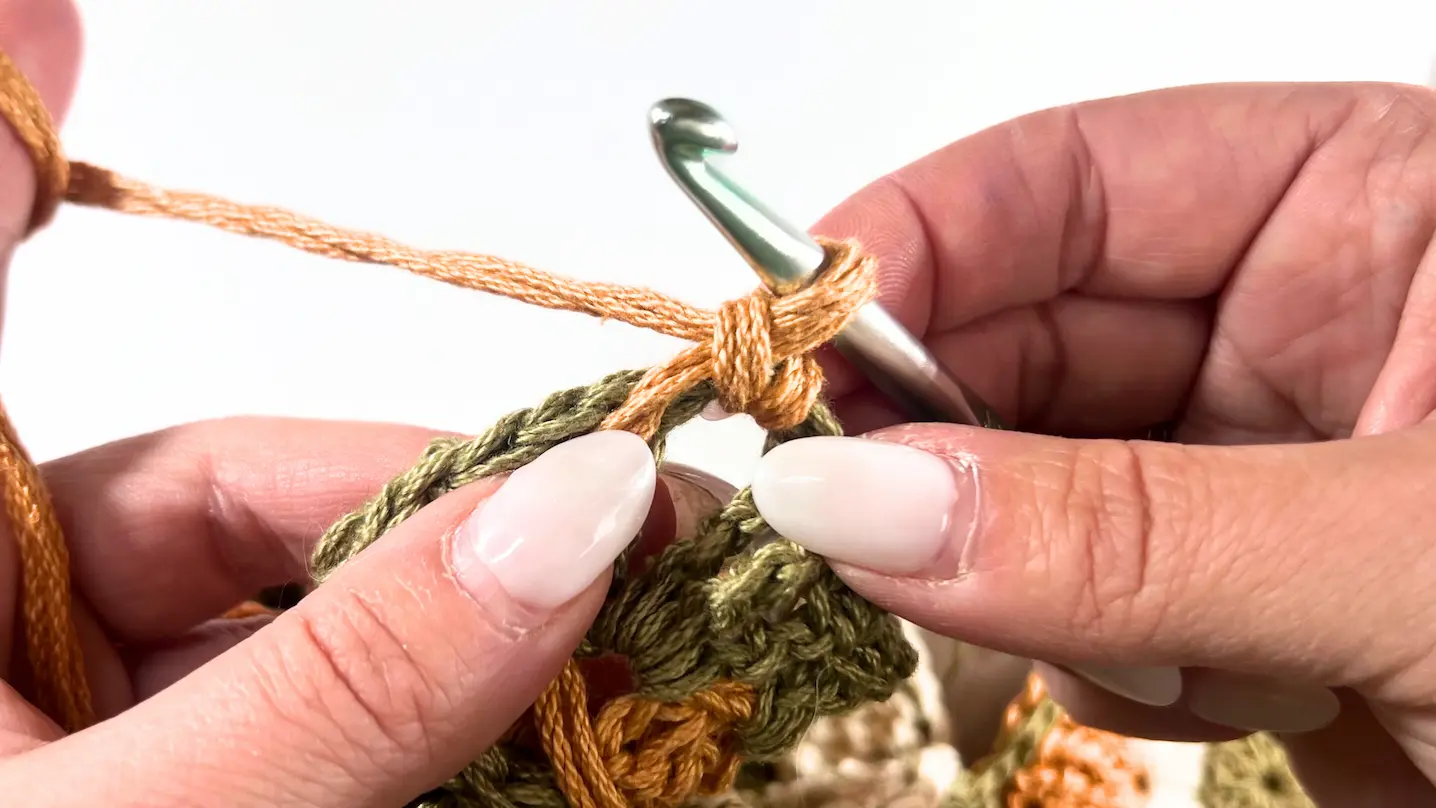
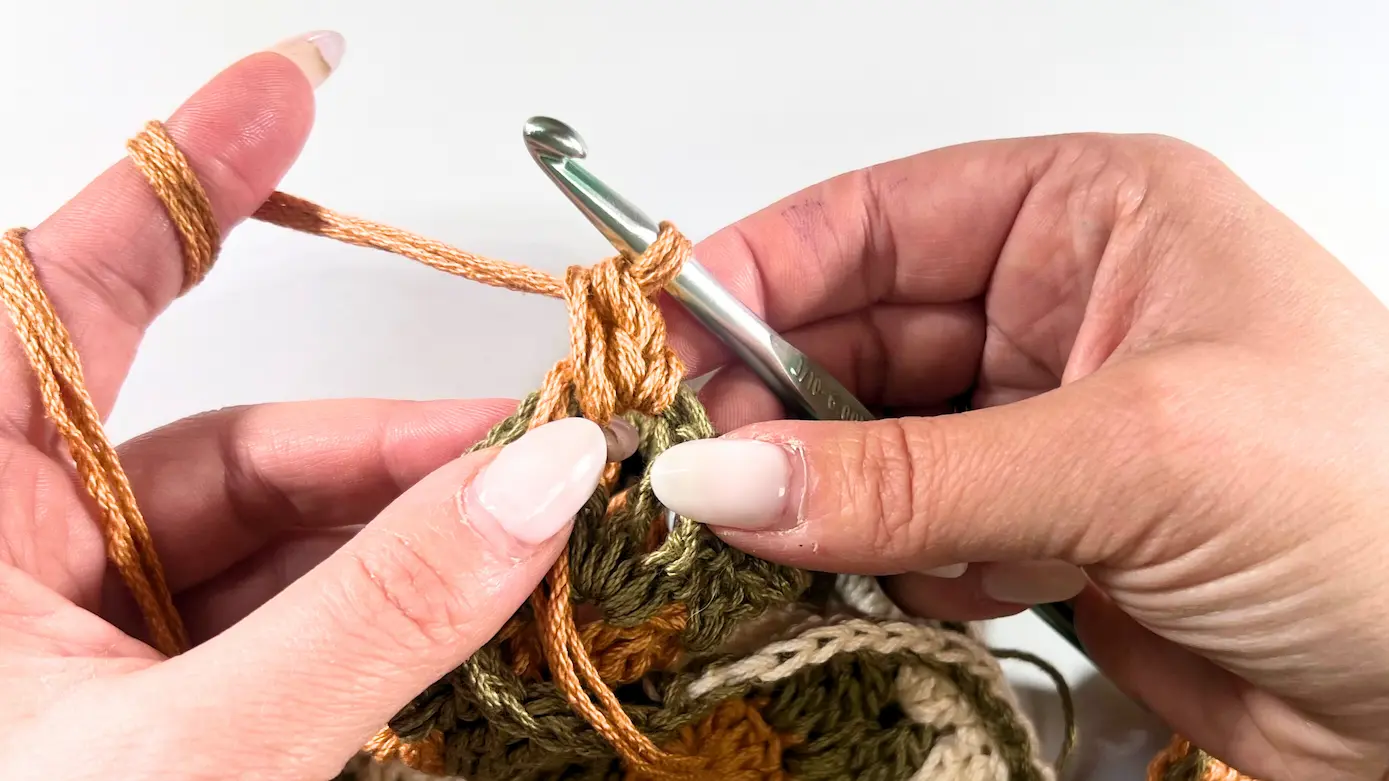
Create a slip knot on your hook using the yarn intended for seaming the squares. Insert the hook into the chain one at the corner of the right square, going through only the front loop. Next, insert the hook into the back loop of the chain one at the corner of the left square. Ensure the yarn is positioned beneath the squares, then yarn over and pull through all three loops on the hook.
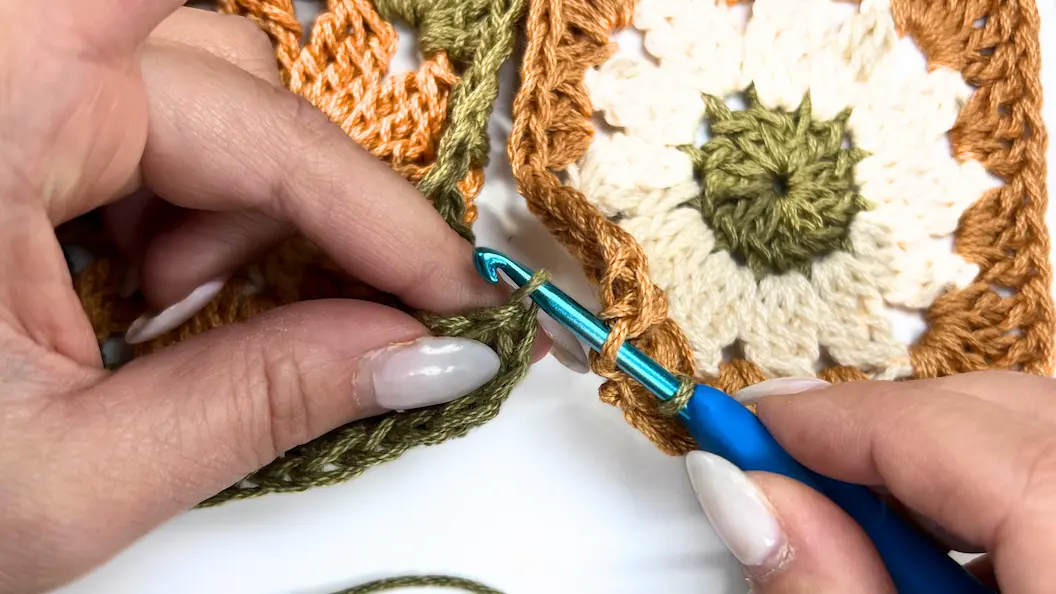
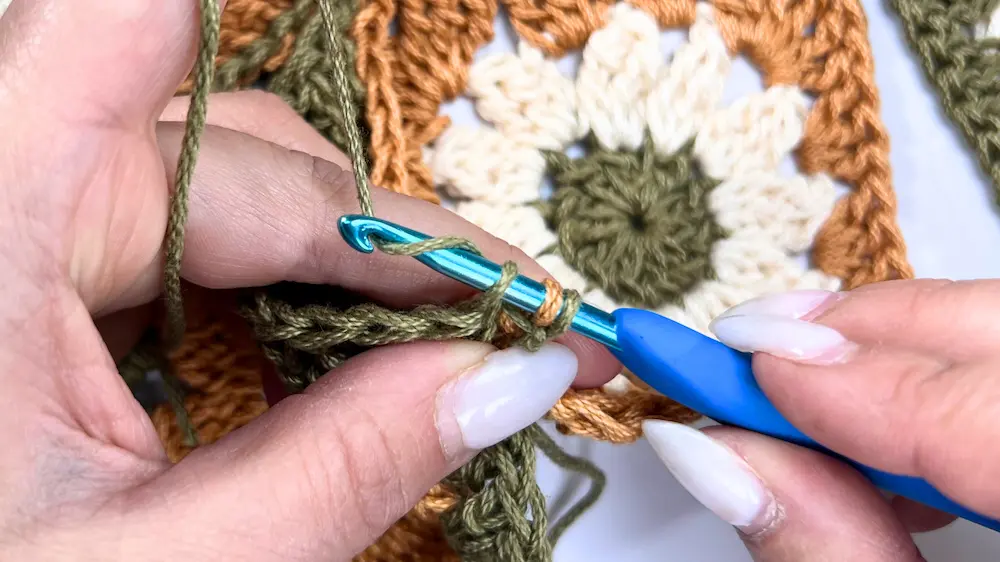
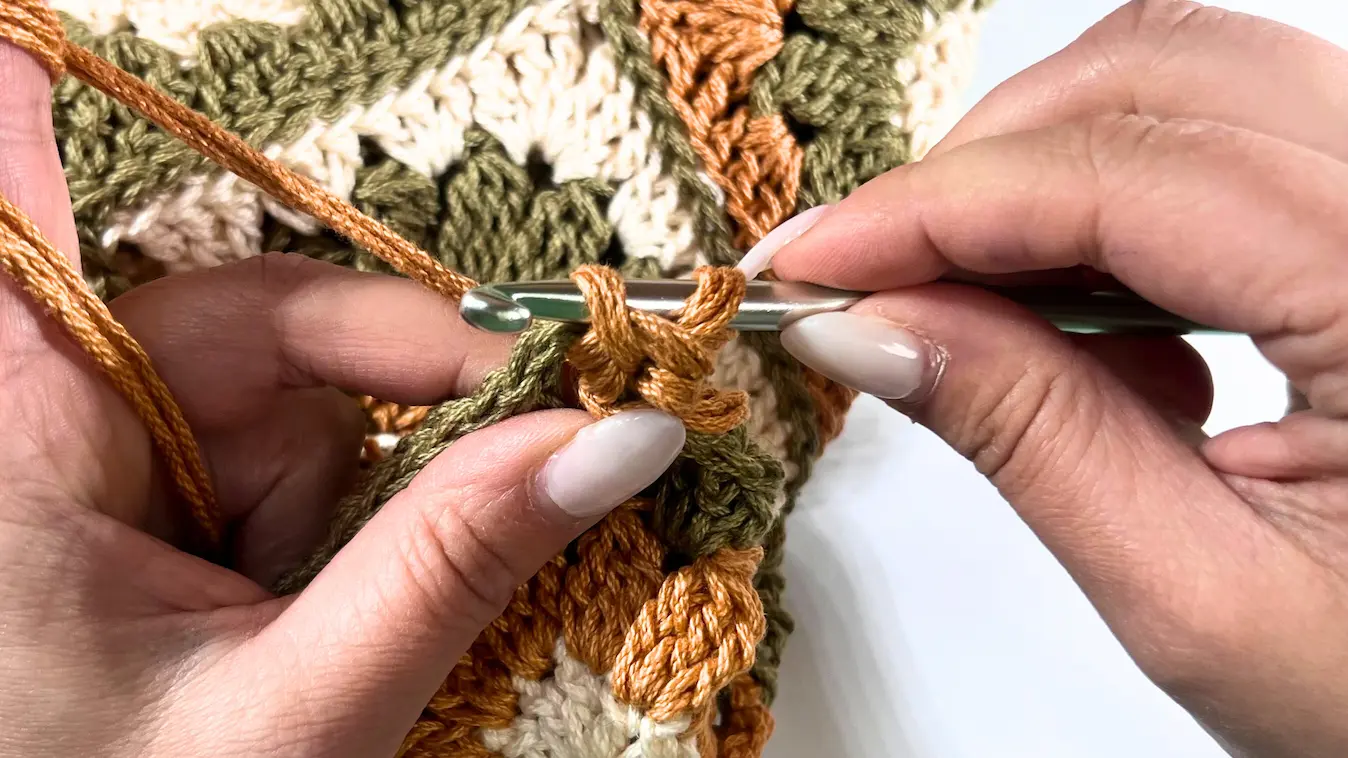
Continue this process for each stitch on both squares. Begin by inserting the hook into the stitch on the right square through the front loop only, then insert the hook into the stitch on the left square through the back loop only, YO, and pull through all the loops.

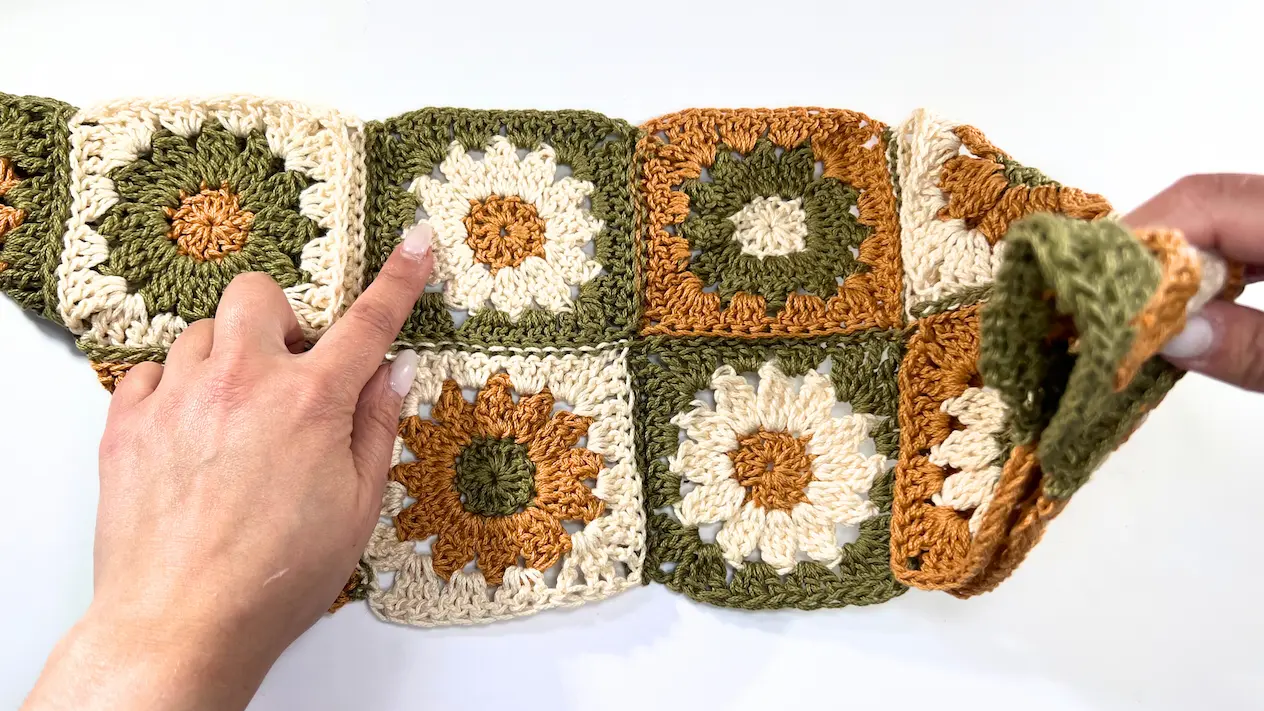
How to Fold the Squares into Bag
Video Tutorial - 44:28 Folding Squares into Bag
Make sure that all the squares are now wrong side out!
Take the bottom left corner and fold it over the second square from the top on the left.
Next, take the top right corner and fold it down over the second square from the bottom on the right.
Next, take the entire folded right side and fold the middle section by placing the 3rd bottom right square over the 3rd top left square. This will form the shape of your bag. Sew the remaining open sides, and remember to make slip stitches around the top edge as well.
How to Make a Strap
For the strap I use 6mm hook and triple strand of the yarn.
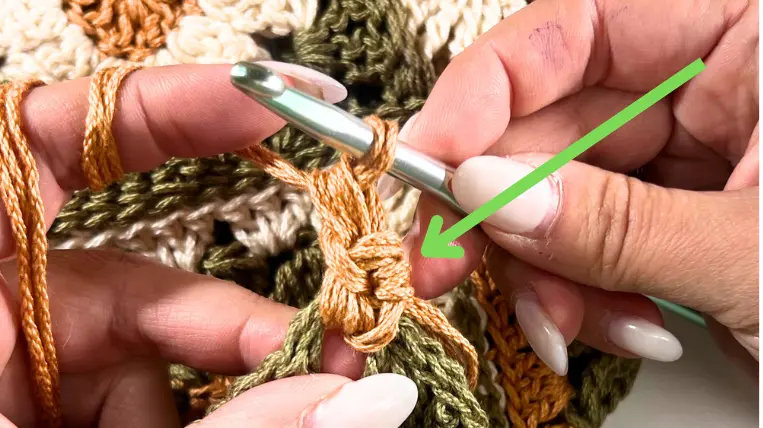
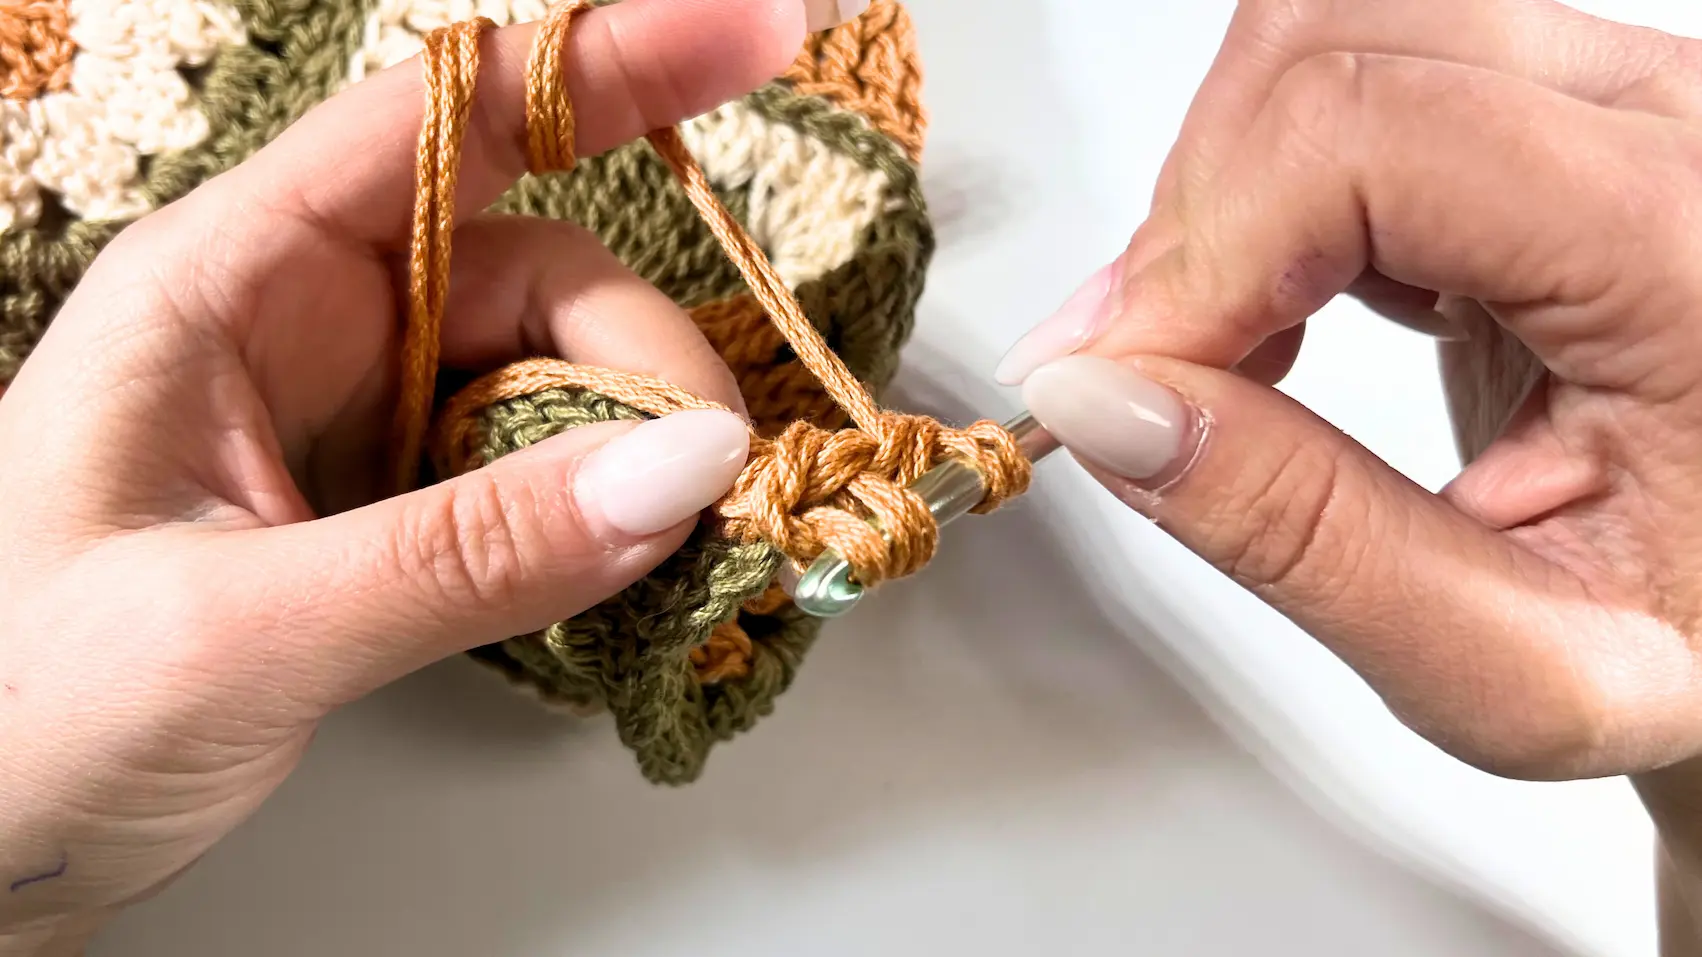
Begin by inserting your hook into the top (ch 2 space) side of the bag from the inside. Attach your yarn and pull it through, then use your tail to make ch 1 (keep your tail at the bottom and work around it) and Single Crochet.

Next, rotate the project clockwise to view the strap from the opposite side, then insert the hook into the ch 1 and make a SC as shown in the pictures below.
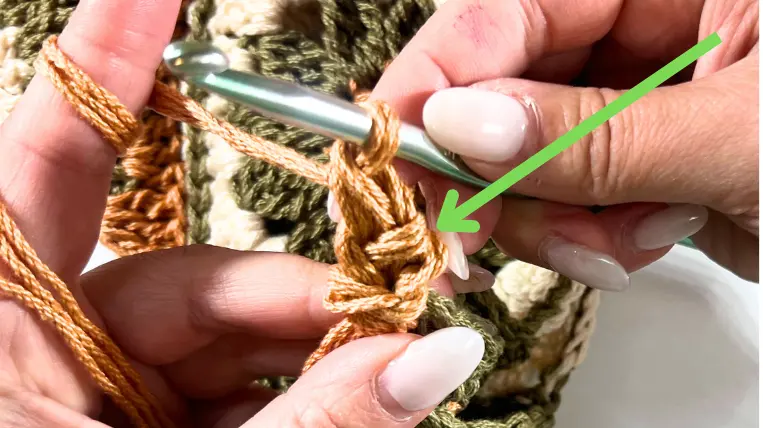
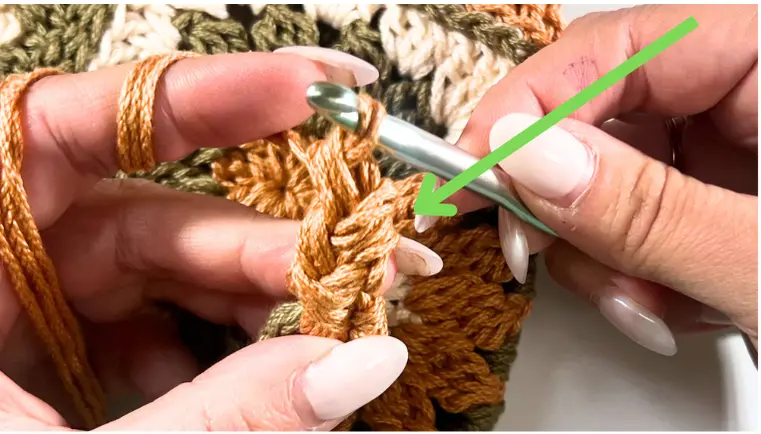
After making a single crochet (SC), continuously turn the strap clockwise and insert the hook into the 2 loops (one loop is from the three strands) as indicated by the green arrow, and then make a single crochet (SC).
After achieving the desired strap length, attach it to the opposite side of the bag, ensuring it isn't twisted.
TA-DA, your Meadow Daisy Bag is now finished!
I hope you enjoyed making your Meadow Daisy Bag as much as I loved designing it! If this project brought a little extra joy to your day, I’d be so happy if you gave this post a like, left a comment, or shared it with a fellow crochet friend. And don’t be shy—if you have any questions or need help along the way, feel free to reach out. I’m always here to help!
I’d love to see how your Meadow Daisy Bag turned out! Feel free to tag me on Instagram @happyheartsy so I can share your beautiful creations with the crochet community. Seeing your finished bags truly makes my day.