
How to Crochet the Spider Stitch – Easy Textured Stitch Tutorial for Beginners
- Jun 6, 2025
- 3 min read
Updated: Jan 13
If you’ve ever tried the V-Stitch and loved its versatility, then the Spider Stitch might just be your new favourite. It has a very similar structure, but with a slight shift in placement that creates a denser, more textured finish. This simple variation turns basic stitches into something that looks almost advanced — perfect for projects that feel cozy and polished without complicated techniques.
Whether you're making a scarf, dishcloth, or full blanket, this stitch brings a soft, modern texture to your work. I’ll walk you through it step-by-step, and if you’re curious, you can check out my V-Stitch tutorial here to see how they compare!

If you wish to support my work you can do so with Buy Me a Coffee (my version is Buy Me Yarn, you know why:) ).
It's a symbolic amount that supports me in maintaining my blog and producing more free content for you. Find out more by clicking the link or button.
BIG THANKS for everyone who supports me by purchases, likes, shares, comments, tags or/and feedbacks! It means a lot to me.
This post contains affiliate links for the yarns I used and truly love. It also displays ads. I may earn a small commission if you choose to make a purchase through these links or interact with the ads—at no extra cost to you. The revenue I earn through ads and affiliate links helps support my small business and allows me to continue sharing free crochet patterns and content with you. Thank you so much for your support—it truly means the world to me.
All patterns and images in this post are for personal use only. They may not be sold, copied, or claimed as your own. You’re more than welcome to comment, like, or share this post with others!
Before we get into the actual pattern, I also created the Ultimate Crochet Hack Sheet! It's 2 pages with basic crochet abbreviations and symbols, hook sizes in US and UK versions, all the yarn types (with recommended hooks and projects), etc. Feel free to click on the pic or a link to my shop where you can find more details.
Video Tutorial
Check out my YouTube video tutorial where I cover everything. It's a fantastic complement to any written pattern. You're welcome to leave feedback in the video comments.

Recommended Materials
In this tutorial, I use LionBrand Cotton24/7 cotton yarn. I find that the texture stands out more with cotton yarn, and its bright colours are beneficial during tutorials. For this yarn I use a 4mm/G-6 crochet hook.
However, if you're new to crocheting and just practicing, I highly recommend using any solid color acrylic yarn that works with a 5mm/H-8 hook size.


Below is the crochet chart for the Spider Stitch. It's an excellent method for learning to read crochet charts, and understanding written instructions can sometimes be beneficial.


Directions for Spider Stitch
Start with Foundation Chain (FCH) with any even number.

ROW 1 - Start with SC into the 2nd ch from the hook. Into the next chain, work your combination of SC+CH1+SC. Skip the next ch, and into the next one, repeat SC+CH1+SC. Repeat this until the end of the row.


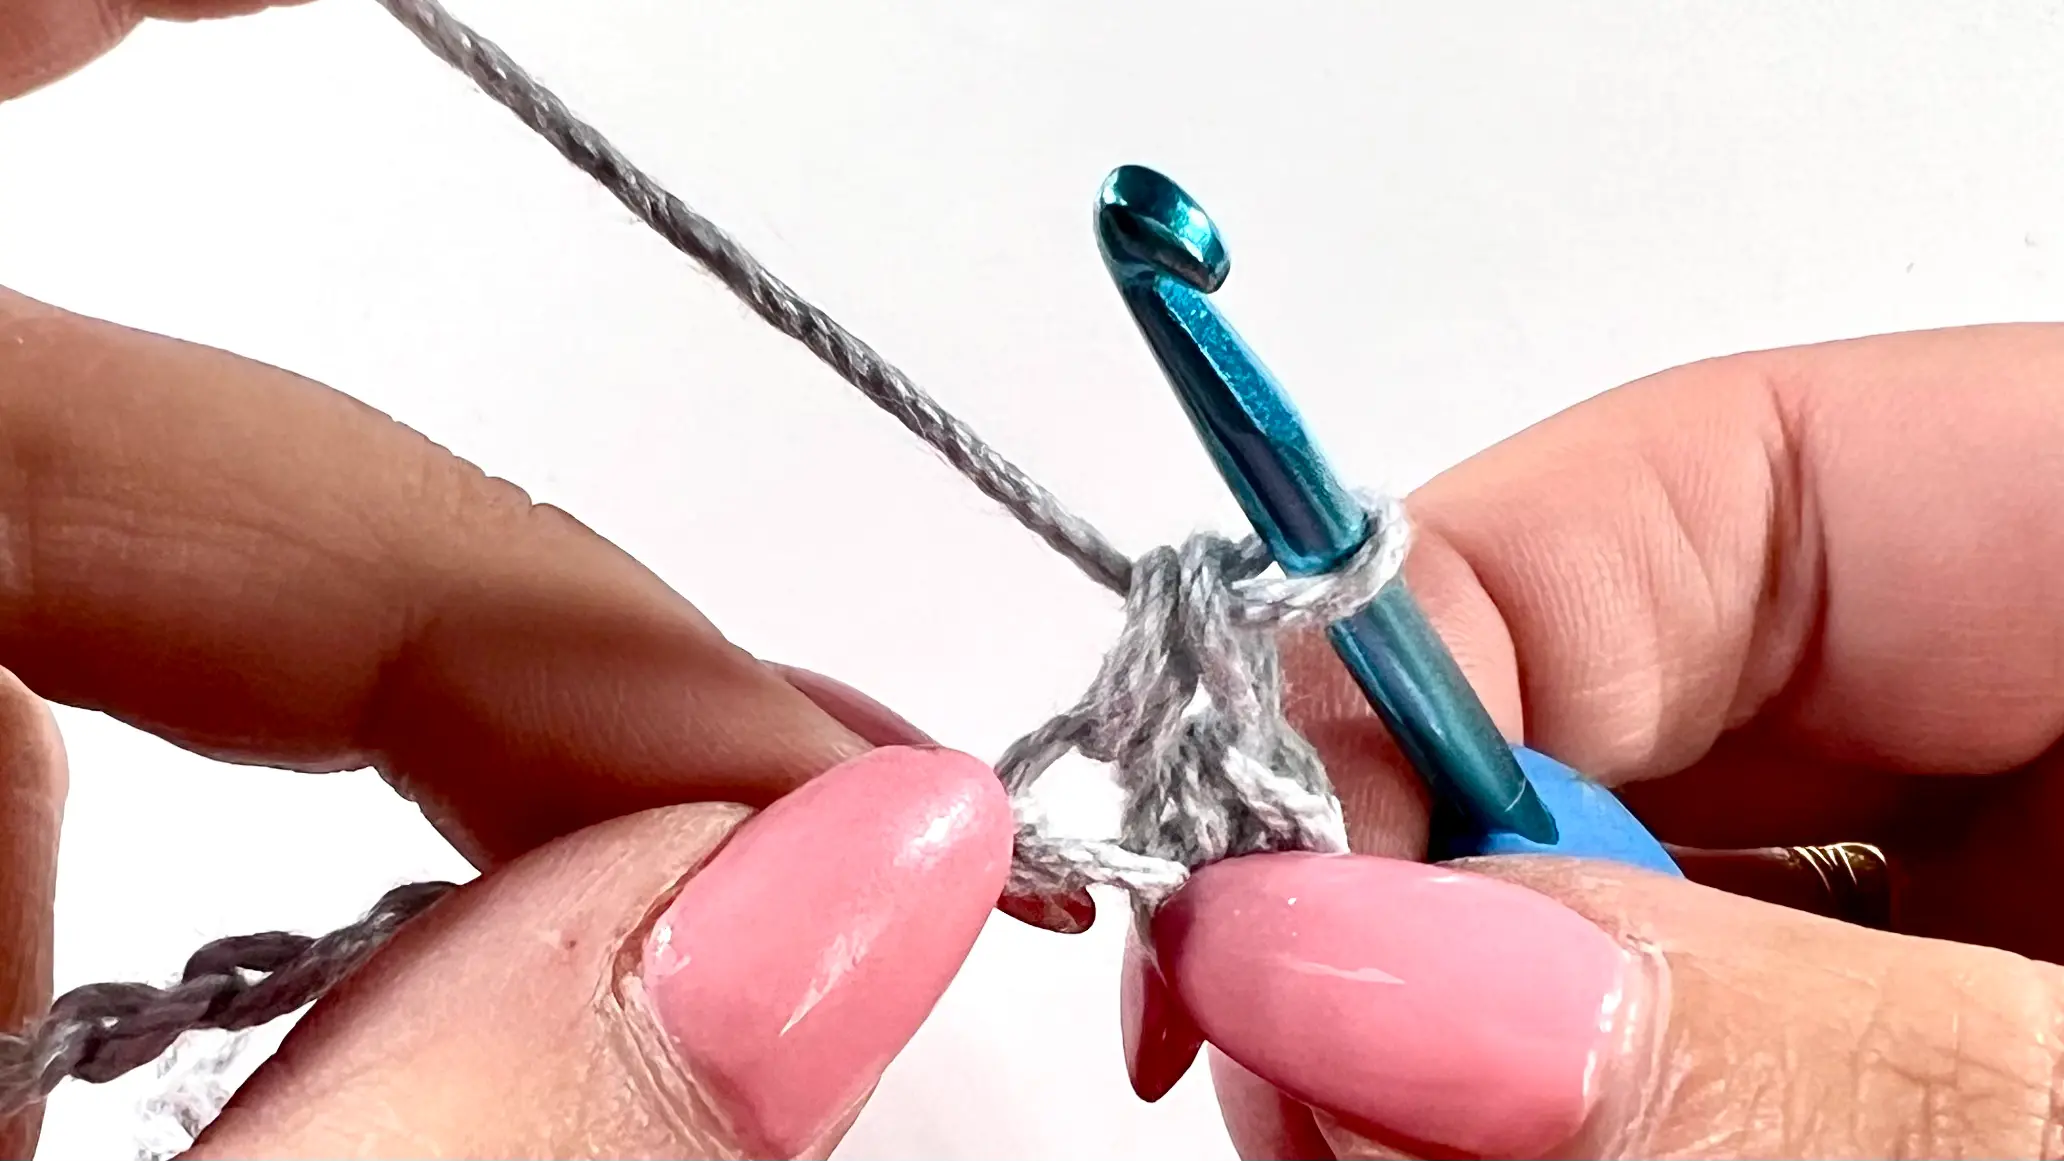


Once you reach the end of the row, you should have 1 last ch left. Into the last ch, make your SC. Ch 1 and turn the project.


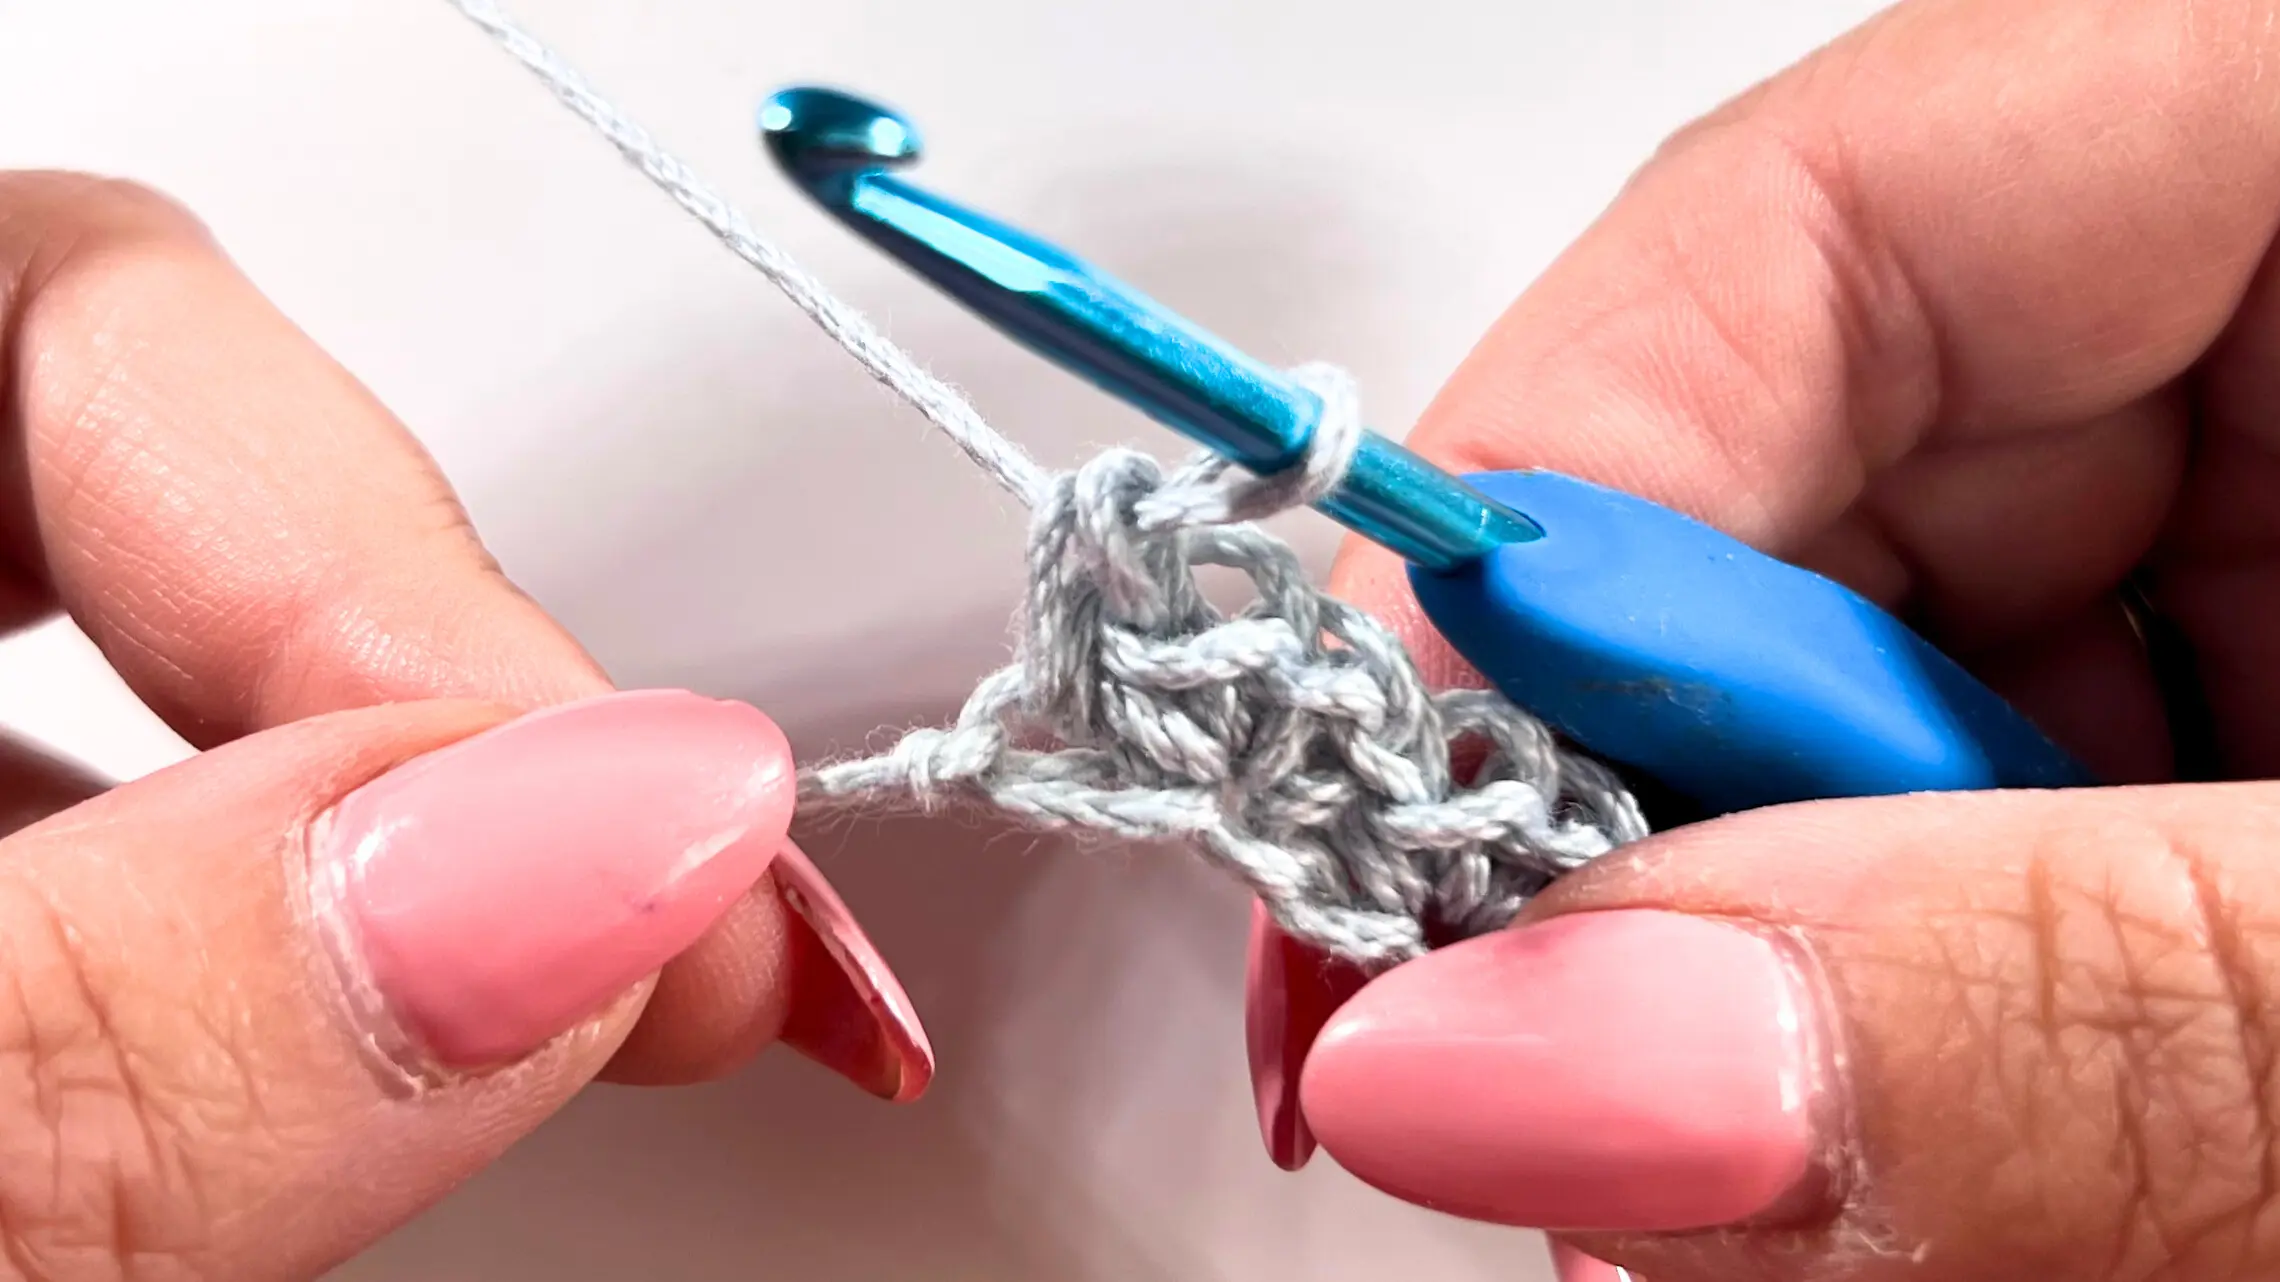
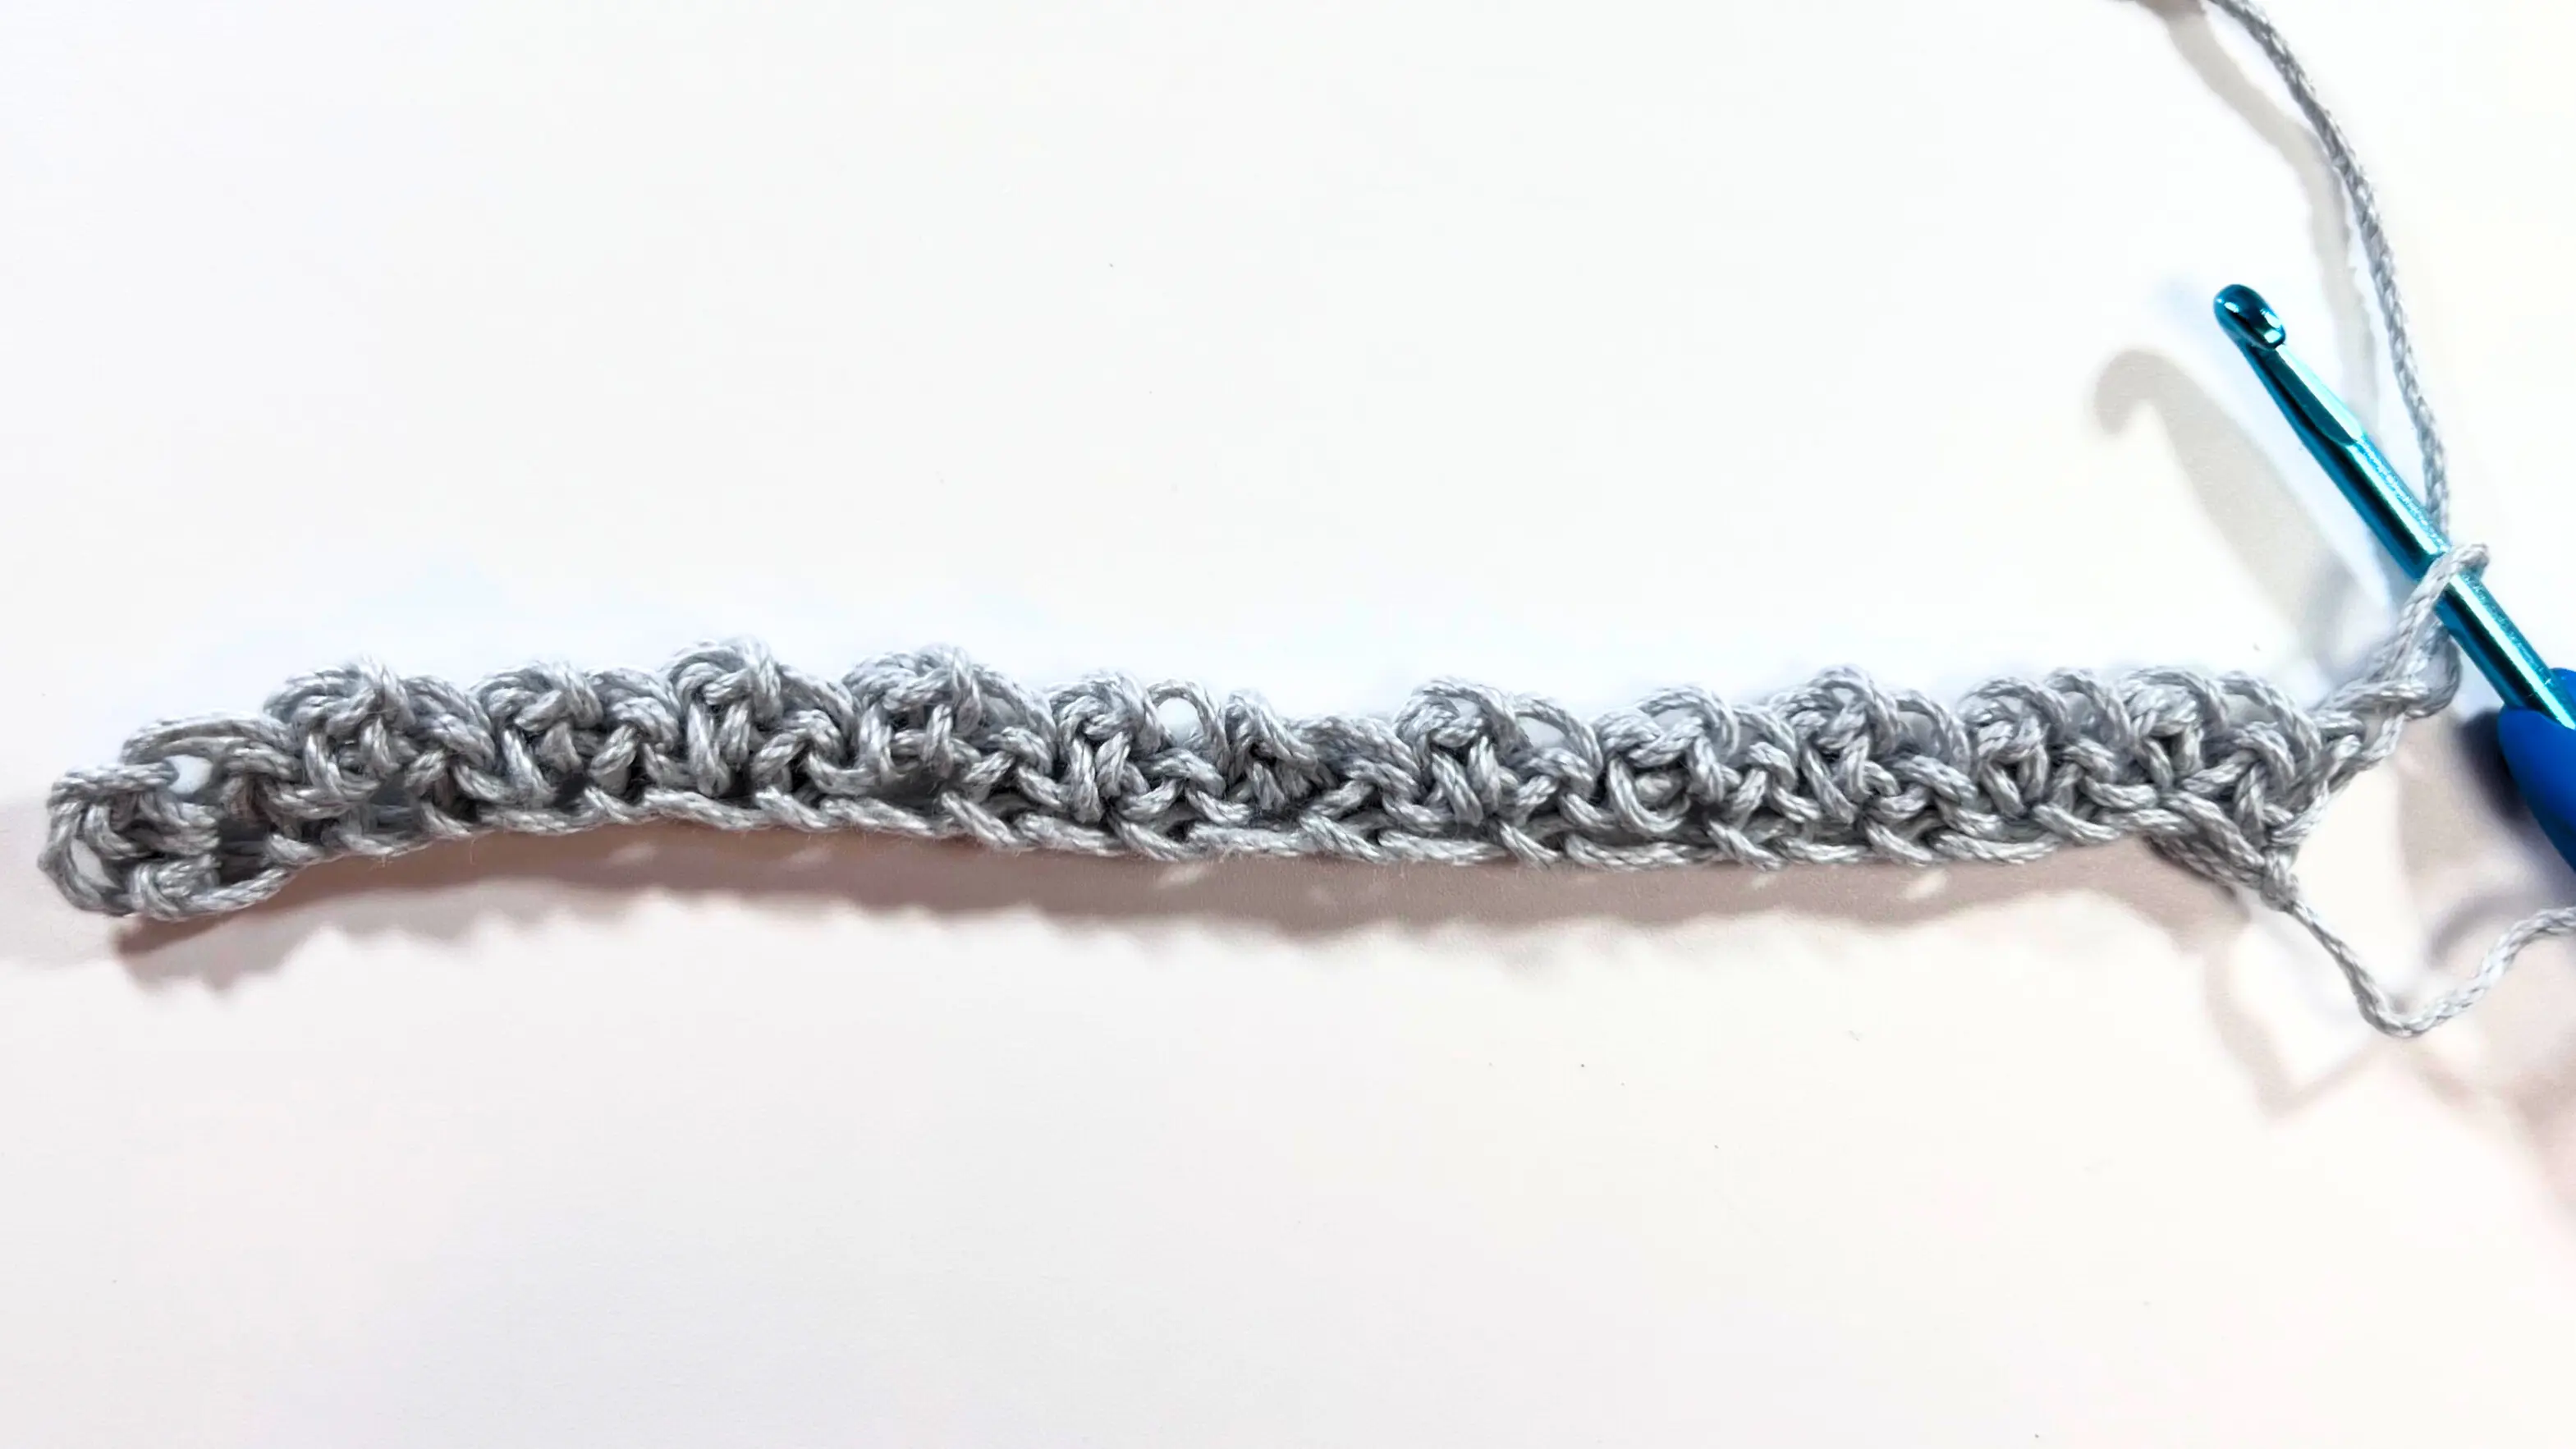
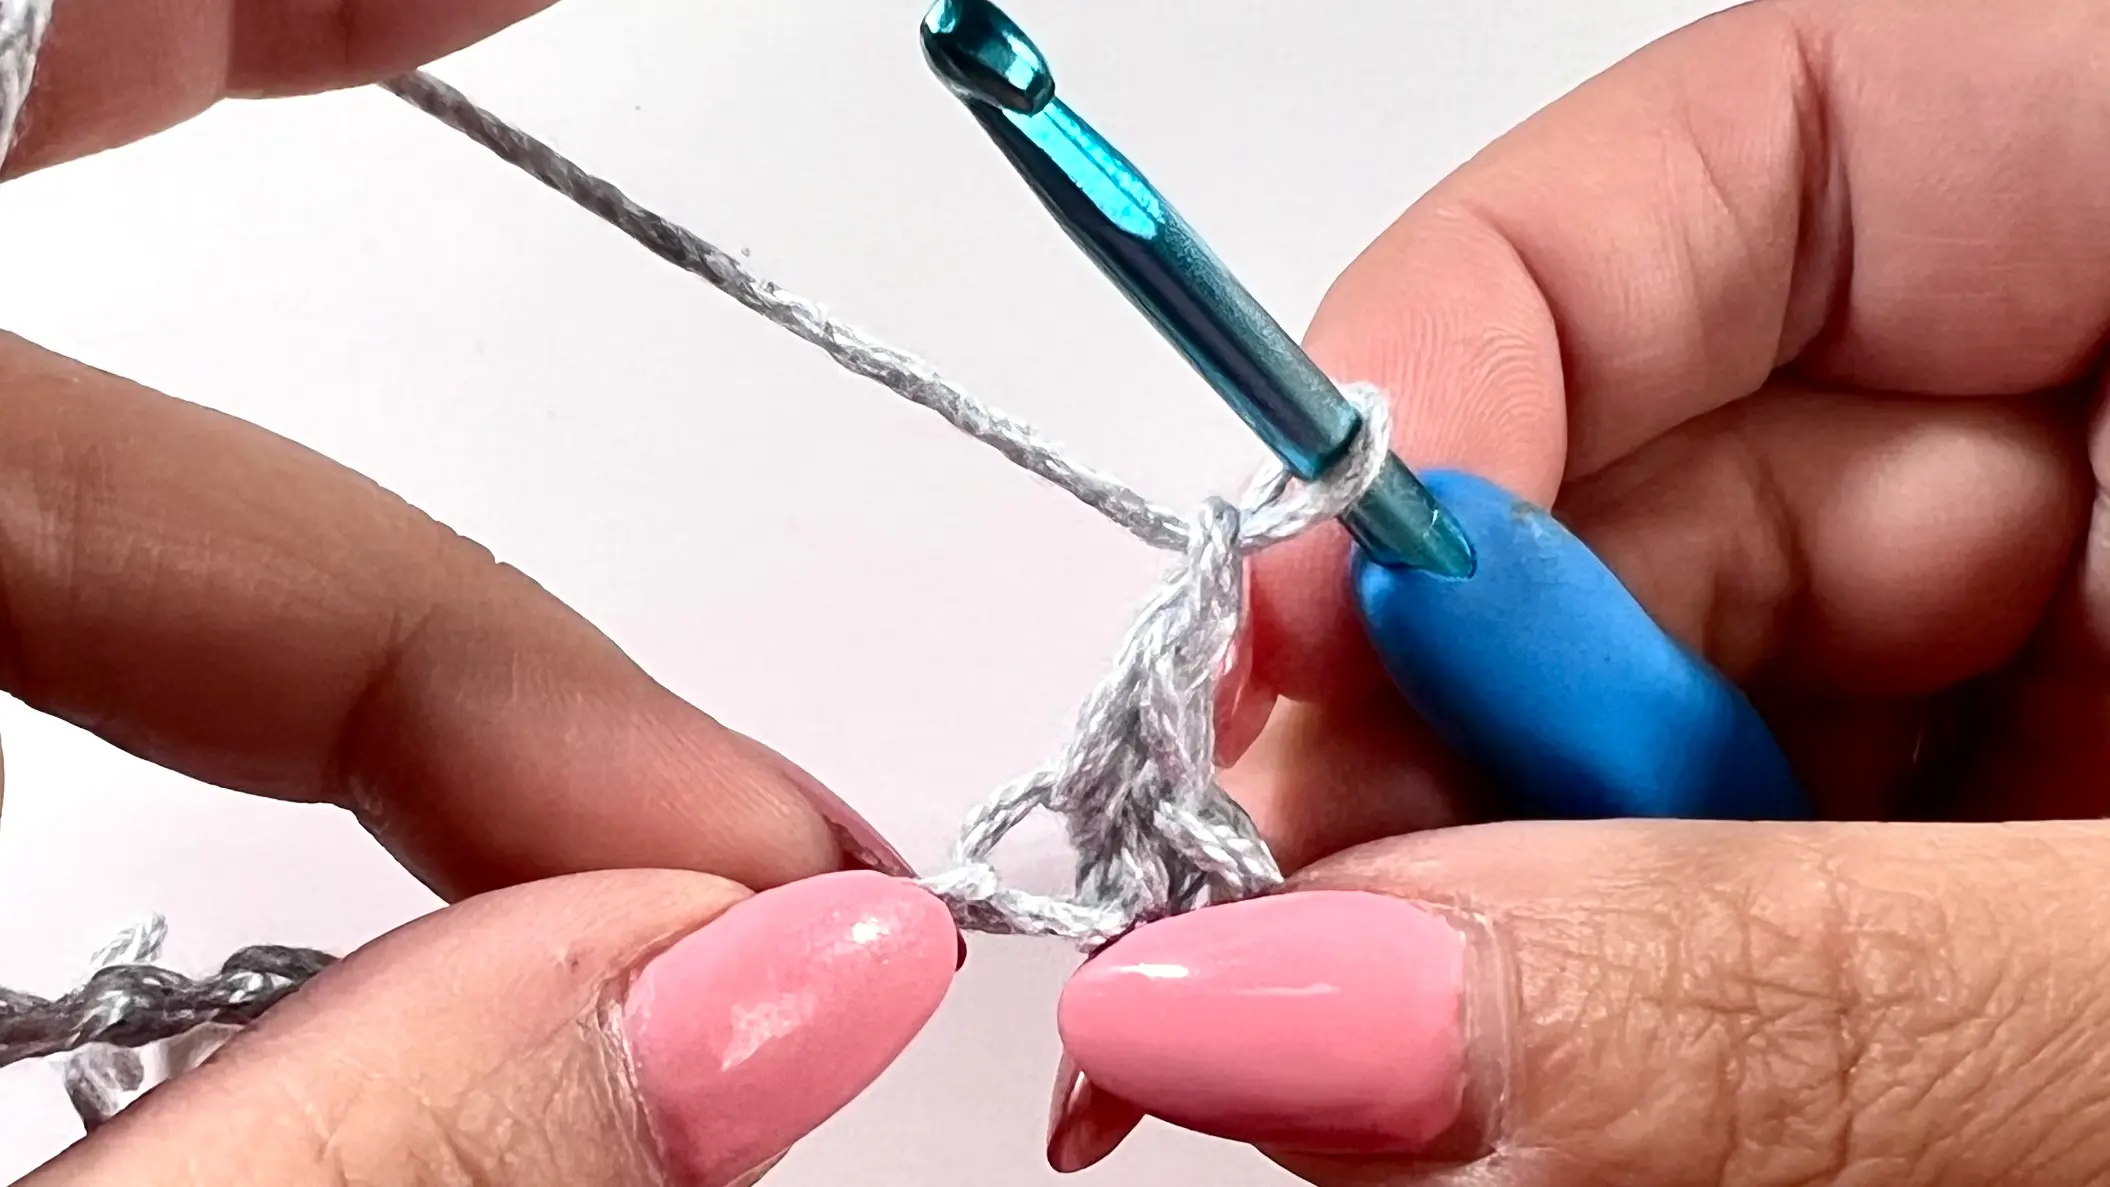
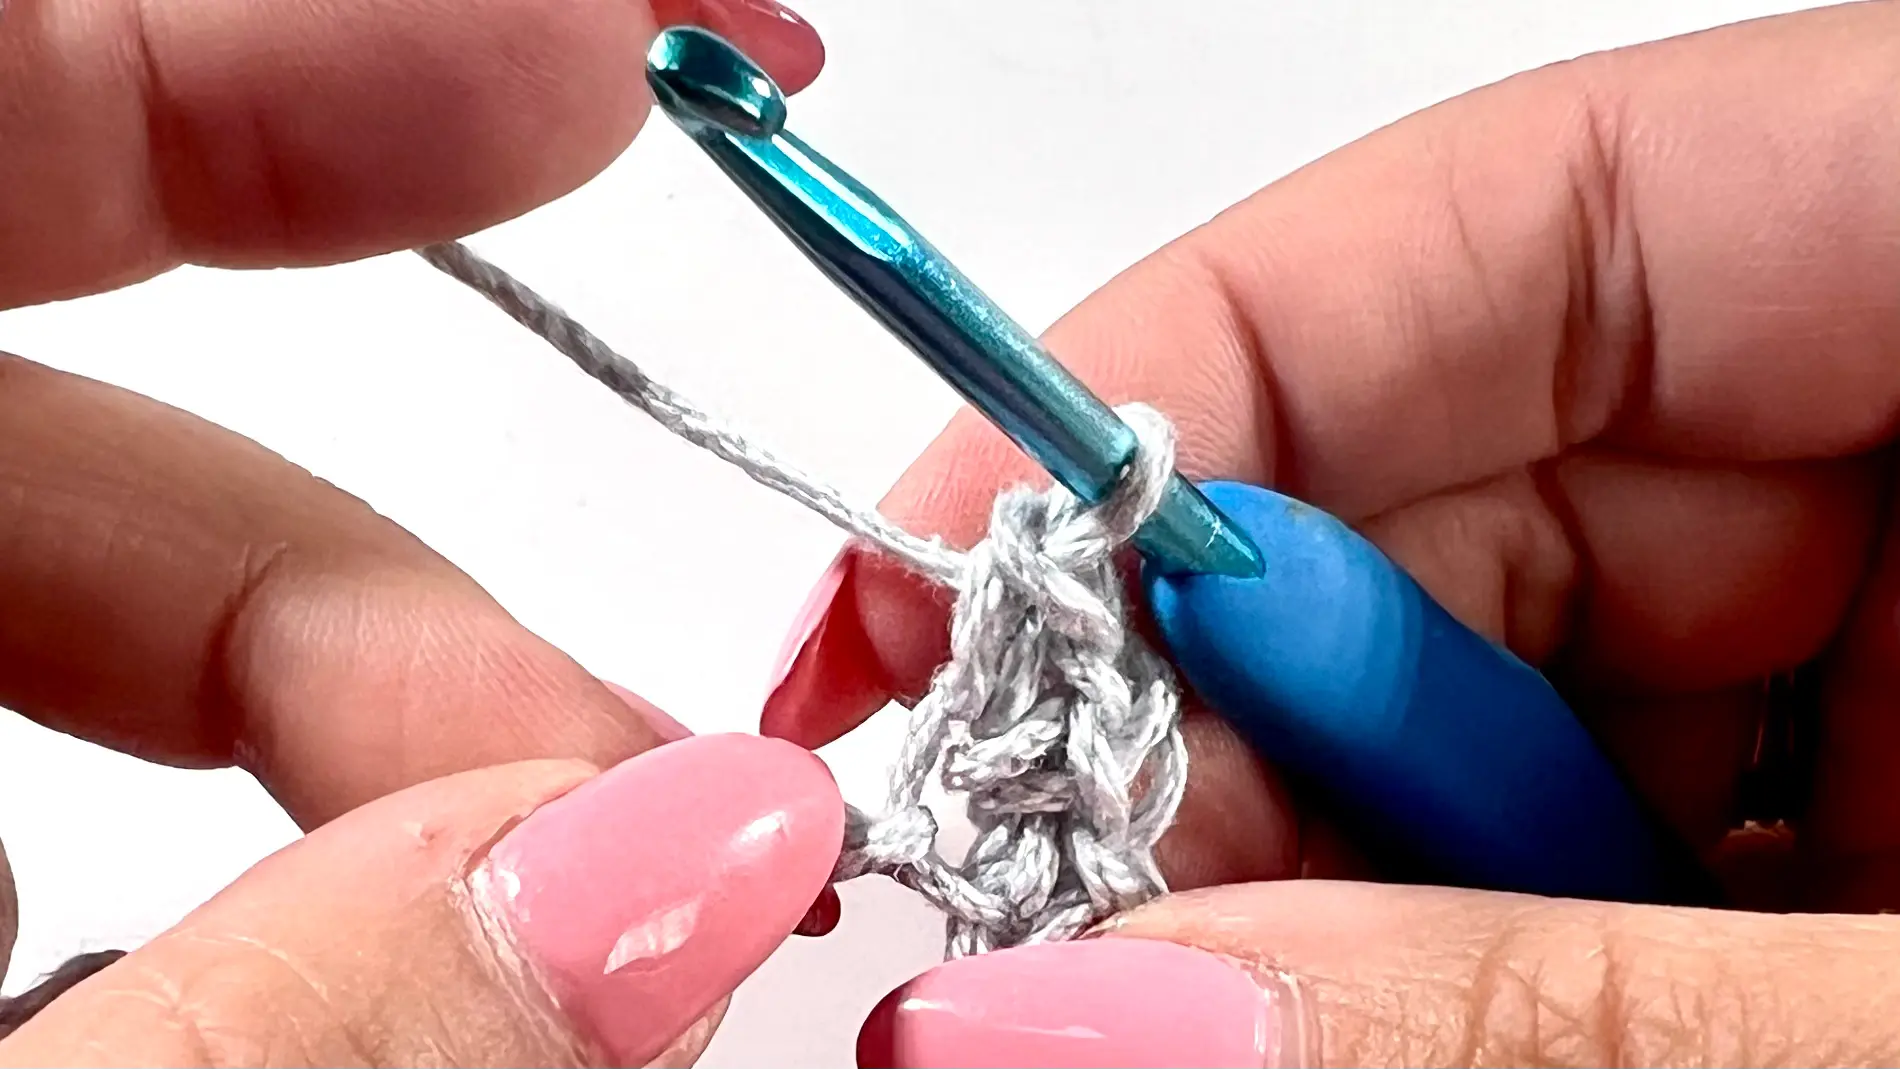
ROW 2 - Start by making your first SC into the initial stitch. Then, create your Spider Stitch (a combination of SC, Ch1, and SC) in the chain 1 space of the first V-stitch from the previous row. Continue to work your Spider Stitch into the chain 1 space of each Single Crochet V-Stitch until you reach the last one, where you will finish with a SC.


ROW 3 - until your desired length - .Repeat ROW 2.
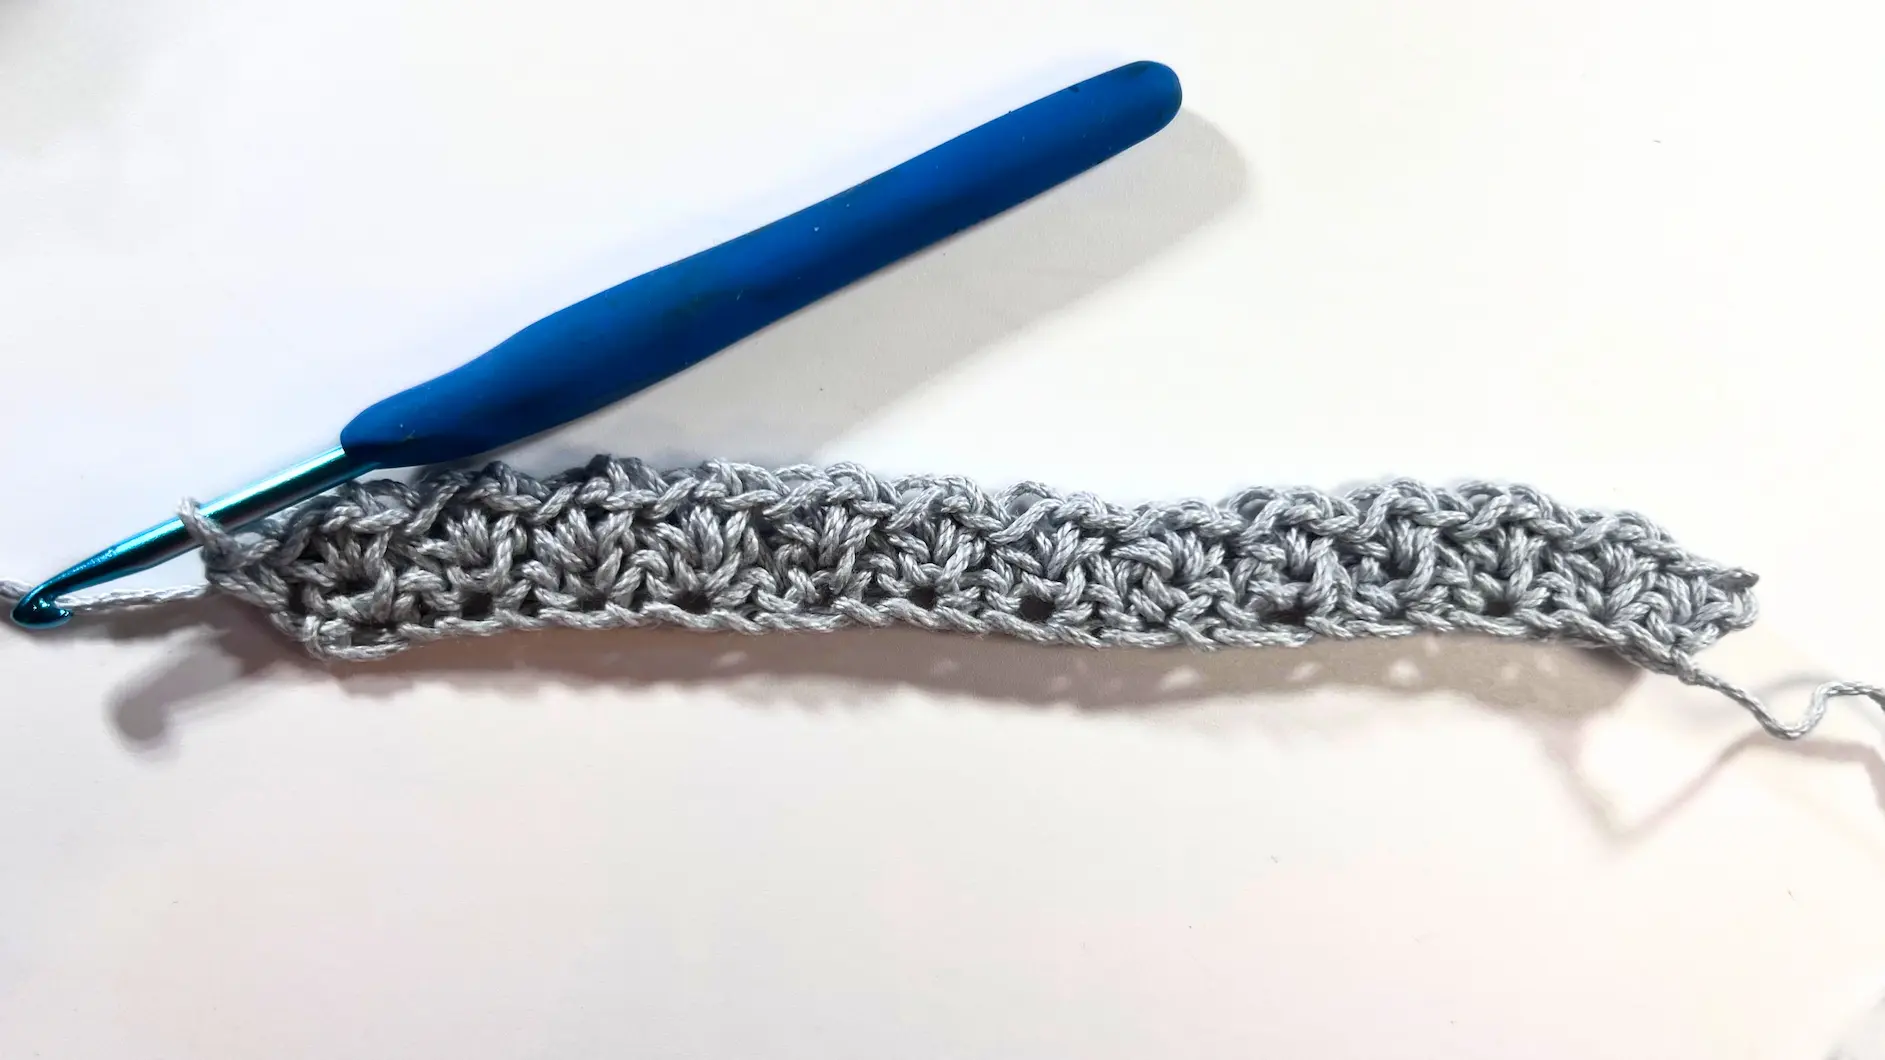
And that’s a wrap on the Spider Stitch! 🕷️✨ With its simple one-row repeat and lovely texture, this stitch is a fun and relaxing one to work up. It’s perfect for blankets, washcloths, scarves — or even just swatching for the joy of it. Scroll down to check out close-up photos of the finished swatch and start imagining all the beautiful ways you can use it in your next crochet project!
If you enjoyed this tutorial, I’d love to hear from you! Leave a comment below and let me know what you’re making, or tag me on Instagram @happyheartsy — I’d be so happy to see your lovely creations. And if you think a fellow crocheter would love this stitch too, feel free to share this post with them 💗


Comments