
How to Crochet a Snuggle Hooded Baby Towel – Free Pattern & Easy Tutorial
- May 23, 2025
- 8 min read
Updated: Apr 14
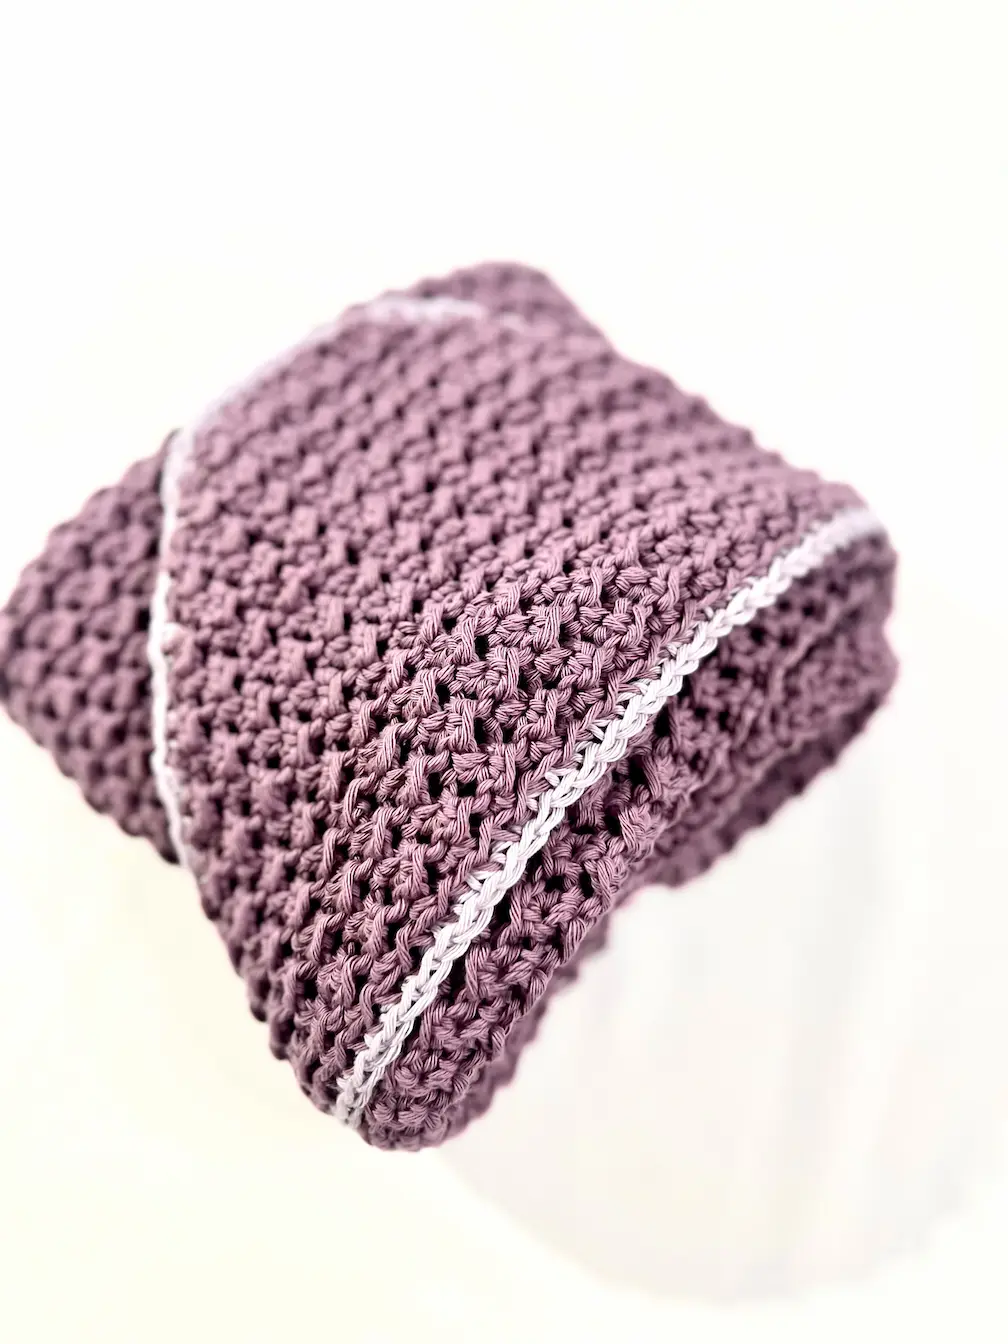
Looking for the perfect handmade baby gift? This Snuggle Hooded Baby Towel is soft, cozy, and oh-so-practical – plus, it's made with one of my all-time favourite textured stitches: the Even Moss Stitch!
If you're new to this stitch or want a little refresher, I’ve got you covered with step-by-step tutorials:
In this pattern, we’re working the Even Moss Stitch using the C2C (corner-to-corner) technique to create that beautiful diagonal texture. Whether you’re crocheting for your own little one or making a thoughtful baby shower gift, this towel is a cozy and stylish choice that’s beginner-friendly and fun to make.
Let’s dive in!
If you'd like to support my work and get a printable, ad-free version of this pattern, please visit my shop or Ravelry.
If you like my crochet content but aren't interested in buying my patterns, that's perfectly fine. :) I offer my patterns for free on my blog so everyone can access them!
Additionally, there's an alternative way to support my work through Buy Me a Coffee (in my case, it's Buy Me Yarn, and you know the reason:) ). It's even cheaper than my current patterns. For more information, you can click the link above or the button below.
HUGE THANKS to everyone who supports me through purchases, likes, shares, comments, tags, or feedback! It truly means a lot to me.

This post contains affiliate links for the yarns I used and love and it also displays ads. I make a small commission if you purchase through these links or through the Ads which in no way affects the cost to you. The revenue I receive from Ads, and affiliate links, help me to support my small business which allows me to share my free crochet patterns/content with you. Thank you for your understanding and your support! It means a lot to me.
This pattern and all images associated with this pattern cannot be sold or claimed as your own.
You are allowed to sell finished project. Feel free to mention me for creating this pattern, it would make my day and I can share your finished blanket on my social media if you allow.
Don’t forget to share your project on Instagram! If you have your account you can tag me under
@happyheartsy. I would love to see your finished Snuggle Hooded Baby Towel so I can share it with others.
Before we get into the actual pattern I also created the Ultimate Crochet Hack Sheet! It's 2 pages with basic
crochet abbreviations and symbols, hook sizes in US and UK version, all the yarn types (with recommended hooks and projects) etc. Feel free to click on the pic or a link to my shop where you can find more details.
What you need for this Snuggle Hooded Baby Towel:
Hooks - 5mm
Scissors, Yarn Needle, Stitch Markers
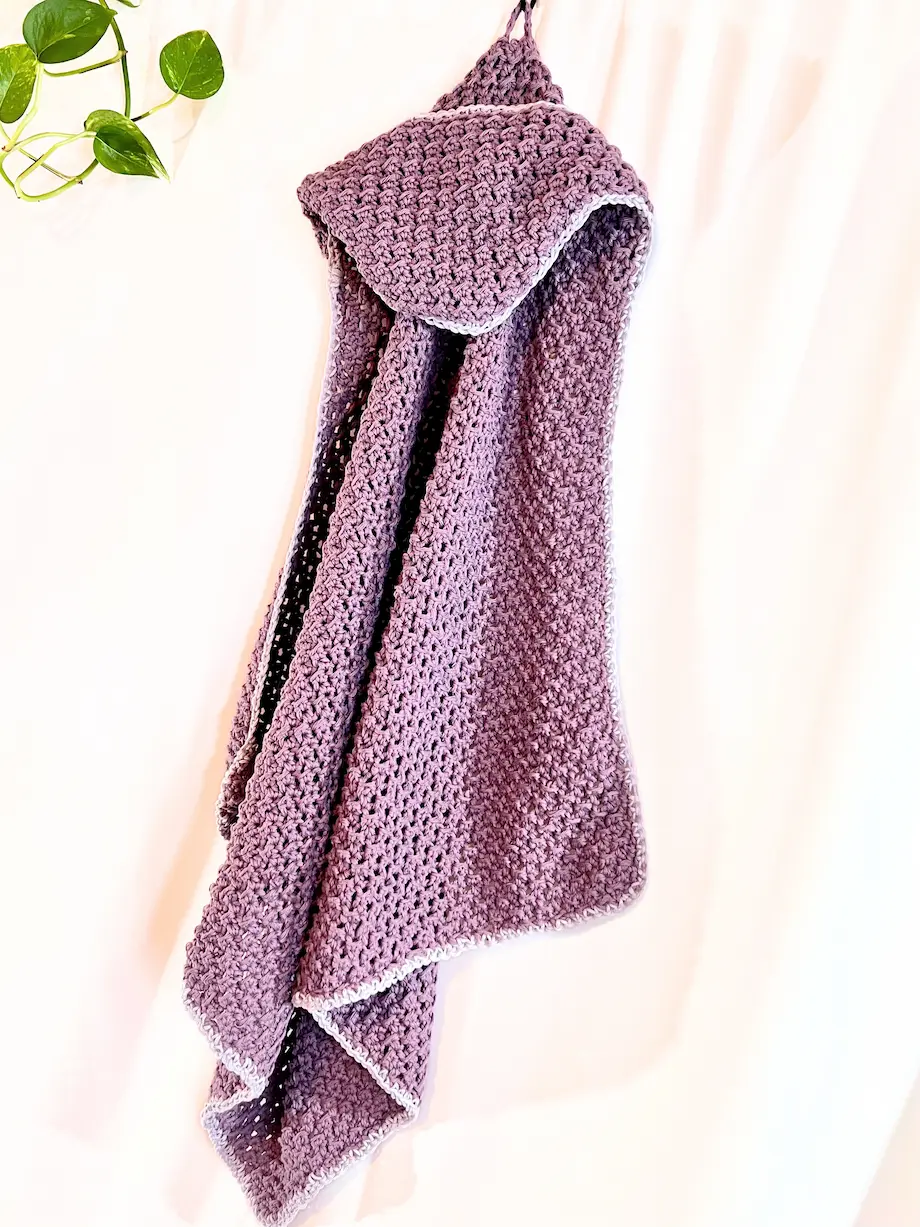
Measurements: from the top of the hood down to the bottom - 38" (28" across each side of the square towel)
Gauge: 15 sts x 10 rows = 4" (10 cm), measured along the side of the square (not diagonally from corner to corner).
Note: Exact gauge isn’t crucial for this project—just keep going until you reach your desired size!

NOTES:
You crochet from the bottom corner of the towel to the other corner (C2C in Even Moss Stitch)
You always make ch 1 at the end of each row, counting as a turning chain only
Each row has always odd number of stitches
Abbreviations:
Ch - Chain
YO - Yarn Over
St - Stitch
HDC - Half Double Crochet
Sl St - Slip Stitch
Inc - Increasing
Dec - Decreasing
SC - Single Crochet

DIRECTIONS
Start with ch 2.
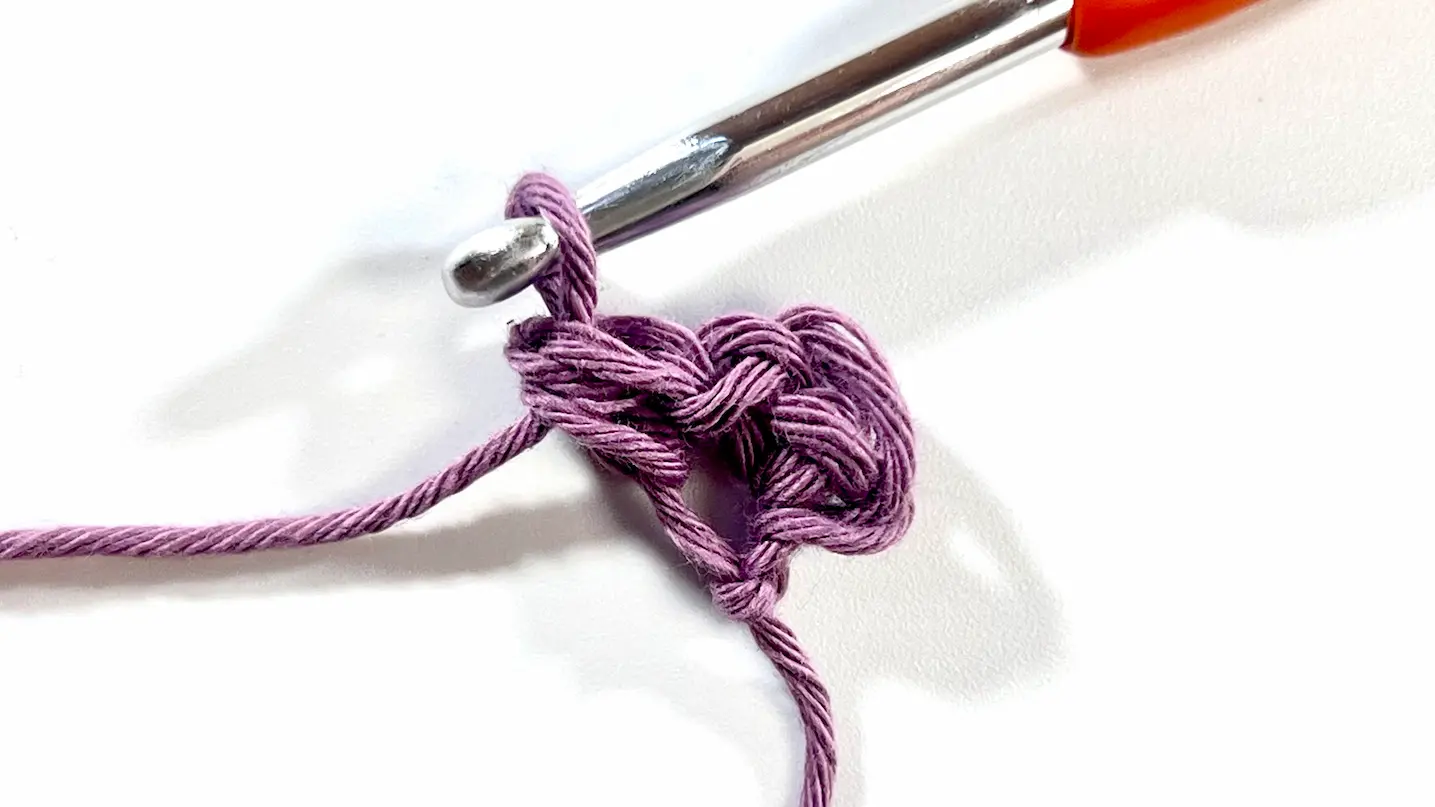
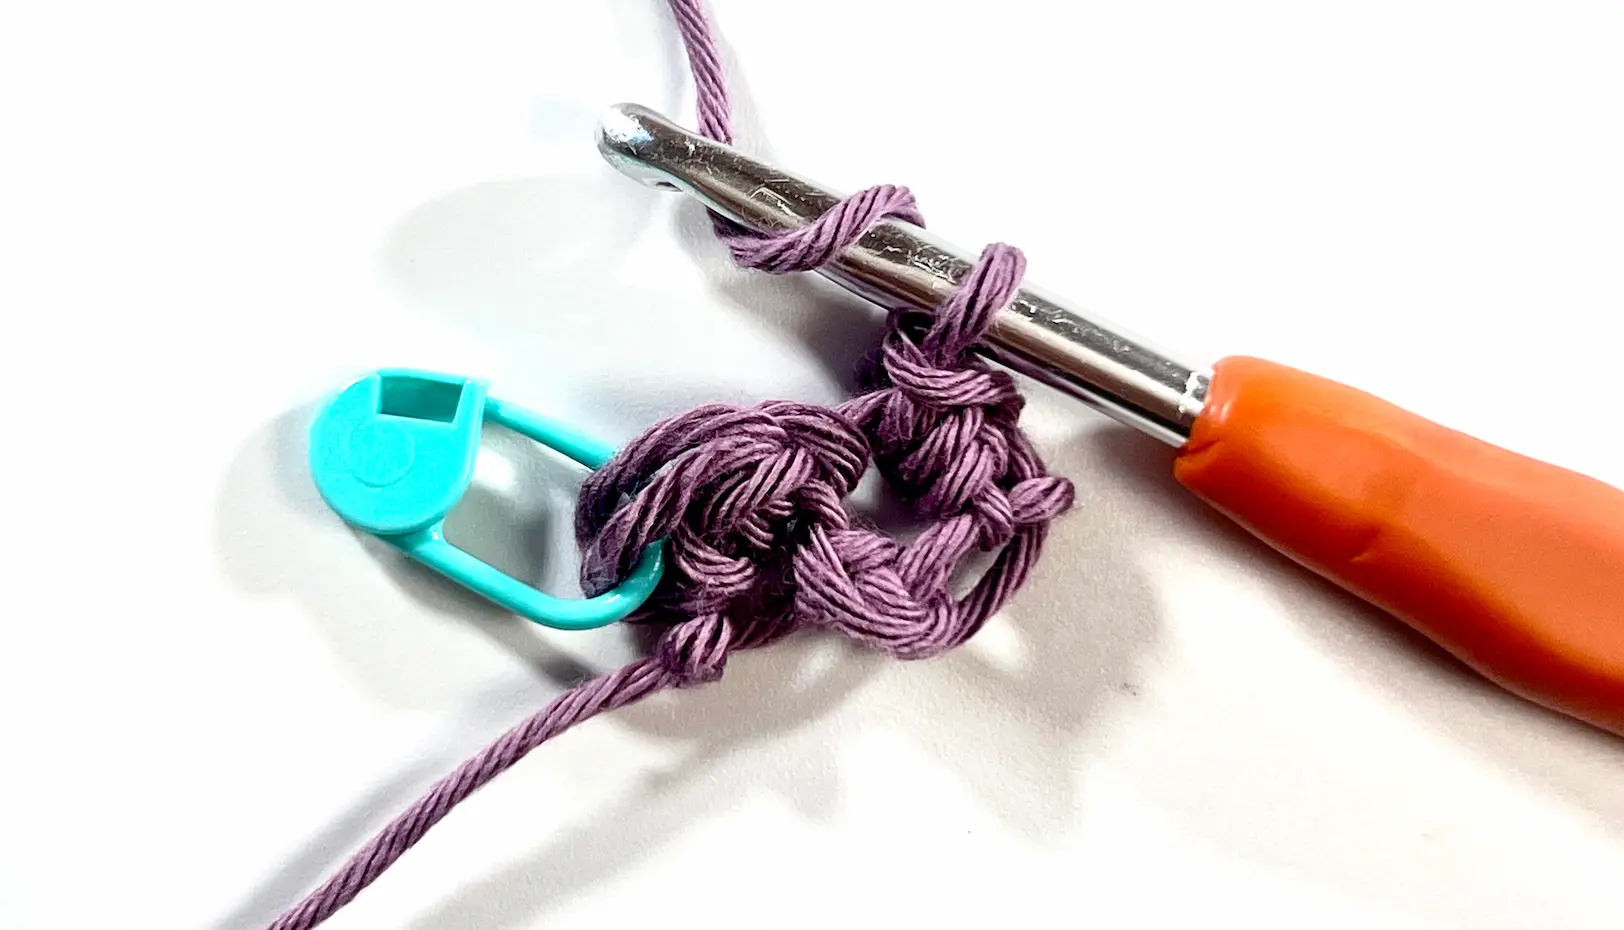
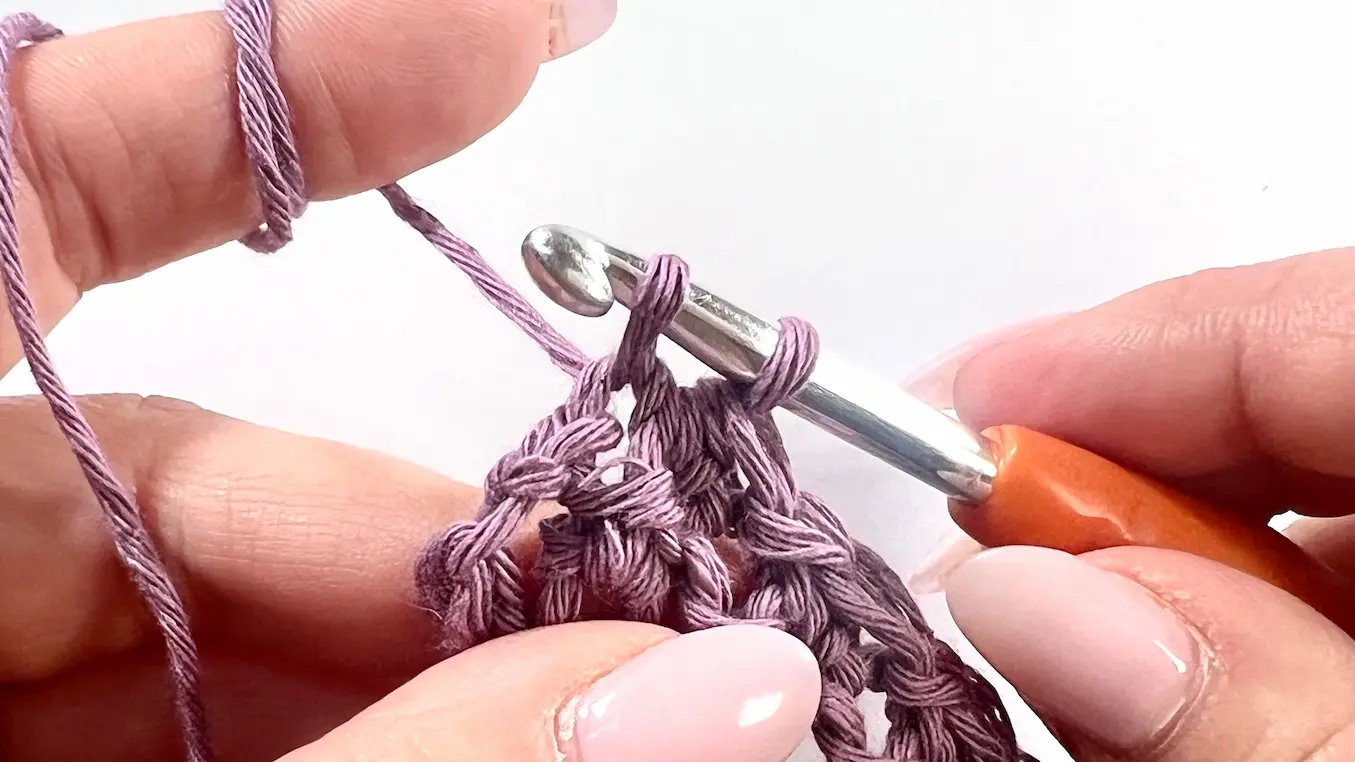
ROW 1 - In the first chain (ch), work a Half Double Crochet (HDC) followed by a Slip Stitch (Sl St) and another HDC, then chain 1 (this is just a turning chain). I strongly suggest placing a stitch marker in the first stitch of this row. You have 3 stitches in total.


ROW 2 - From this point, you'll be adding 2 stitches in each row—2 in the first stitch and 2 in the last stitch. That’s how you're increasing on both sides to achieve the square shape.
In the first stitch, work a HDC followed by a Sl ST, into the next stitch make HDC. In the last stitch, work a Sl ST followed by a HDC. Ch 1 and turn the project. In total you have 5 stitches.


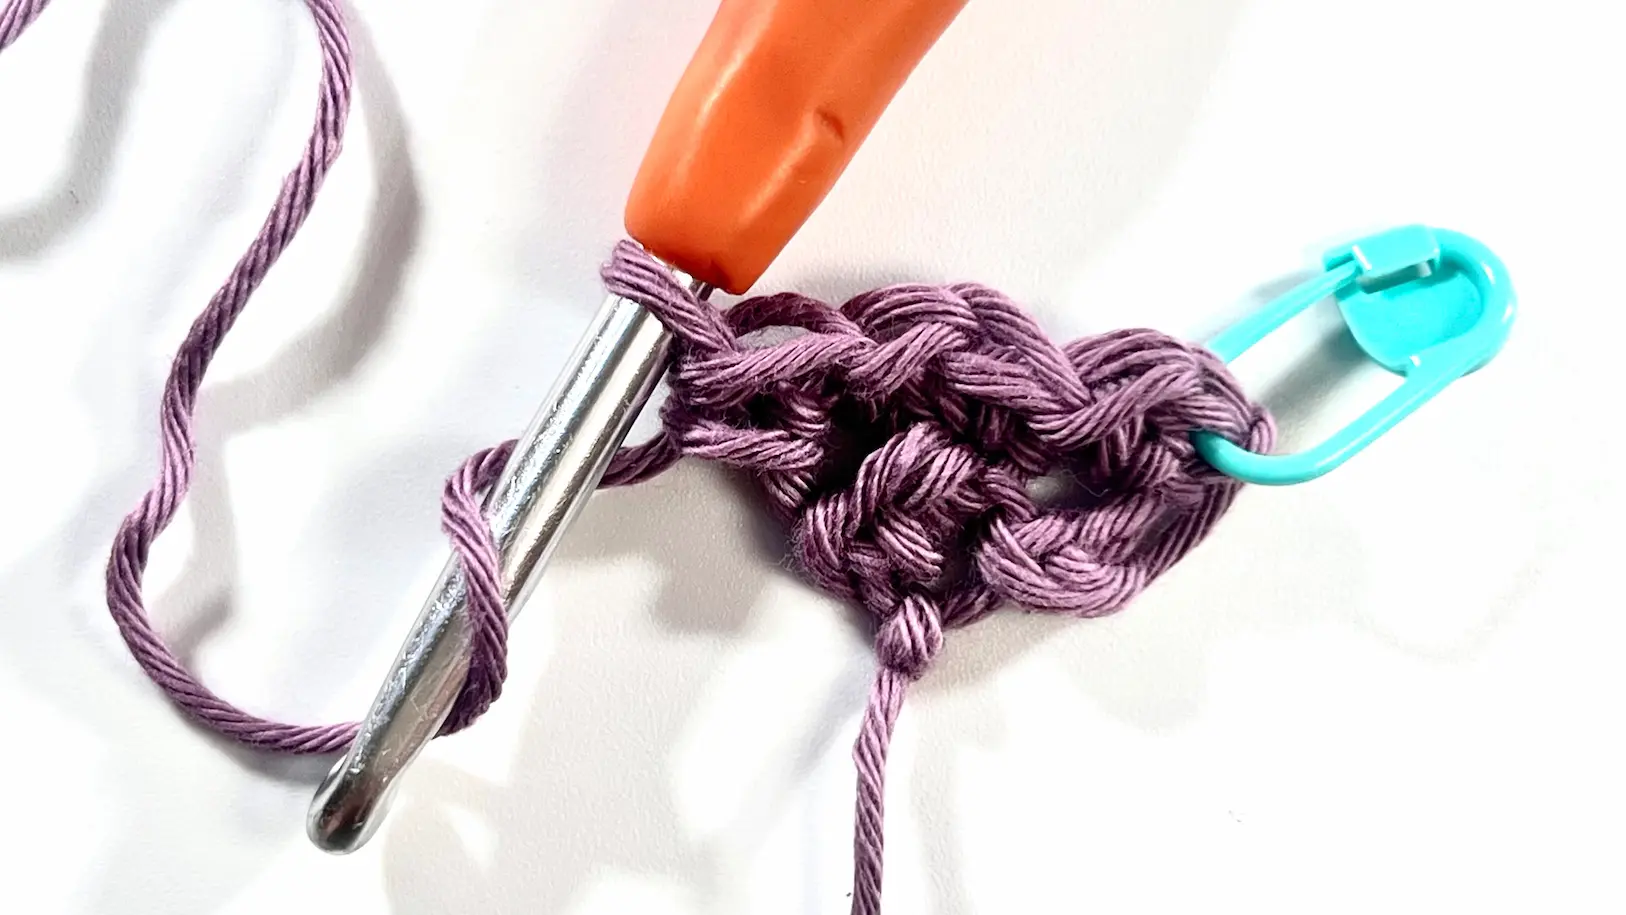
Remember to always perform the opposite stitch from the previous row and continue alternating HDC with Sl ST to achieve the correct texture.
ROW 3 - ROW 68 (or your desired length) - Continue repeating Row 2 until you reach the desired length. Always start with a HDC and a Sl St into the first stitch, then alternate HDC and Sl St across. In the last stitch, work a Sl St followed by a HDC.
Middle ROW 69 (or your desired length)
Once you reach the desired length—the first half of the baby towel—work one regular row without any increases or decreases. This row helps create the rounded corners.
For this middle row, start and end with a Sl St. Then ch 1 and turn the project.
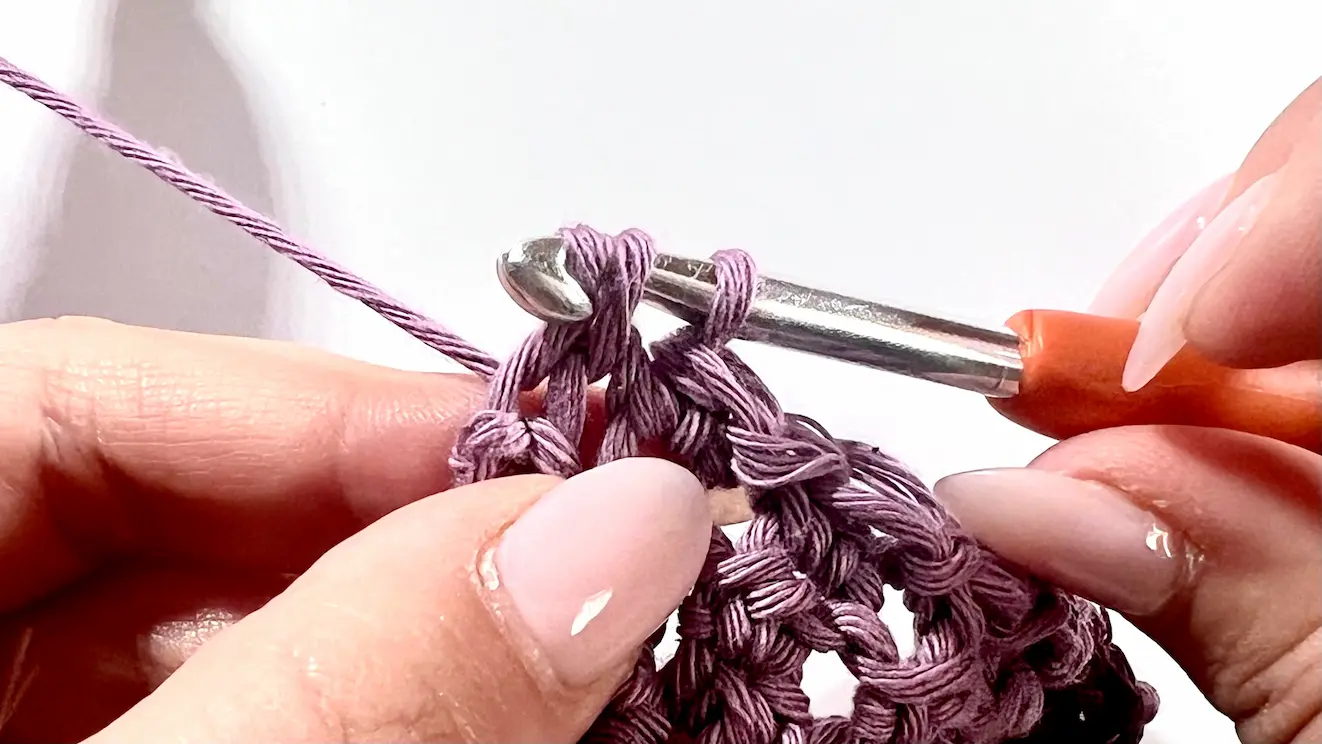
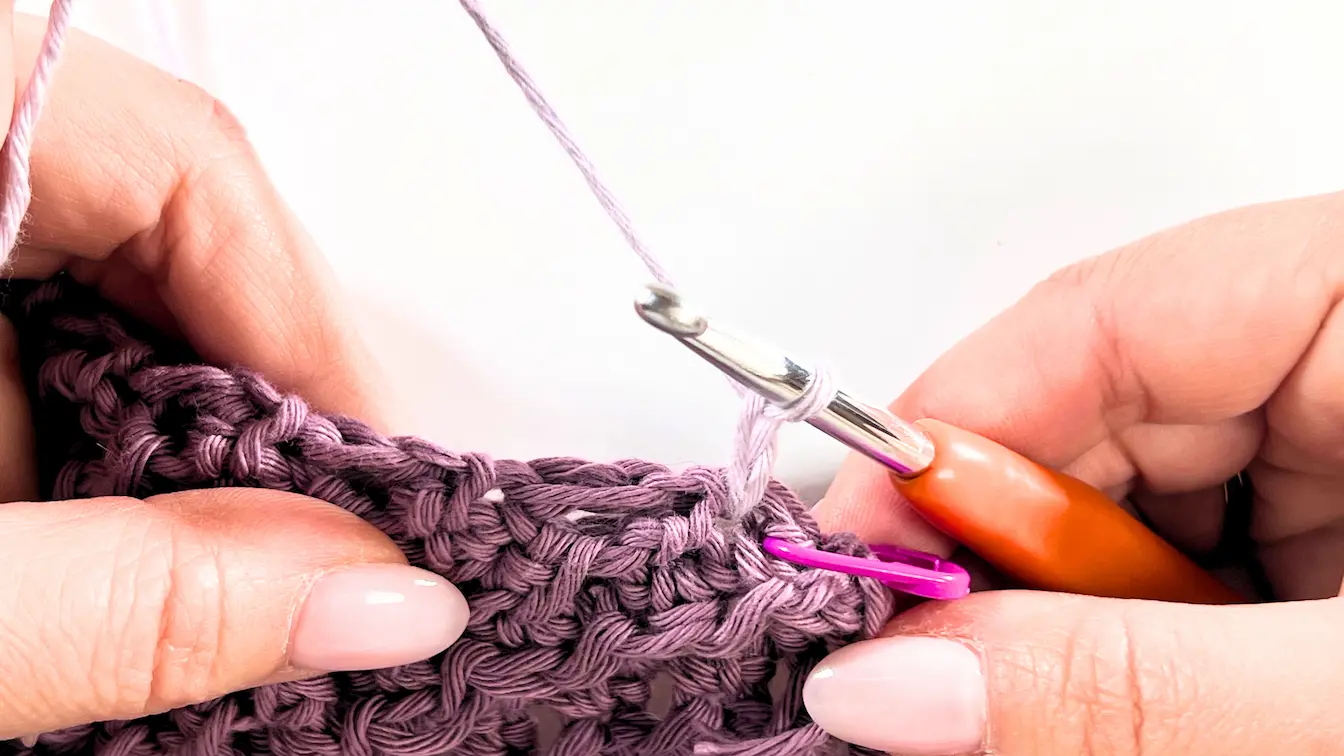
ROW 70 (first row of decreasing) - For the decrease rows, you'll always work over the first two and last two stitchesof the row.
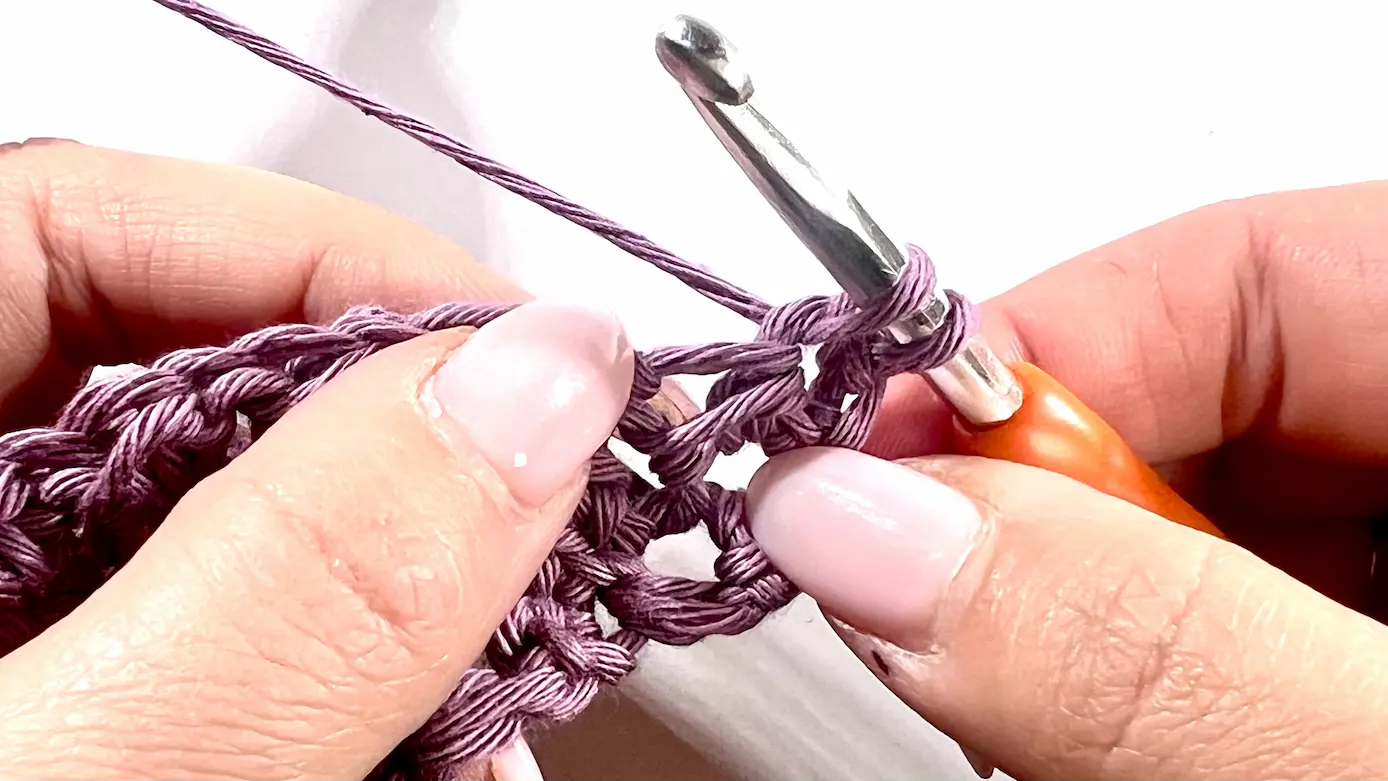
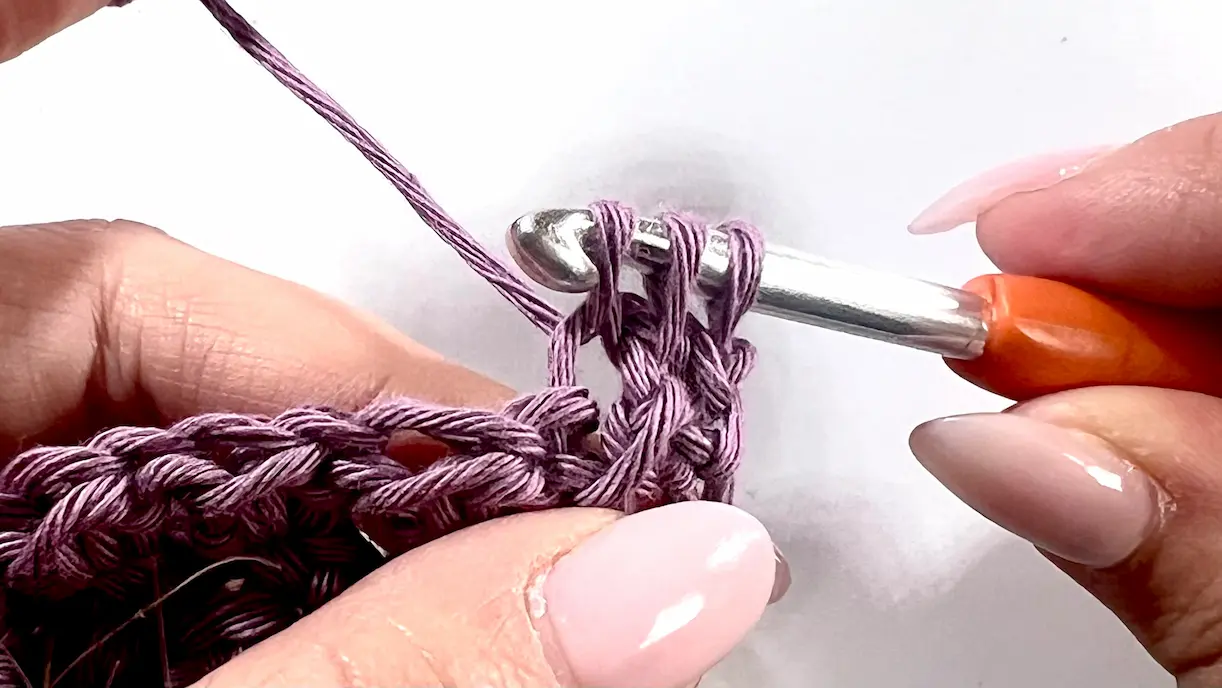
Insert your hook into the first stitch, yarn over (YO), and pull up a loop (2 loops on your hook). Then insert your hook into the next stitch, YO, and pull up another loop (3 loops on your hook). With the third loop, pull through the remaining two loops on your hook. That’s your first decrease of the row. Then, start with a HDC into the next stitch and continue alternating Sl St and HDC across the row.


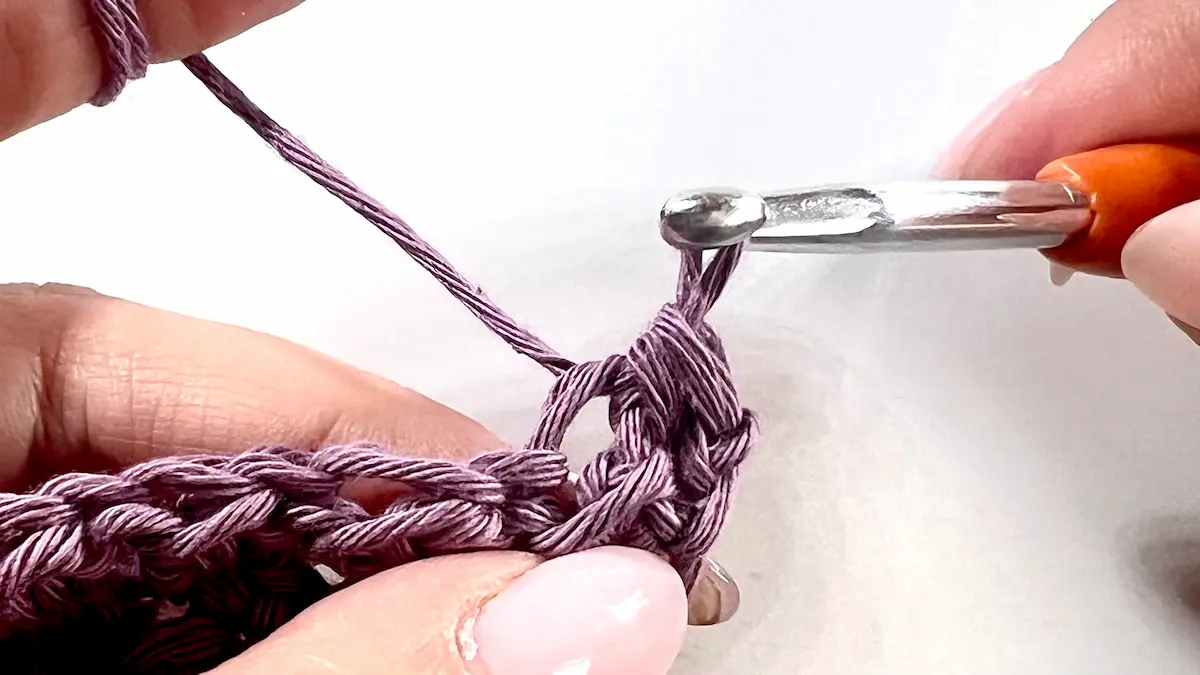
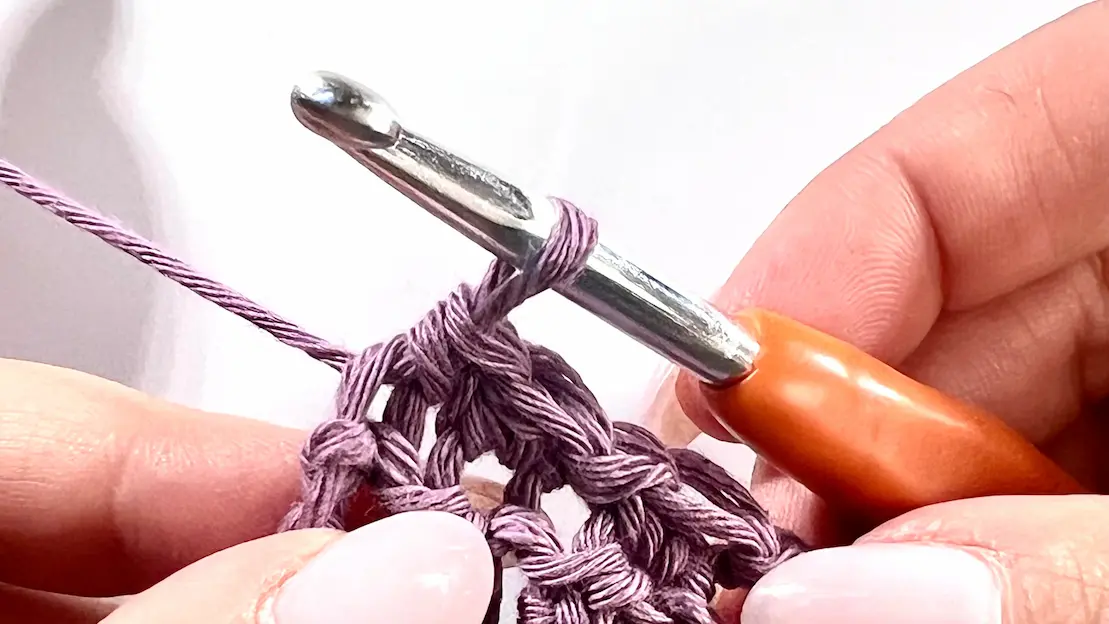
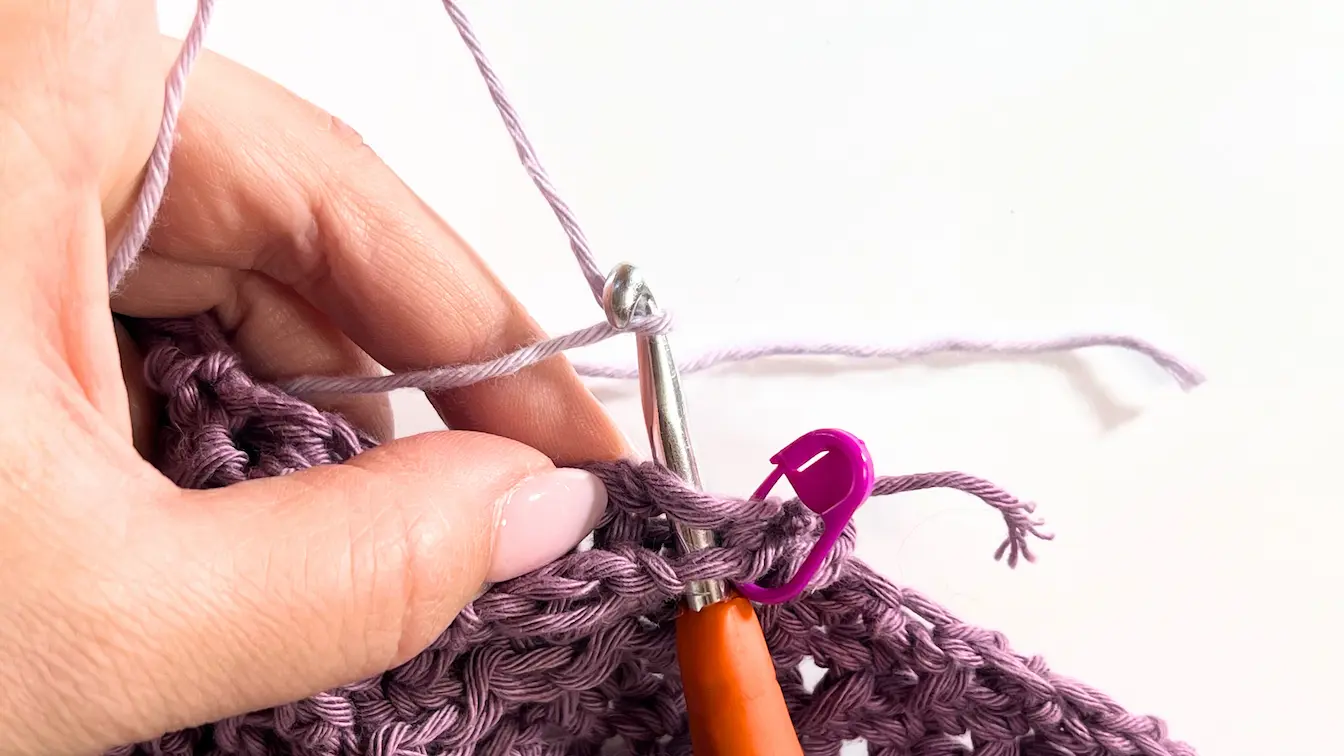
Once you reach the last two stitches, decrease the same way as at the beginning of the row:
Insert your hook into the second-to-last stitch, YO, pull up a loop (2 loops on your hook), then insert into the last stitch, YO, pull up another loop (3 loops on your hook), and pull through the remaining two loops. Ch1 and turn the project.
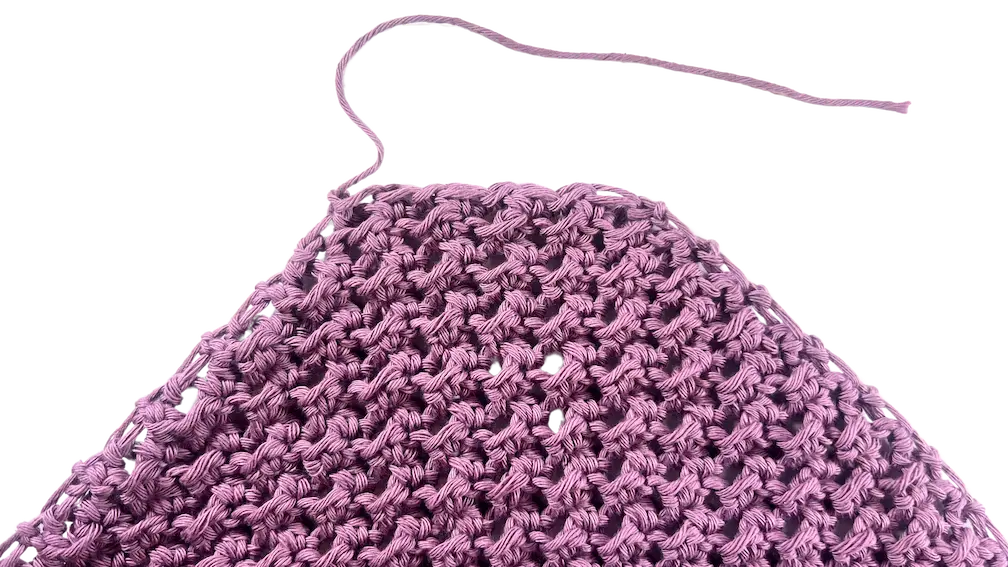
Keep decreasing on both sides until you’re left with 9 stitches. We won’t go all the way to the very corner—if we did, it would end up too pointy. By stopping a bit earlier, the top of the hood will have a nicer, rounded shape that fits the baby’s head much better.
Directions for the Hood
Start with ch 10.
ROW 1 - Make HDC into the first st, then keep alternating SC and HDC across the row. Your last st is HDC. Ch 1 and turn. (9 sts in total)
ROW 2 - Start by increasing the same way you did at the beginning of the towel: work 2 stitches (HDC and Sl St) into the first stitch. Then continue alternating HDC and Sl St across the row. In the last stitch, make another increase by working Sl St and HDC into the same stitch. Ch 1 and turn.
ROW 3 - ROW 24 (or your desired length) - keep increasing both sides until you reach the desired length and then secure the hood.

Attaching the Hood to the Baby Towel + Border
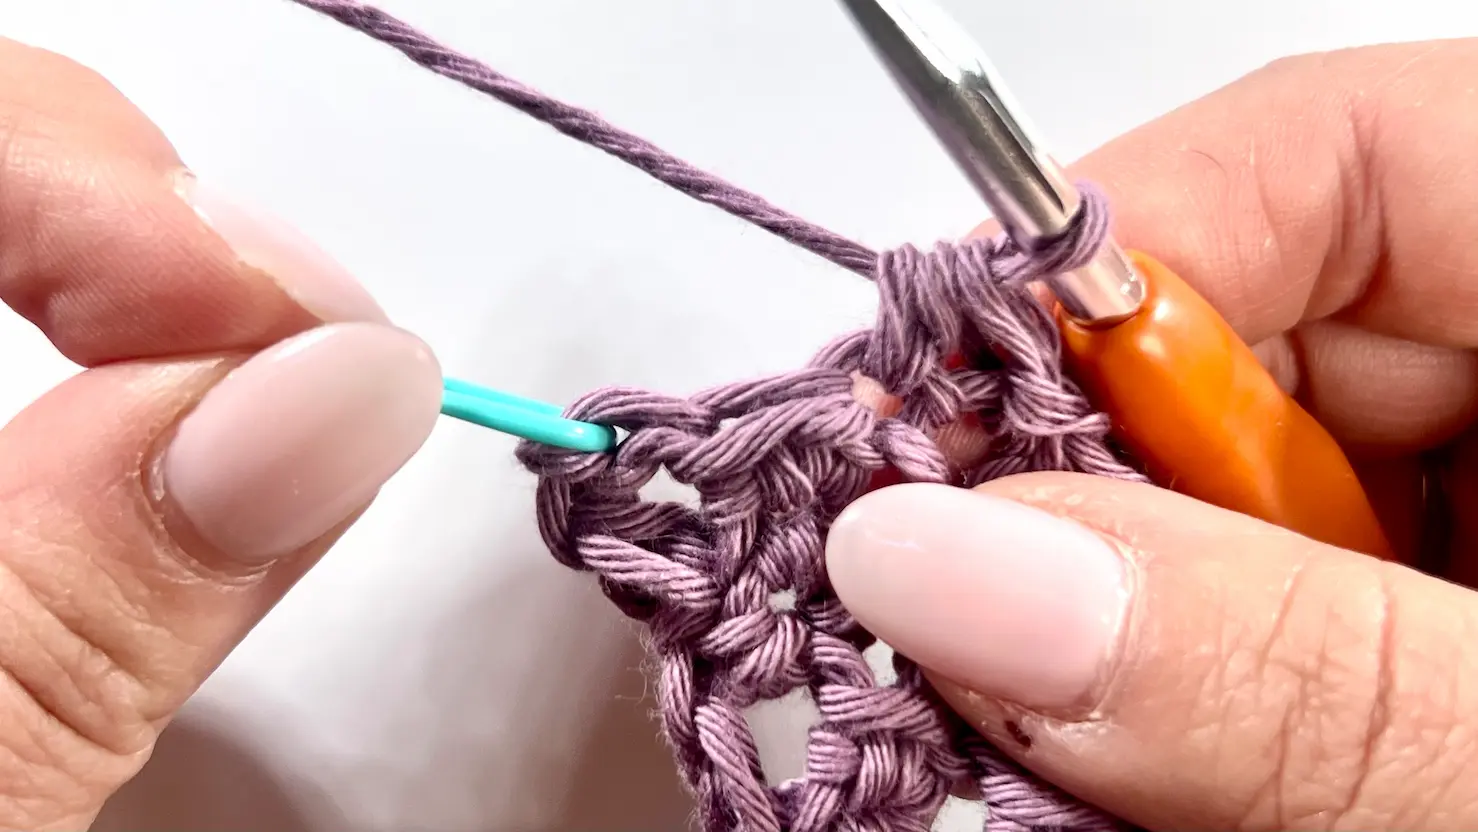
This is where stitch markers come in handy! Use them to help align the hood with the baby towel. Make sure to count and match the same number of rows on both the hood and the towel for an even fit. Once everything is lined up, secure the hood in place with your stitch markers—then grab your border colour and get ready to attach it all together!

Start on the right side at the beginning of the hood. Insert your hook into the first stitch of the hood, then into the aligned stitch on the baby towel. Place your new border colour over the hook and pull up a loop through both stitches. Then chain 1 to secure the join. Insert your hook through the same stitches again and make your first single crochet (SC).
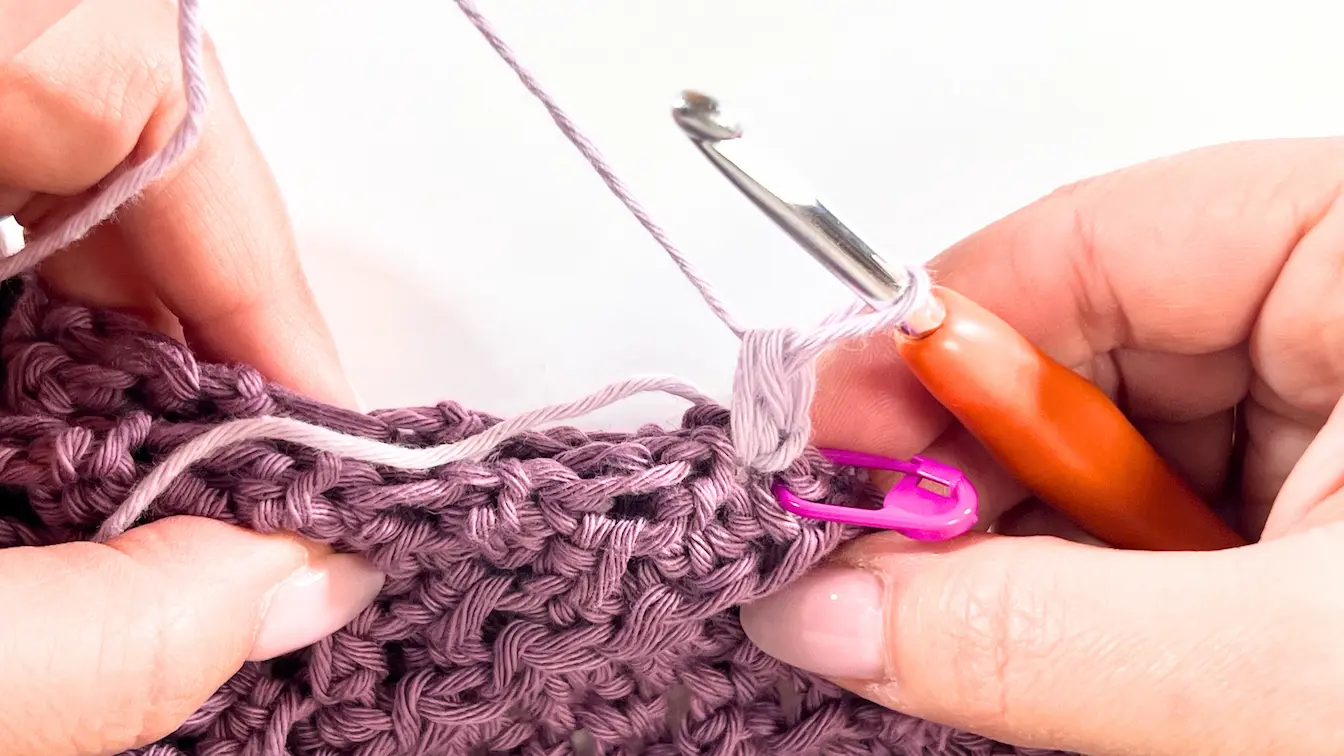
From here, work single crochets (SC) all the way around the hood and baby towel, continuing around the full towel edge until you reach your first SC. Fasten off and weave in the ends.
Then, flip the baby towel so the top part with the hood is now upside down. Join your border colour at the right bottom edge of the hood, using the same joining method as before.

Work SC into each stitch across the row until the end.
Note: The SC stitch has a clean, finished look from one side only—that’s why we flipped the towel and started this section separately.
Loop for hanging (optional)
For easy hanging and drying, you can add a simple loop to your towel.
Grab your stitch markers and find the center of the towel, right underneath the hood. It’s totally up to you how big you want the loop—you can chain 5 stitches or more, depending on your preference.

I used a double strand of yarn to make the loop a bit sturdier since it’s going to be used for hanging.
Start by inserting your hook into the stitch where your stitch marker is placed—this is one side of the loop. Yarn over with both strands and pull through to start your chain. Make a foundation chain as long as you like (for example, 5 chains).
Then, insert your hook into the stitch on the opposite side, aligning with the length of your chain so the loop sits centered under the hood, and make a slip stitch to secure it.
Fasten off and weave in the ends. That’s it—you’ve got a strong, neat loop ready for hanging!
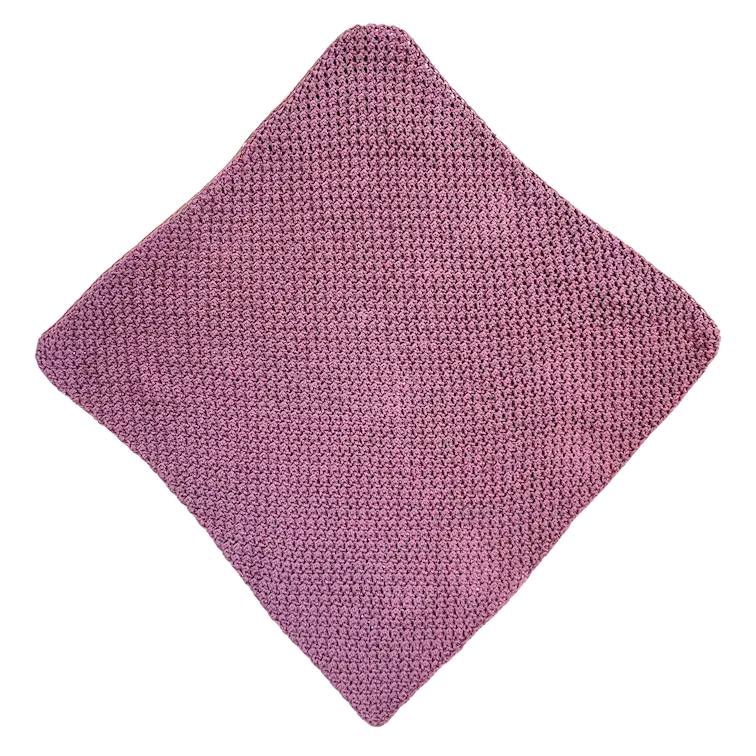
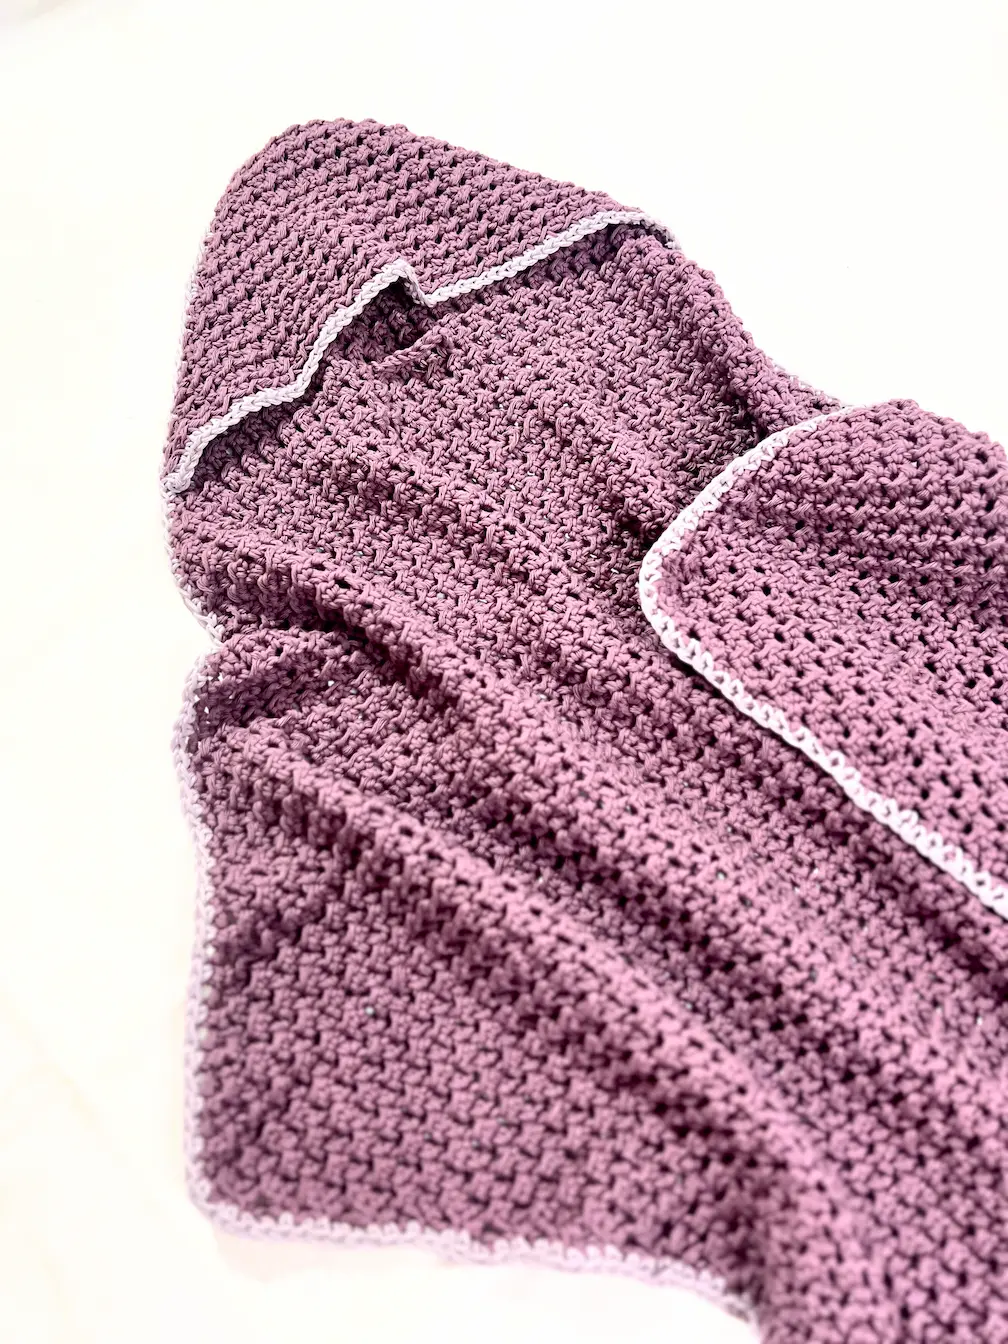
TA-DA! Your Snuggle Hooded Baby Towel is now ready to wrap your little one in love and cosiness!
I hope you enjoyed crocheting your Snuggle Hooded Baby Towel just as much as I loved creating this design for you. If this project added a little warmth and joy to your day, I’d be so happy if you gave this post a like, left a comment, or shared it with a fellow crochet friend. And if you ever have a question or need help along the way, don’t hesitate to reach out—I'm always here for you!
I’d absolutely love to see your finished baby towels! Tag me on Instagram @happyheartsy so I can admire your beautiful makes and share them with our crochet community. Your creativity always brightens my day. 💜


Comments