Cuddle Blanket Crochet Pattern – Cozy, Textured Baby Blanket Tutorial for Beginners
- Oct 17, 2025
- 9 min read
Updated: Jan 13
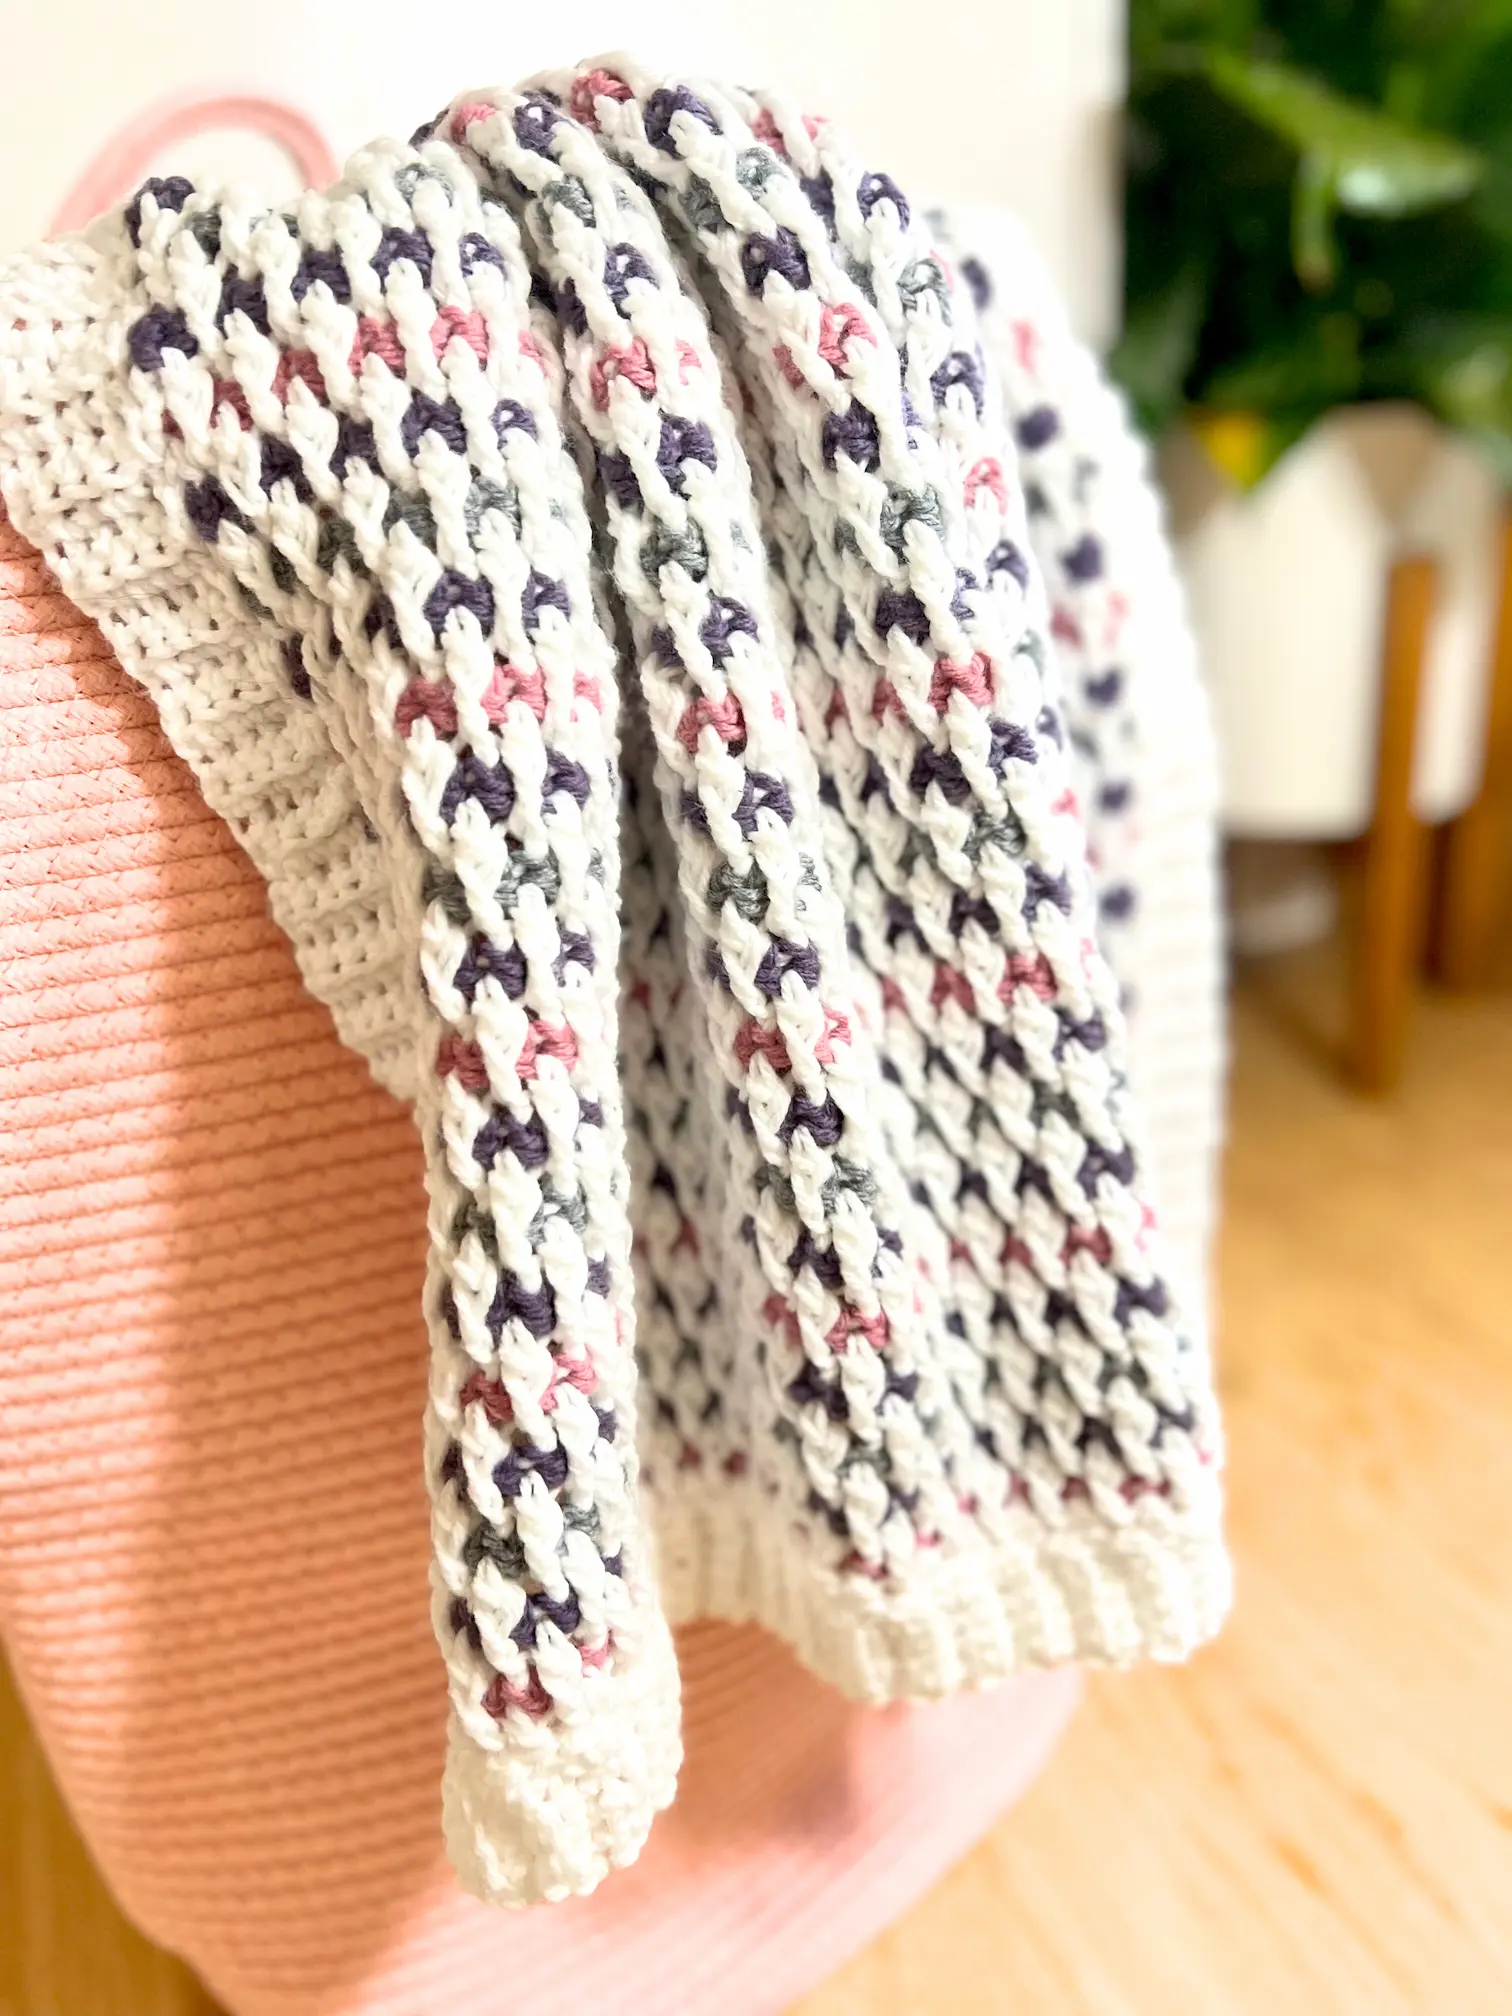
There’s something truly comforting about creating a blanket that feels like a warm hug — soft, textured, and filled with love in every stitch. The Cuddle Blanket was designed for those moments when you want to slow down, breathe, and create something beautiful and meaningful with your hands.
It’s one of those patterns that looks intricate but flows effortlessly once you start. The stitch rhythm becomes almost meditative, and before you know it, the texture begins to bloom row by row. Whether you’re making it as a heartfelt baby gift or a cozy addition to your home, this blanket is all about warmth — both in how it looks and how it feels to make.
In this tutorial, you’ll learn how to crochet the foundation double crochet row, the Alpine Stitch, how to change yarn colours seamlessly, and how to crochet a neat border to finish it beautifully.
If you'd like to support my work and get a printable, ad-free version of this pattern, please visit my shop or Ravelry.
If you like my crochet content but aren't interested in buying my patterns, that's perfectly fine. :) I offer my patterns for free on my blog so everyone can access them!
Additionally, there's an alternative way to support my work through Buy Me a Coffee (in my case, it's Buy Me Yarn, and you know the reason:) ). It's even cheaper than my current patterns. For more information, you can click the link above or the button below.
HUGE THANKS to everyone who supports me through purchases, likes, shares, comments, tags, or feedback! It truly means a lot to me.

This post contains affiliate links for the yarns I used and love and it also displays ads. I make a small commission if you purchase through these links or through the Ads which in no way affects the cost to you. The revenue I receive from Ads, and affiliate links, help me to support my small business which allows me to share my free crochet patterns/content with you. Thank you for your understanding and your support! It means a lot to me.
This pattern and all images associated with this pattern cannot be sold or claimed as your own.
You are allowed to sell finished project. Feel free to mention me for creating this pattern, it would make my day and I can share your finished blanket on my social media if you allow.
Don’t forget to share your project on Instagram! If you have your account you can tag me under
@happyheartsy. I would love to see your finished Cuddle Blanket so I can share it with others.
Before we get into the actual pattern I also created the Ultimate Crochet Hack Sheet! It's 2 pages with basic
crochet abbreviations and symbols, hook sizes in US and UK version, all the yarn types (with recommended hooks and projects) etc. Feel free to click on the pic or a link to my shop where you can find more details.
What you need for this Cuddle Blanket:
Materials:
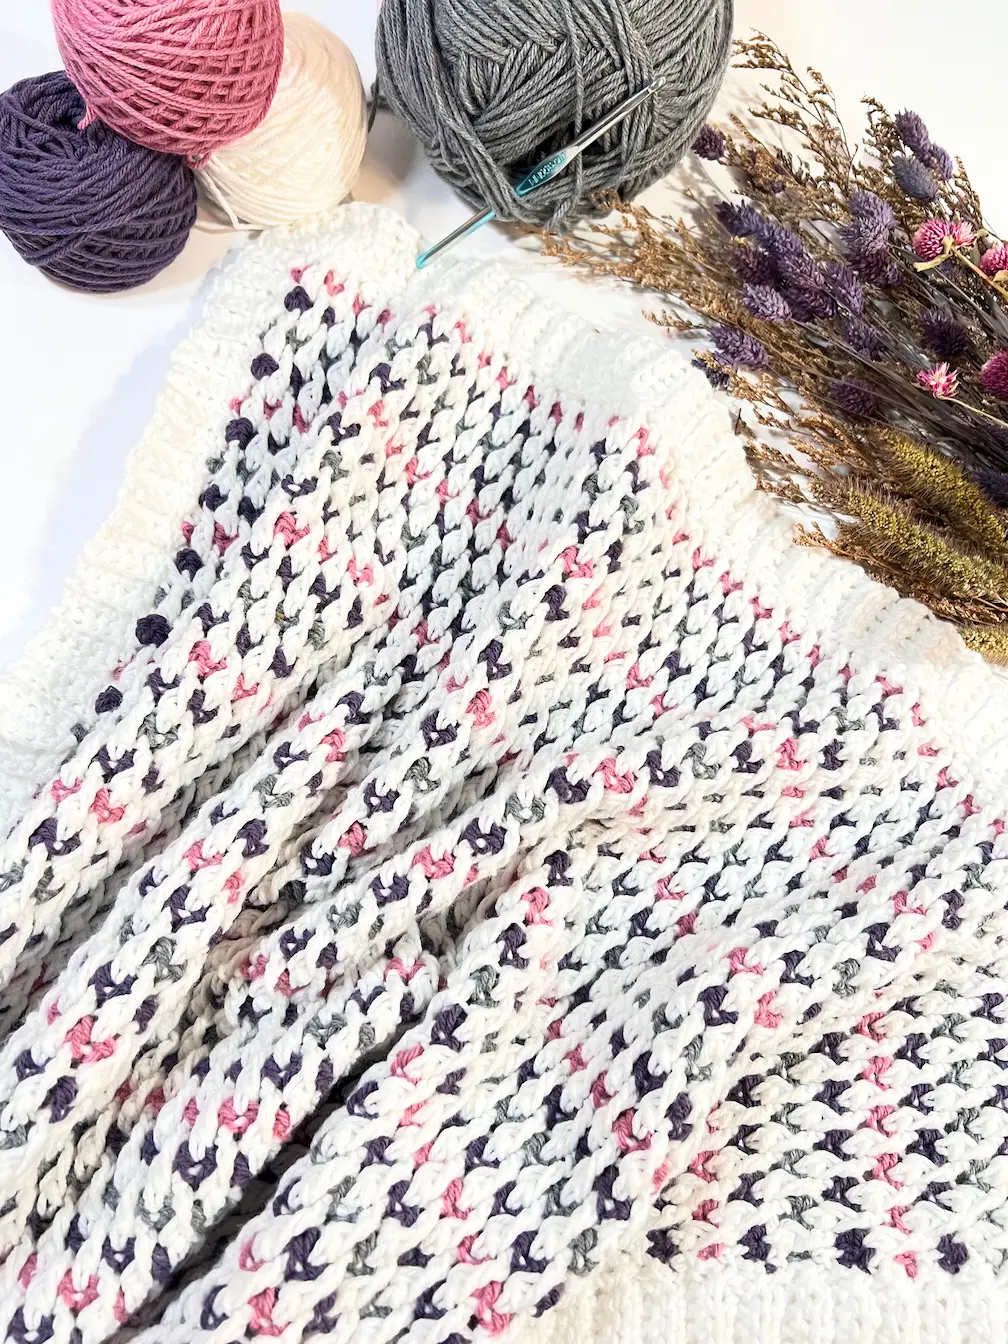
Colour A - White - Used approx. 355g
Colour B - Heather Rose - Used approx. 35g
Colour C - Thistle - Used approx. 64g
Colour D - Oxford Grey - Used approx. 34g
Hooks - 6mm
Scissors, Yarn Needle, Stitch Markers
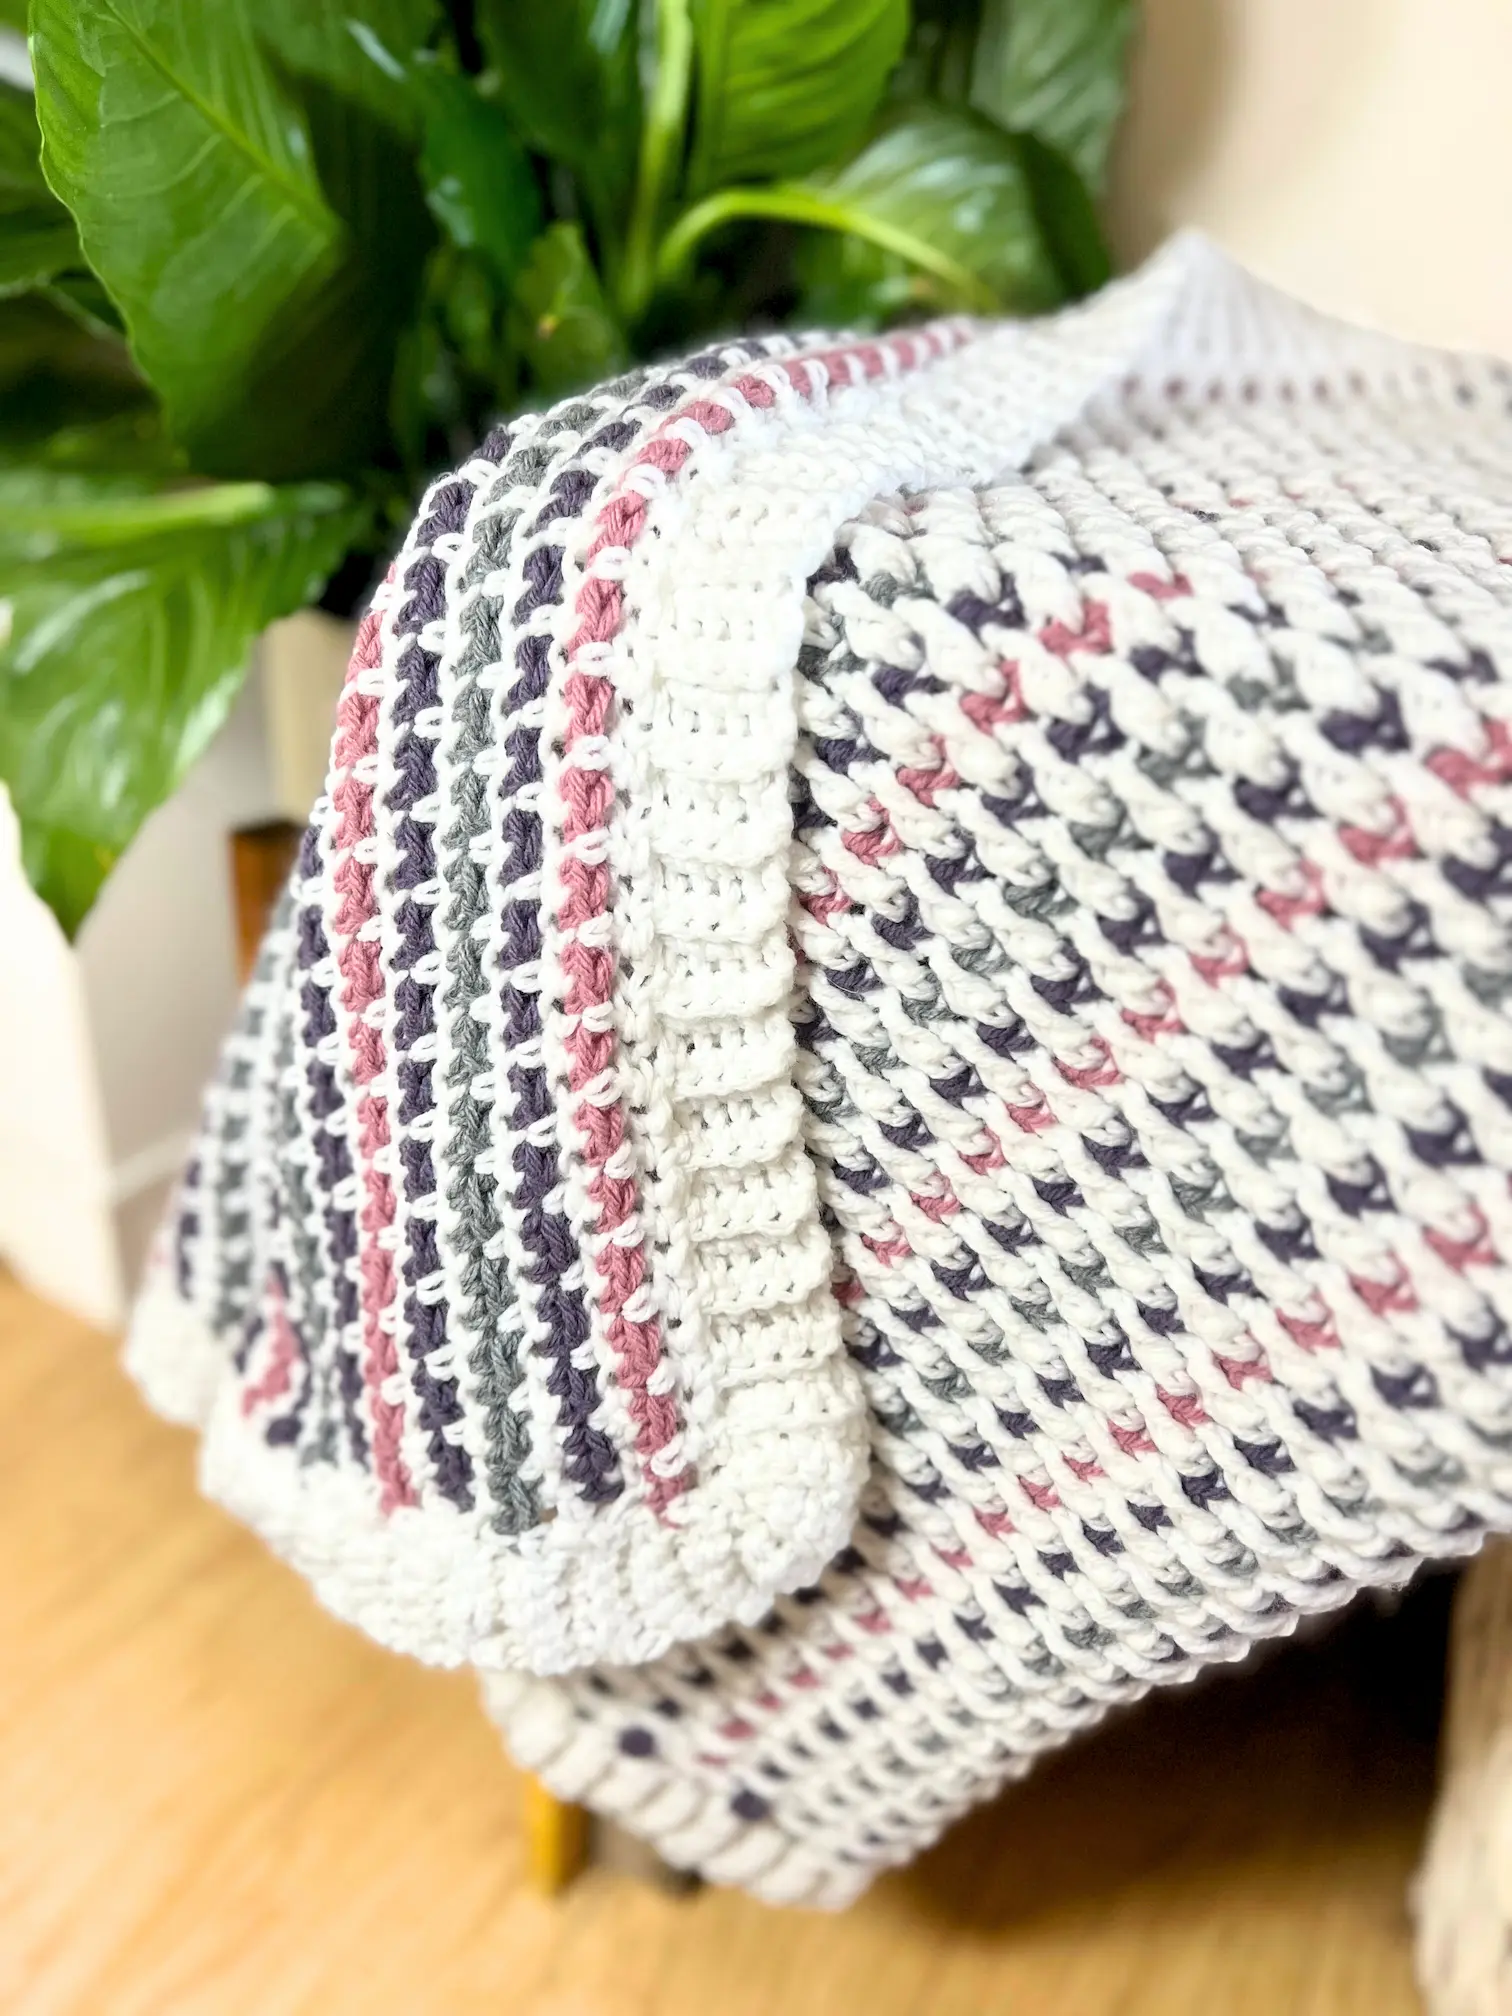
Measurements (including border): 36" x 31"
Measurement of the border: 2"
Gauge: 12 sts x 12 rows = 4" (10 cm),
NOTES:
This blanket is made using the Alpine Stitch with a Ribbed Border
The ch 1 after each DC/FPDC row is only a turning chain — it does not count as a stitch
The ch 2 after each SC row does count as the first stitch for the following row
Both the colours and size of the blanket can be easily adjusted to fit your preferences
If you want to make your blanket in a specific size, creating a gauge swatch first is highly recommended.
You will have the same number of stitches throughout the entire project.
Step-by-step photos for the Alpine Stitch are shown in one colour only for tutorial purposes. In the written instructions, I always mention which colour each row should be made in.
In this project, you’ll have lots of tails to weave in since each row begins with a new yarn colour. I highly recommend weaving them in as you go so it doesn’t become overwhelming later. Of course, feel free to use whichever weaving technique you prefer.
Abbreviations:
Ch - Chain
YO - Yarn Over
St - Stitch
DC - Double Crochet
FPD - Front Post Double Crochet
SC - Single Crochet
BLO - Back Loop Only


How to Adjust the Size of Your Blanket
The crucial step for adjusting any project size is creating a gauge swatch, which helps you determine your personal tension.
Let’s say your gauge is the same as mine for this blanket: 12sts x 12r = 4" x 4" and your desired size is 40" x 52"
How many STITCHES:
40" : 4" = 10" x 12sts = 120sts in total
How many ROWS:
52" : 4" = 13" x 12r = 156r in total
In general, you can calculate any blanket size by dividing your desired width or length by 4" (or by 2" if your swatch is 2" wide).
Then, multiply that number by the stitches and rows in your gauge swatch.
Other Options:
If you don’t need specific measurements for your finished blanket, you can simply:
Size up or down your hook.
Size up or down your yarn weight (and adjust the hook size accordingly).
Add or reduce stitches and rows to achieve your preferred size.
DIRECTIONS
Start with ch 80, then continue with Row 1. (Video Tutorial - 3:45 – How to Crochet the Foundation Chain & Row 1 (Double Crochet)
OR
Start with 79 Foundation Double Crochet (FDC) stitches (counts as a ROW 1) then ch 1 (this chain is only a turning chain). Continue with Row 2. (Video Tutorial - 8:17 – How to Crochet the Foundation Double Crochet Row)
Colour order for this blanket:
Note: You’ll be switching yarn colours after every row.
ROW 1 - White (A) - DC/FPDC Row
ROW 2 - Heather Rose (B) - SC Row
ROW 3 - White (A) - DC/FPDC Row
ROW 4 - Thistle (C) - SC Row
ROW 5 - White (A) - DC/FPDC Row
ROW 6 - Oxford Grey (D) - SC Row
ROW 7 - White (A) - DC/FPDC Row
ROW 8 - Thistle (C) - SC Row
ROW 9 - White (A) - DC/FPDC Row
ROW 10 - Heather Rose (B) - SC Row
ROW 11 - White (A) - DC/FPDC Row
ROW 12 – ROW 97 – Repeat the colour sequence from ROW 4 to ROW 11 (That means alternating B, C, D, C, B, C, D, C colours, with rows of A in between.)
NOTE: You should start and end with the same colour — not A. For example, my first colour change was to colour B, so my second-to-last row is also in colour B.
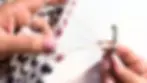
How to change yarn colour:
Once you reach the end of any row, fasten off and flip your project. Then follow these steps depending on the next row type:
For SC Rows:
Insert your hook into the first stitch, place your next yarn colour over the hook, and pull through. Ch 1 to secure the yarn, then SC into the same stitch. Continue working across the row in SC.
For DC/FPDC Rows:
Insert your hook into the first stitch, place your next yarn colour over the hook, and pull through. Ch 2 (this counts as your first stitch for the row), then continue following the Alpine Stitch pattern.
How to crochet Alpine Stitch
Step-by-step photos for the Alpine Stitch are shown in one colour only for tutorial purposes. I always mention which colour each row should be made in.
ROW 1 (Colour A) - Insert your hook into the 3rd chain from the hook and make 1 double crochet (DC). Then DC in each chain across the row. Fasten off and change your yarn to colour B. (How to Crochet DC). In total 79 sts.

ROW 2 (Colour B) - Make SC in each st until the end of the row. Fasten off and change your yarn to colour A.
(How to Single Crochet). In total 79 sts.

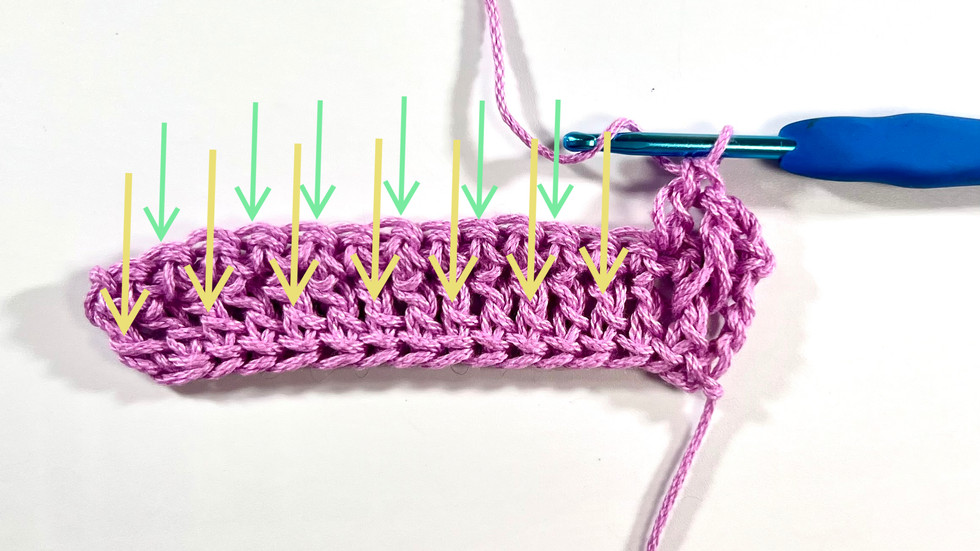
ROW 3 (Colour A) - Join the colour A and Ch 2 (counts as a first DC) then YO and insert the hook around the second double crochet from the first row (the double crochet should be in front of your hook, as shown in the picture below). YO and then finish the stitch as regular DC as you know.

Next, make your usual DC into the next stitch of the previous SC row, as indicated by the arrow.

Keep alternating between FPDC from the DC row and regular DC from the SC row. The yellow arrows show where to work your FPDC, and the green arrows show where to work your regular DC. At the end of ROW 3, your final stitch will be regular DC. At the end of the row fasten off and change your yarn to colour C.


ROW 4 (Colour C) - SC in each stitch until you reach the end of the row. Fasten off and change the yarn to colour A.. Essentially, every even-numbered row is always a SC row (alternating colours), while every odd-numbered row consists of FPDC and DC (always colour A)..

ROW 5 (Colour A) - Start with ch 2 with the colour A and then a regular DC in the next stitch, as from this point forward, you'll always work your FPDC around the regular DC from the previous row and the regular DC into the SC row. In this row, you'll notice that there are 2 regular DCs side by side, as shown in the picture below. Don't worry; this will be corrected once you finish ROW 7. Your last stitch should be FPDC. Fasten off and change the yarn to colour D.


ROW 6 (Colour D) - SC in each stitch until the end of the row. Fasten off and change the yarn to colour A.

ROW 7 (Colour A) - Join your colour A and make ch 2. In this row, begin with a FPDC around the second regular DC from the previous row as shown in the picture. Then, continue by alternating regular DC in the single crochet row and FPDC around the regular DC from the previous row.

ROW 8 (Colour C) - ROW 97 (Colour A) - Repeat ROW 4 - ROW 7. Make sure to follow the correct colour order.
Repeating from ROW 4 to ROW 7 refers to the stitch pattern section of the tutorial.
How to crochet ribbed border:
Start with any corner of the blanket. Insert your hook into the first stitch(your corner) and chain 6 (ch 6) with colour A.
Then into the 2nd chain from the hook, make 1 single crochet (SC). SC in each remaining chain (you’ll have 5 stitches total). Next, slip stitch (sl st) into the same stitch where you started the chain (your corner).

Next, start the 2nd row by working single crochet (SC) in the back loops only (BLO). At the end of the row, ch 1, turn, and continue with SC in BLO until you reach the edge of the blanket again. Make a slip stitch (sl st) to connect the row, and repeat this process one more time. You should have 5 rows worked into the same stitch (corner).

After your last slip stitch (sl st) into the corner, make two more rows of single crochet in the back loops only (SC in BLO) until you reach the side of the blanket again. From this point on, you’ll always make 2 slip stitches (sl st) through the next two stitches, the first sl st connects the row and the second sl st counts as your turning chain. After that, turn the ribbed section and continue working SC in BLO.


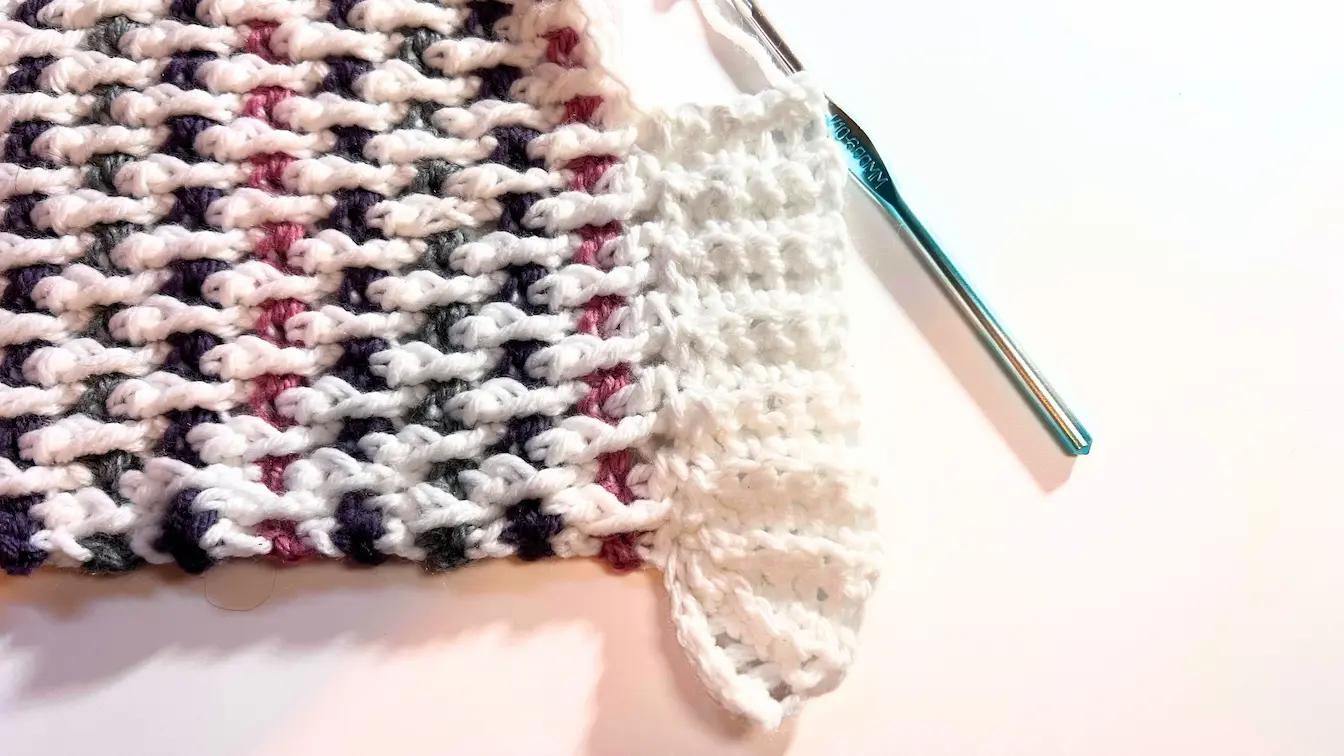
Once you reach the next corners, always make 5 rows in the corner area, using one slip stitch (sl st) to connect after each row.
For the long sides of the blanket, there are no defined stitches since you’ll be working along the sides of the rows. Place your stitches intuitively, making sure the edge stays flat and doesn’t scrunch. The same rule applies throughout: make one slip stitch to connect the row, and one more slip stitch to start the next row.
And there it is — your soft and cozy Cuddle Blanket! Whether you made it for a little one or just for those chilly evenings on the couch, I hope this project brought you the same calm and joy it brought me while designing it.
I’d absolutely love to see your finished blanket!
Share your creation on Instagram and tag @happyheartsy so I can celebrate your beautiful work and feature it in my stories. Seeing all your colour choices and personal touches truly makes my heart happy.
If you enjoyed this pattern, don’t forget to check out more free blanket patterns and stitch tutorials on my Happy Heartsy Blog — there’s always something cozy waiting for you.
Happy Crocheting,
Lenka