How to Crochet a Granny Square – Easy Step-by-Step Tutorial
- Lenka

- Aug 22, 2025
- 4 min read
Updated: Jan 13
If you’ve ever thought about learning crochet, chances are you’ve come across the granny square. This timeless motif is one of the most popular patterns in the crochet world—and for good reason! It’s beginner-friendly, works up quickly, and can be turned into just about anything: blankets, bags, tops, and more.
In this tutorial, I’ll show you step by step how to crochet a granny square using the classic granny stitch in rounds. Whether you’re brand new to crochet or just need a refresher, this guide will help you master the stitch and start building your own beautiful granny square projects. Grab your yarn and hook, and let’s get started!

If you wish to support my work you can do so with Buy Me a Coffee (my version is Buy Me Yarn, you know why:) ).
It's a symbolic amount that supports me in maintaining my blog and producing more free content for you. Find out more by clicking the link or button.
BIG THANKS for everyone who supports me by purchases, likes, shares, comments, tags or/and feedbacks! It means a lot to me.
This post contains affiliate links for the yarns I used and truly love. It also displays ads. I may earn a small commission if you choose to make a purchase through these links or interact with the ads—at no extra cost to you. The revenue I earn through ads and affiliate links helps support my small business and allows me to continue sharing free crochet patterns and content with you. Thank you so much for your support—it truly means the world to me.
All patterns and images in this post are for personal use only. They may not be sold, copied, or claimed as your own. You’re more than welcome to comment, like, or share this post with others!
Before we get into the actual pattern, I also created the Ultimate Crochet Hack Sheet! It's 2 pages with basic crochet abbreviations and symbols, hook sizes in US and UK versions, all the yarn types (with recommended hooks and projects), etc. Feel free to click on the pic or a link to my shop where you can find more details.
Video Tutorial
Check out my YouTube video tutorial where I cover everything. It's a fantastic complement to any written pattern. You're welcome to leave feedback in the video comments.
Recommended Materials
In this tutorial, I use LionBrand Cotton24/7 cotton yarn. I find that the texture stands out more with cotton yarn, and its bright colours are beneficial during tutorials. For this yarn I use a 4mm/G-6 crochet hook.
However, if you're new to crocheting and just practicing, I highly recommend using any solid color acrylic yarn that works with a 5mm/H-8 hook size.

Below is the crochet chart for the Granny Square. It's an excellent method for learning to read crochet charts, and understanding written instructions can sometimes be beneficial.

Directions for Granny Square
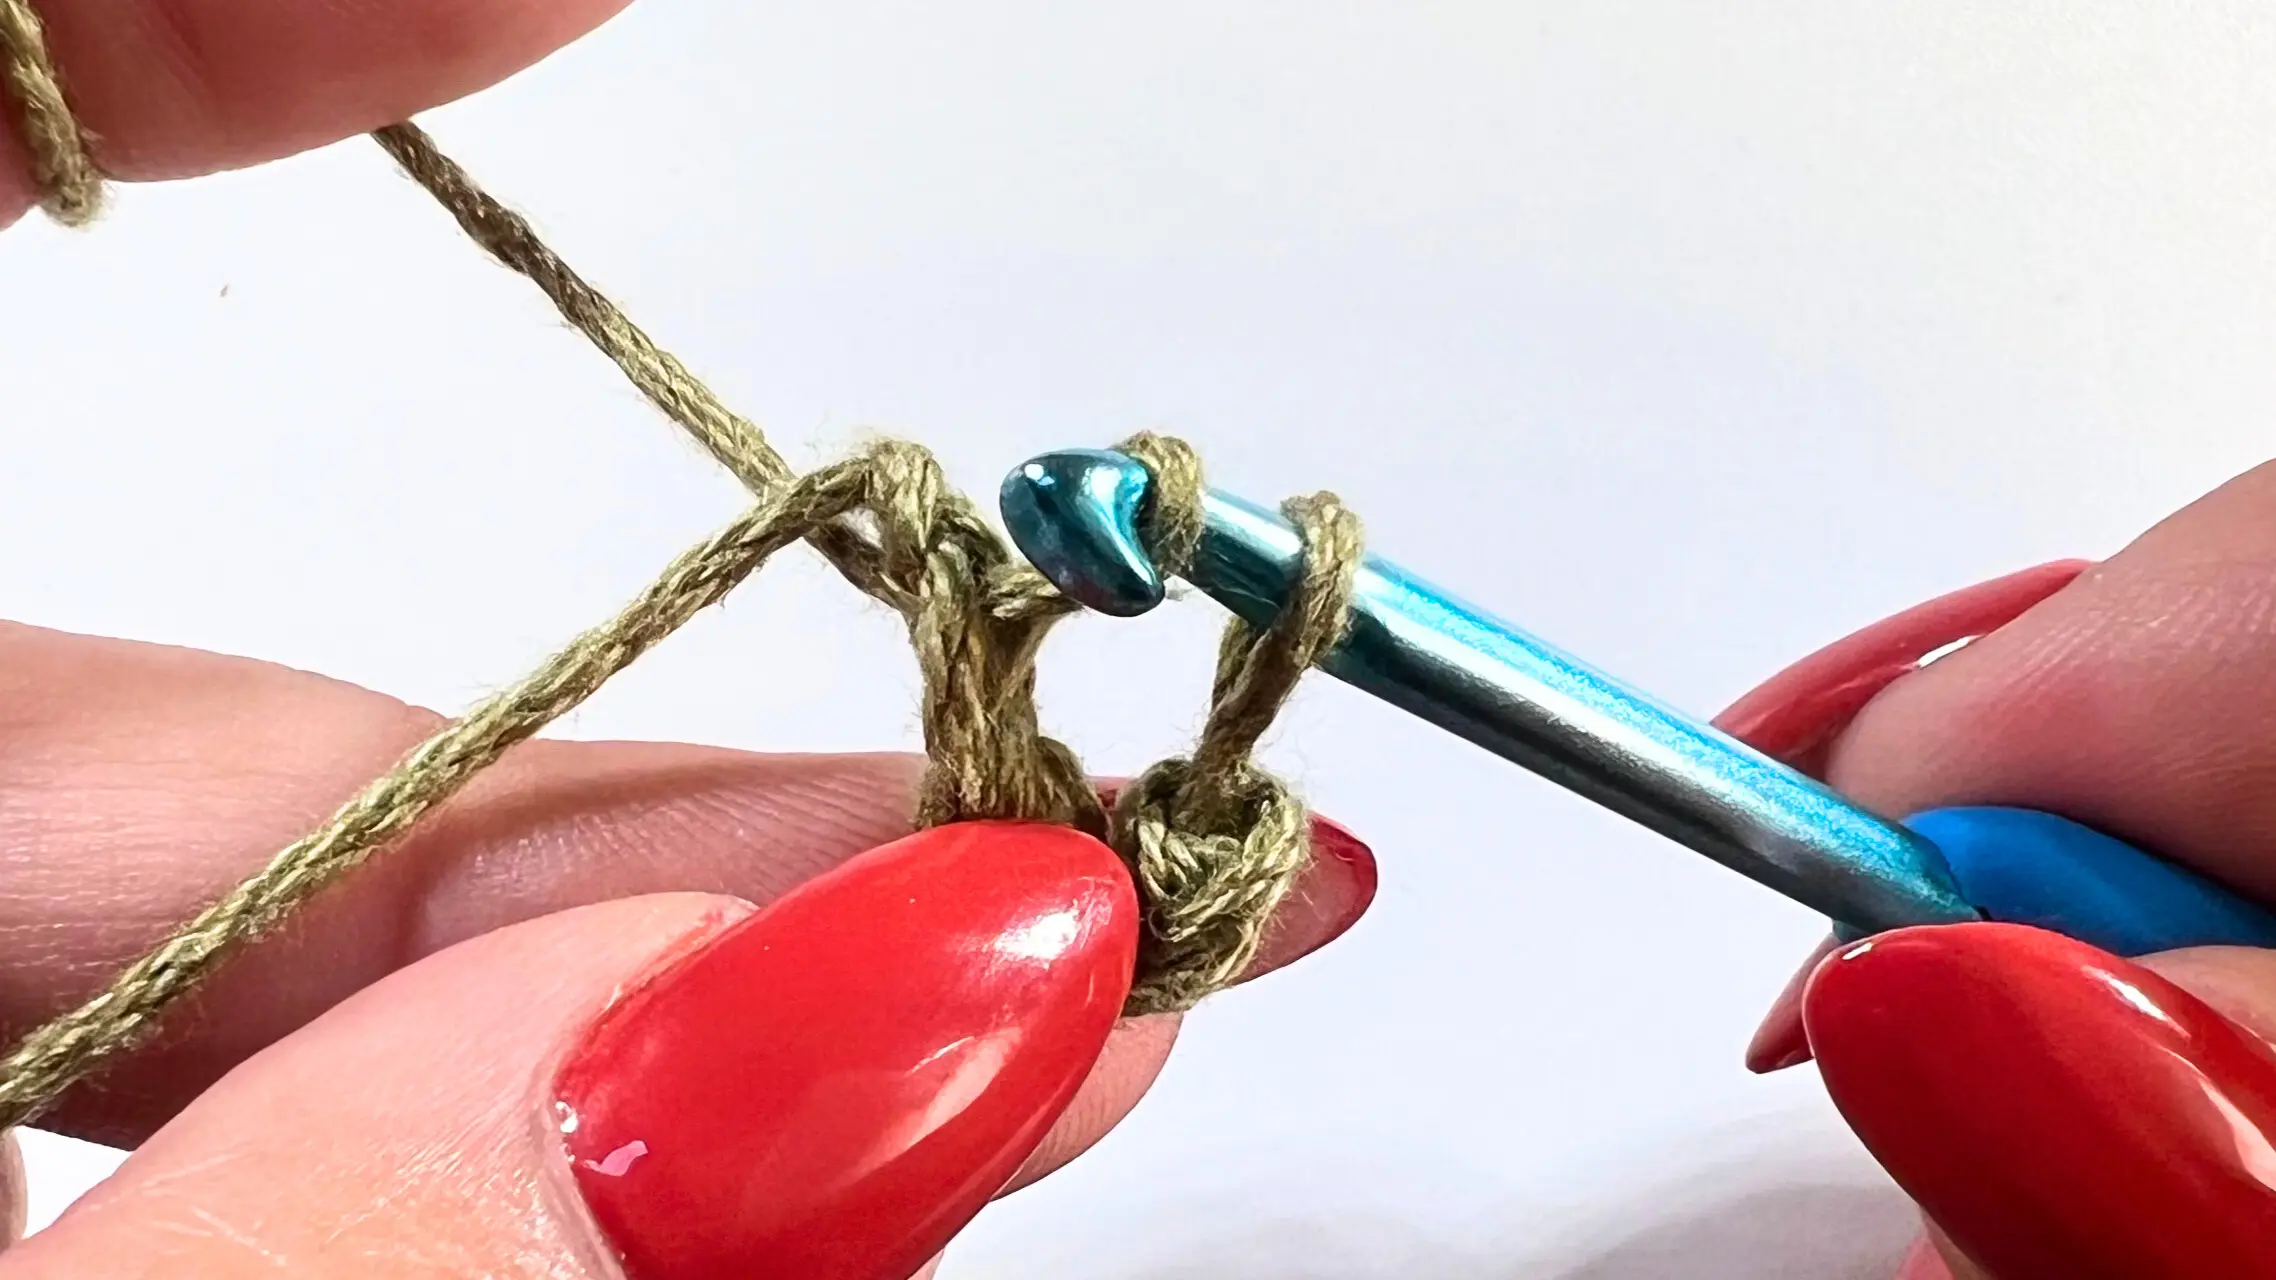
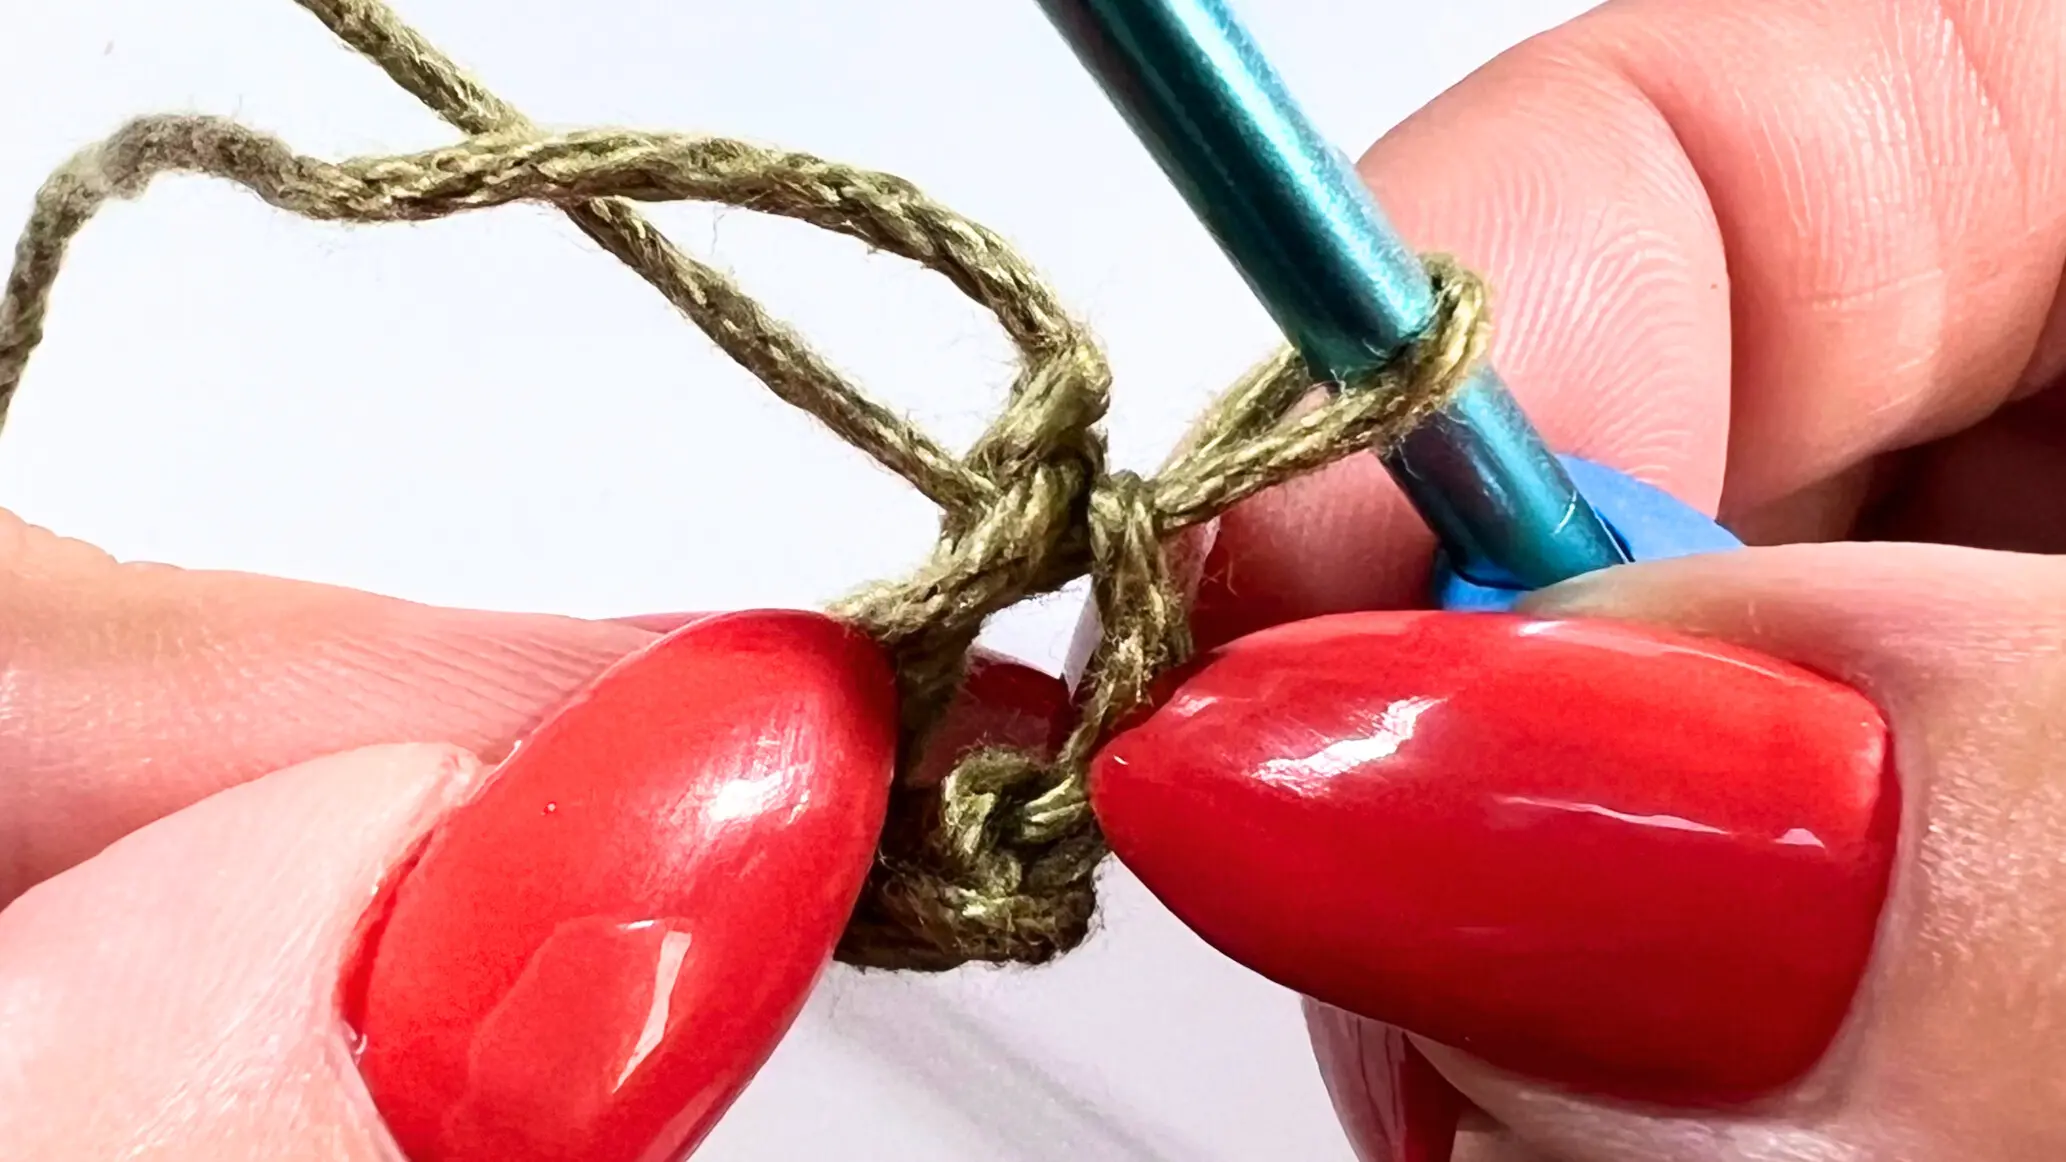
Start with the Foundation Chain (FCH): Chain 4, then slip stitch into the first chain to form a loop.
Tip: You can also start your granny square with a Magic Ring. If you’d like to learn this method, check out my YouTube tutorial!
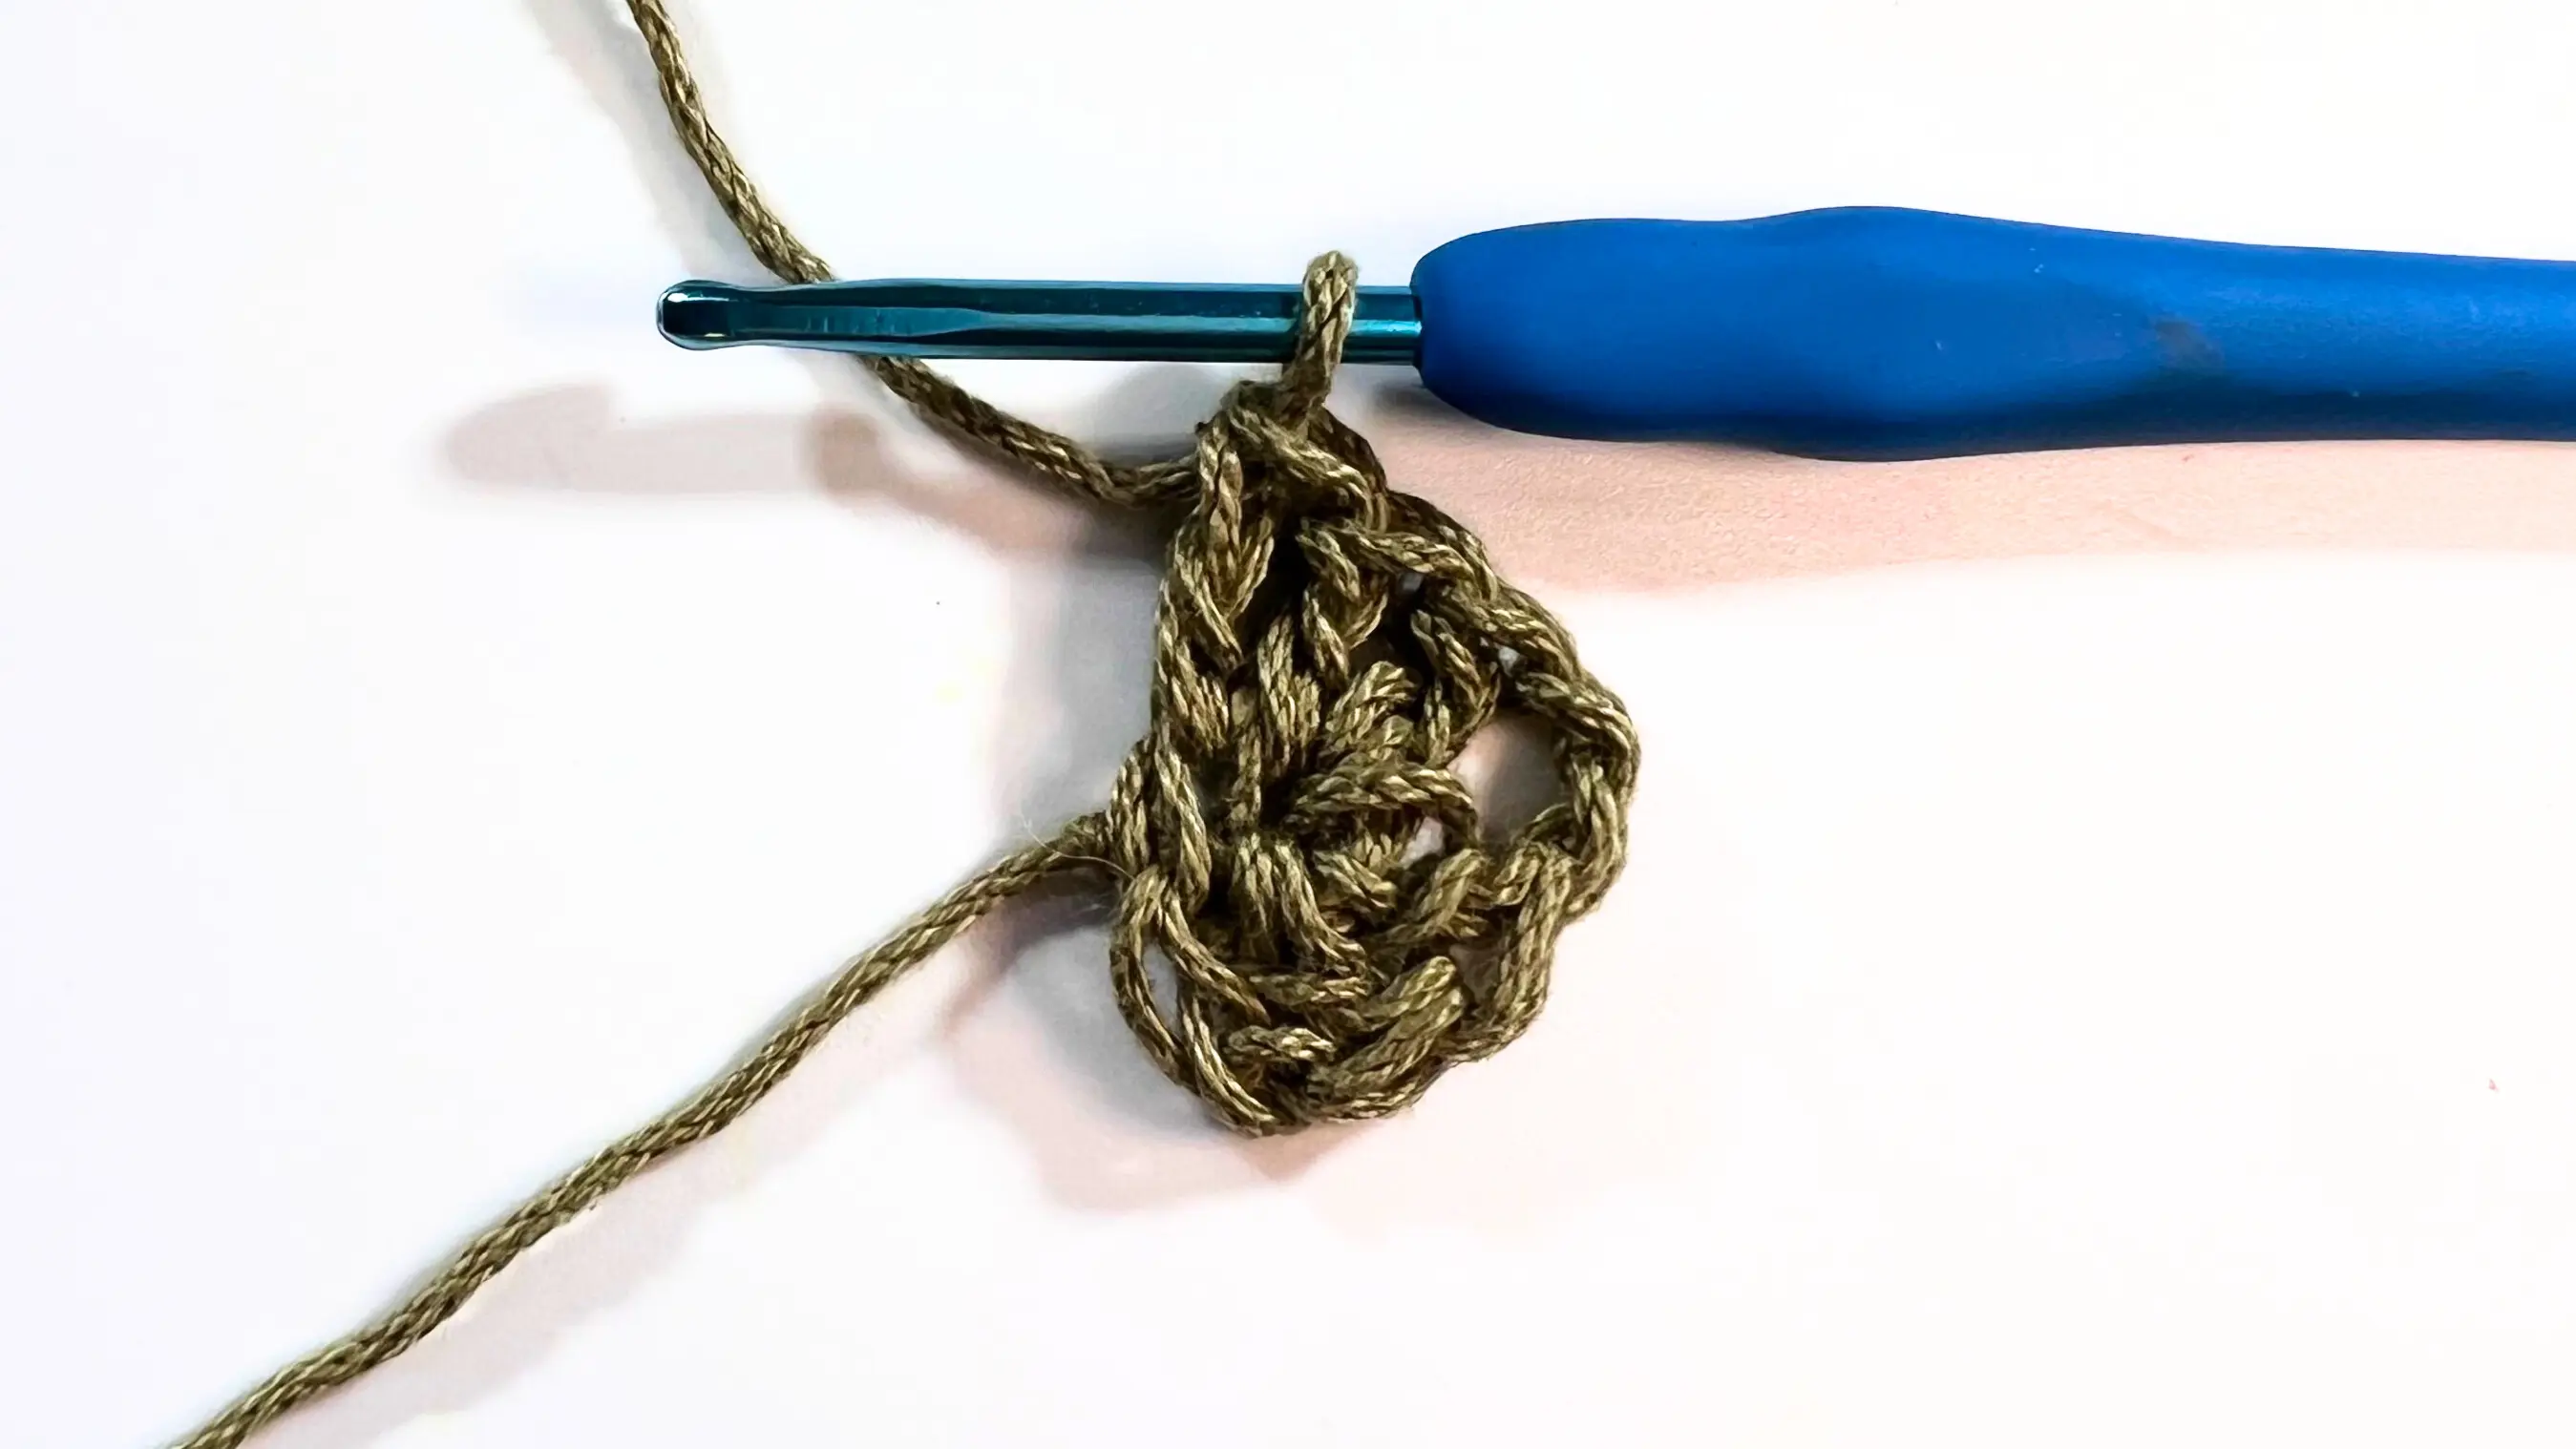
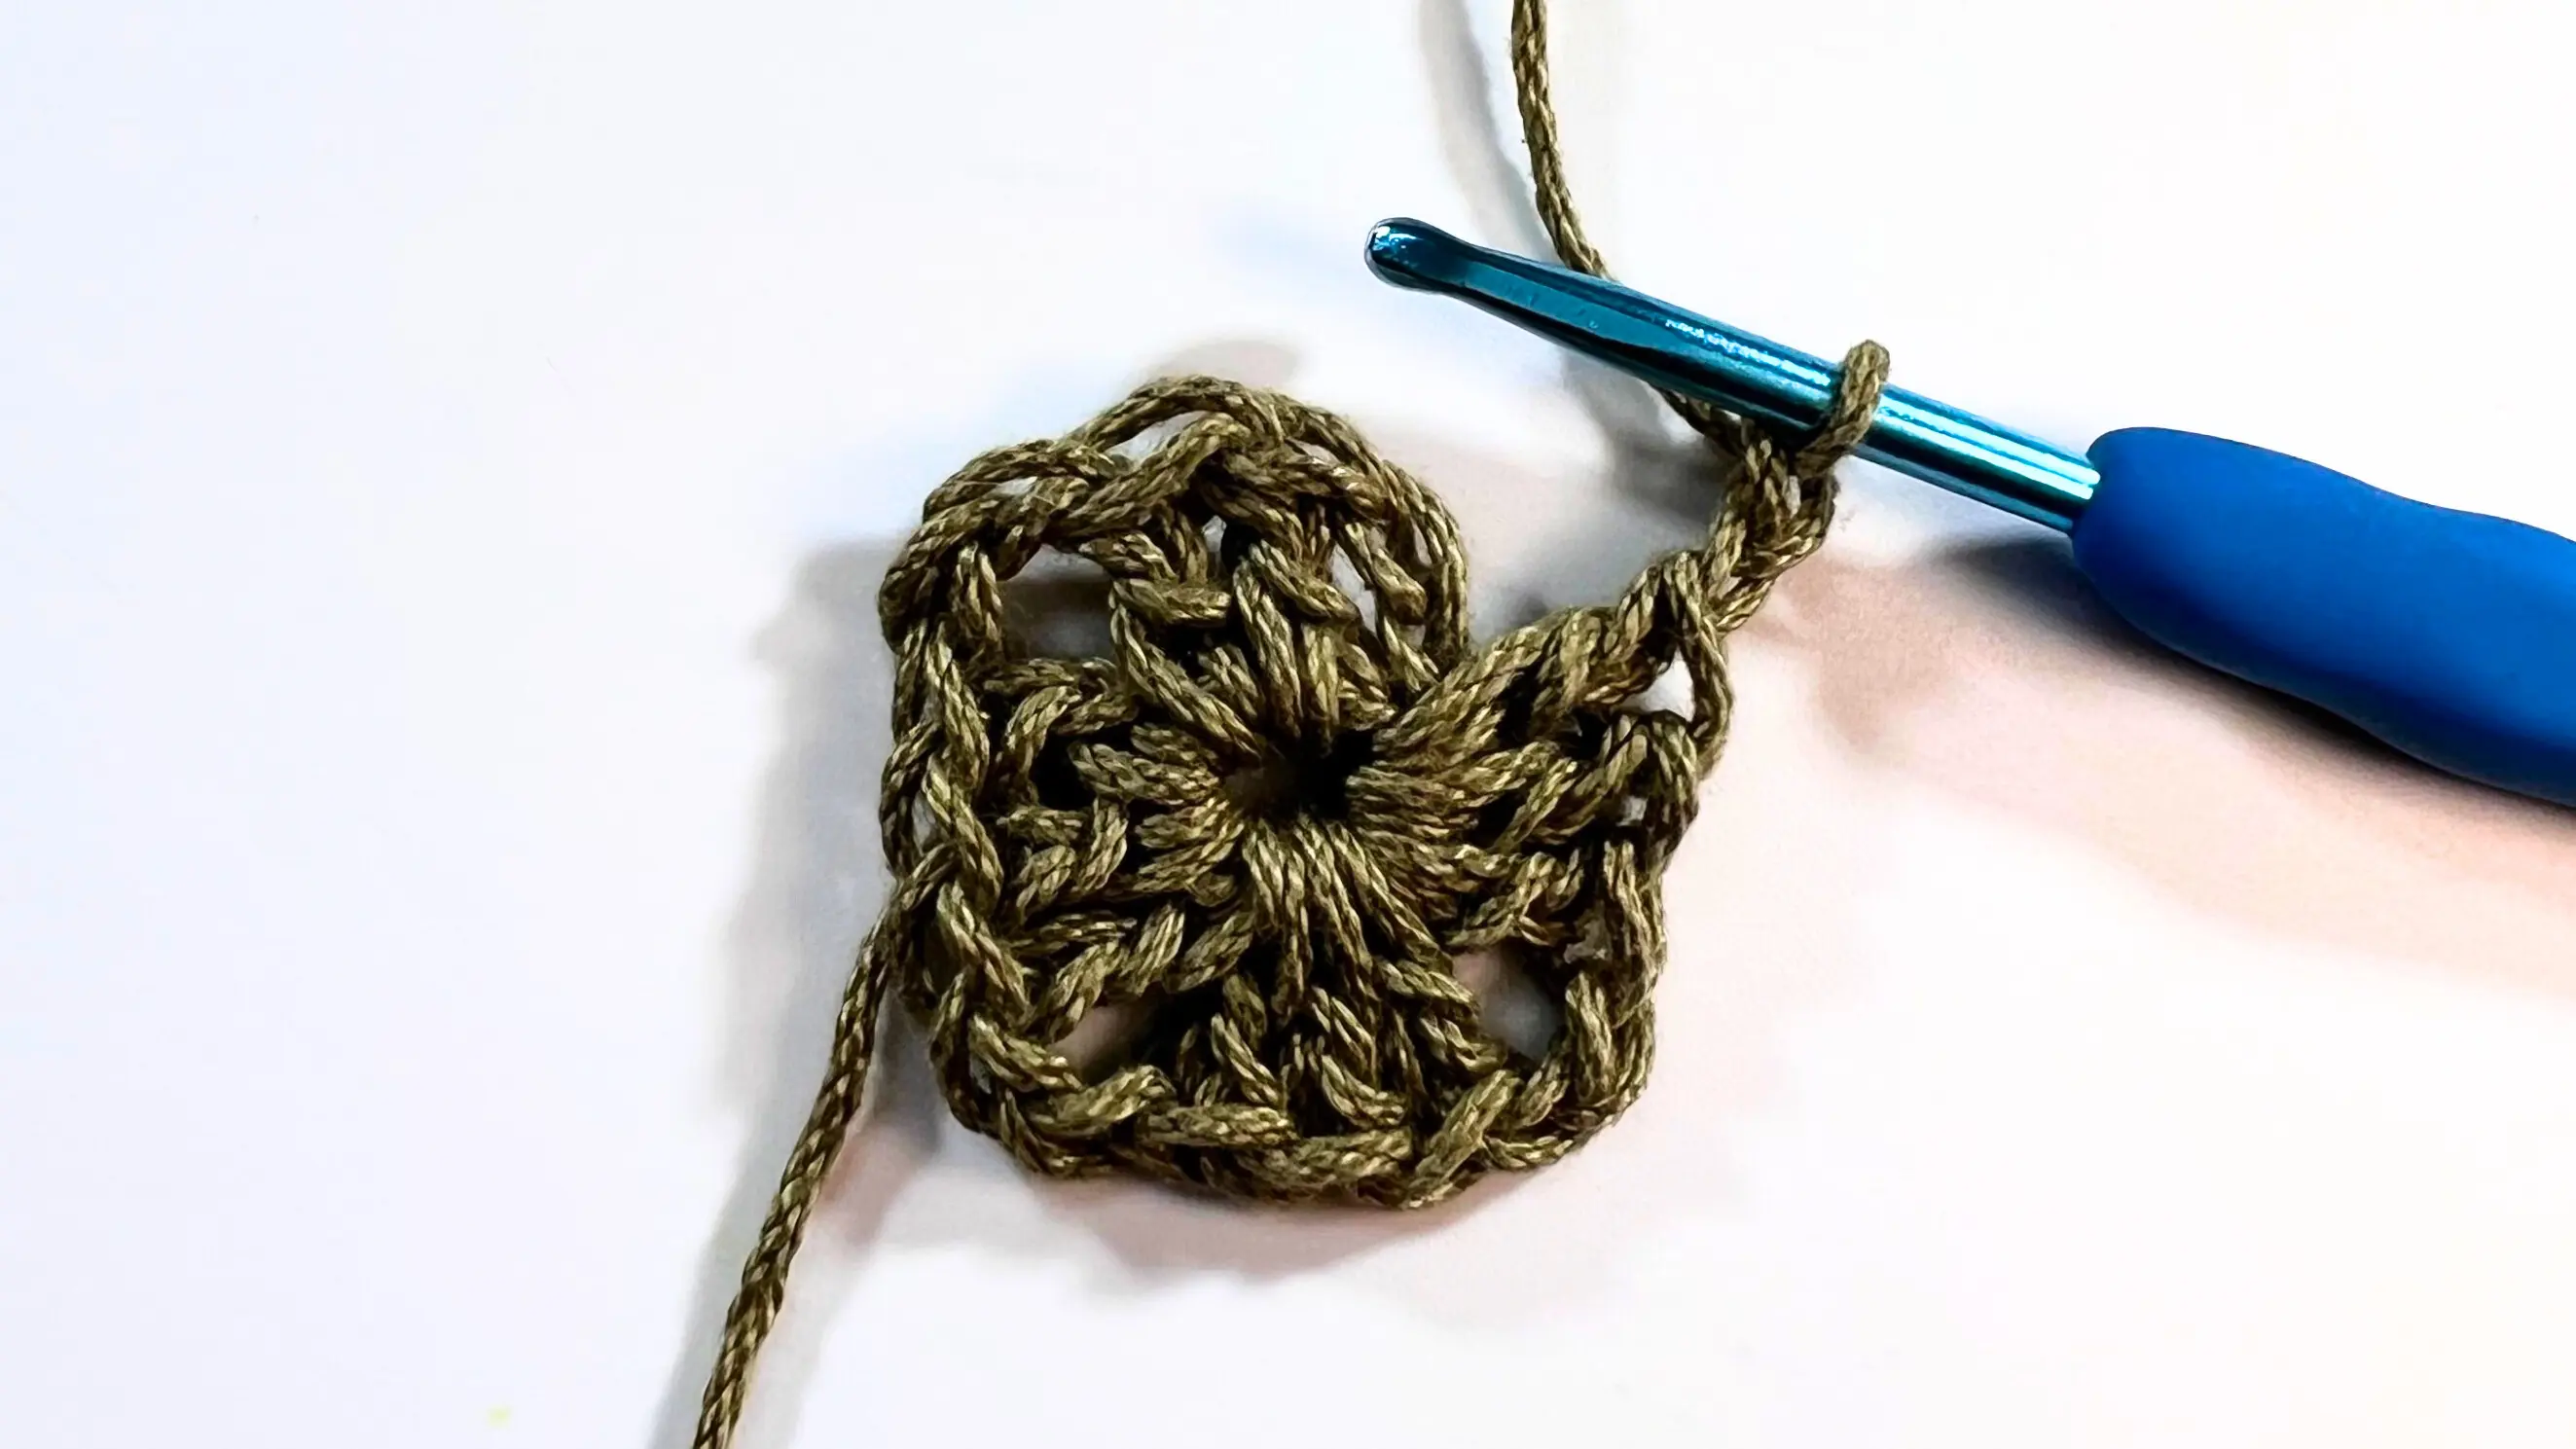
ROUND 1 - Ch 2 (this counts as your first DC). Make 2 more DC into the loop/ring – this is your first side of the square. Ch 2 (this creates your first corner), then work 3 DC into the loop/ring. Repeat ch 2, 3 DC into the loop/ring two more times. To finish the round, Sl St into the top of the beginning ch-2.
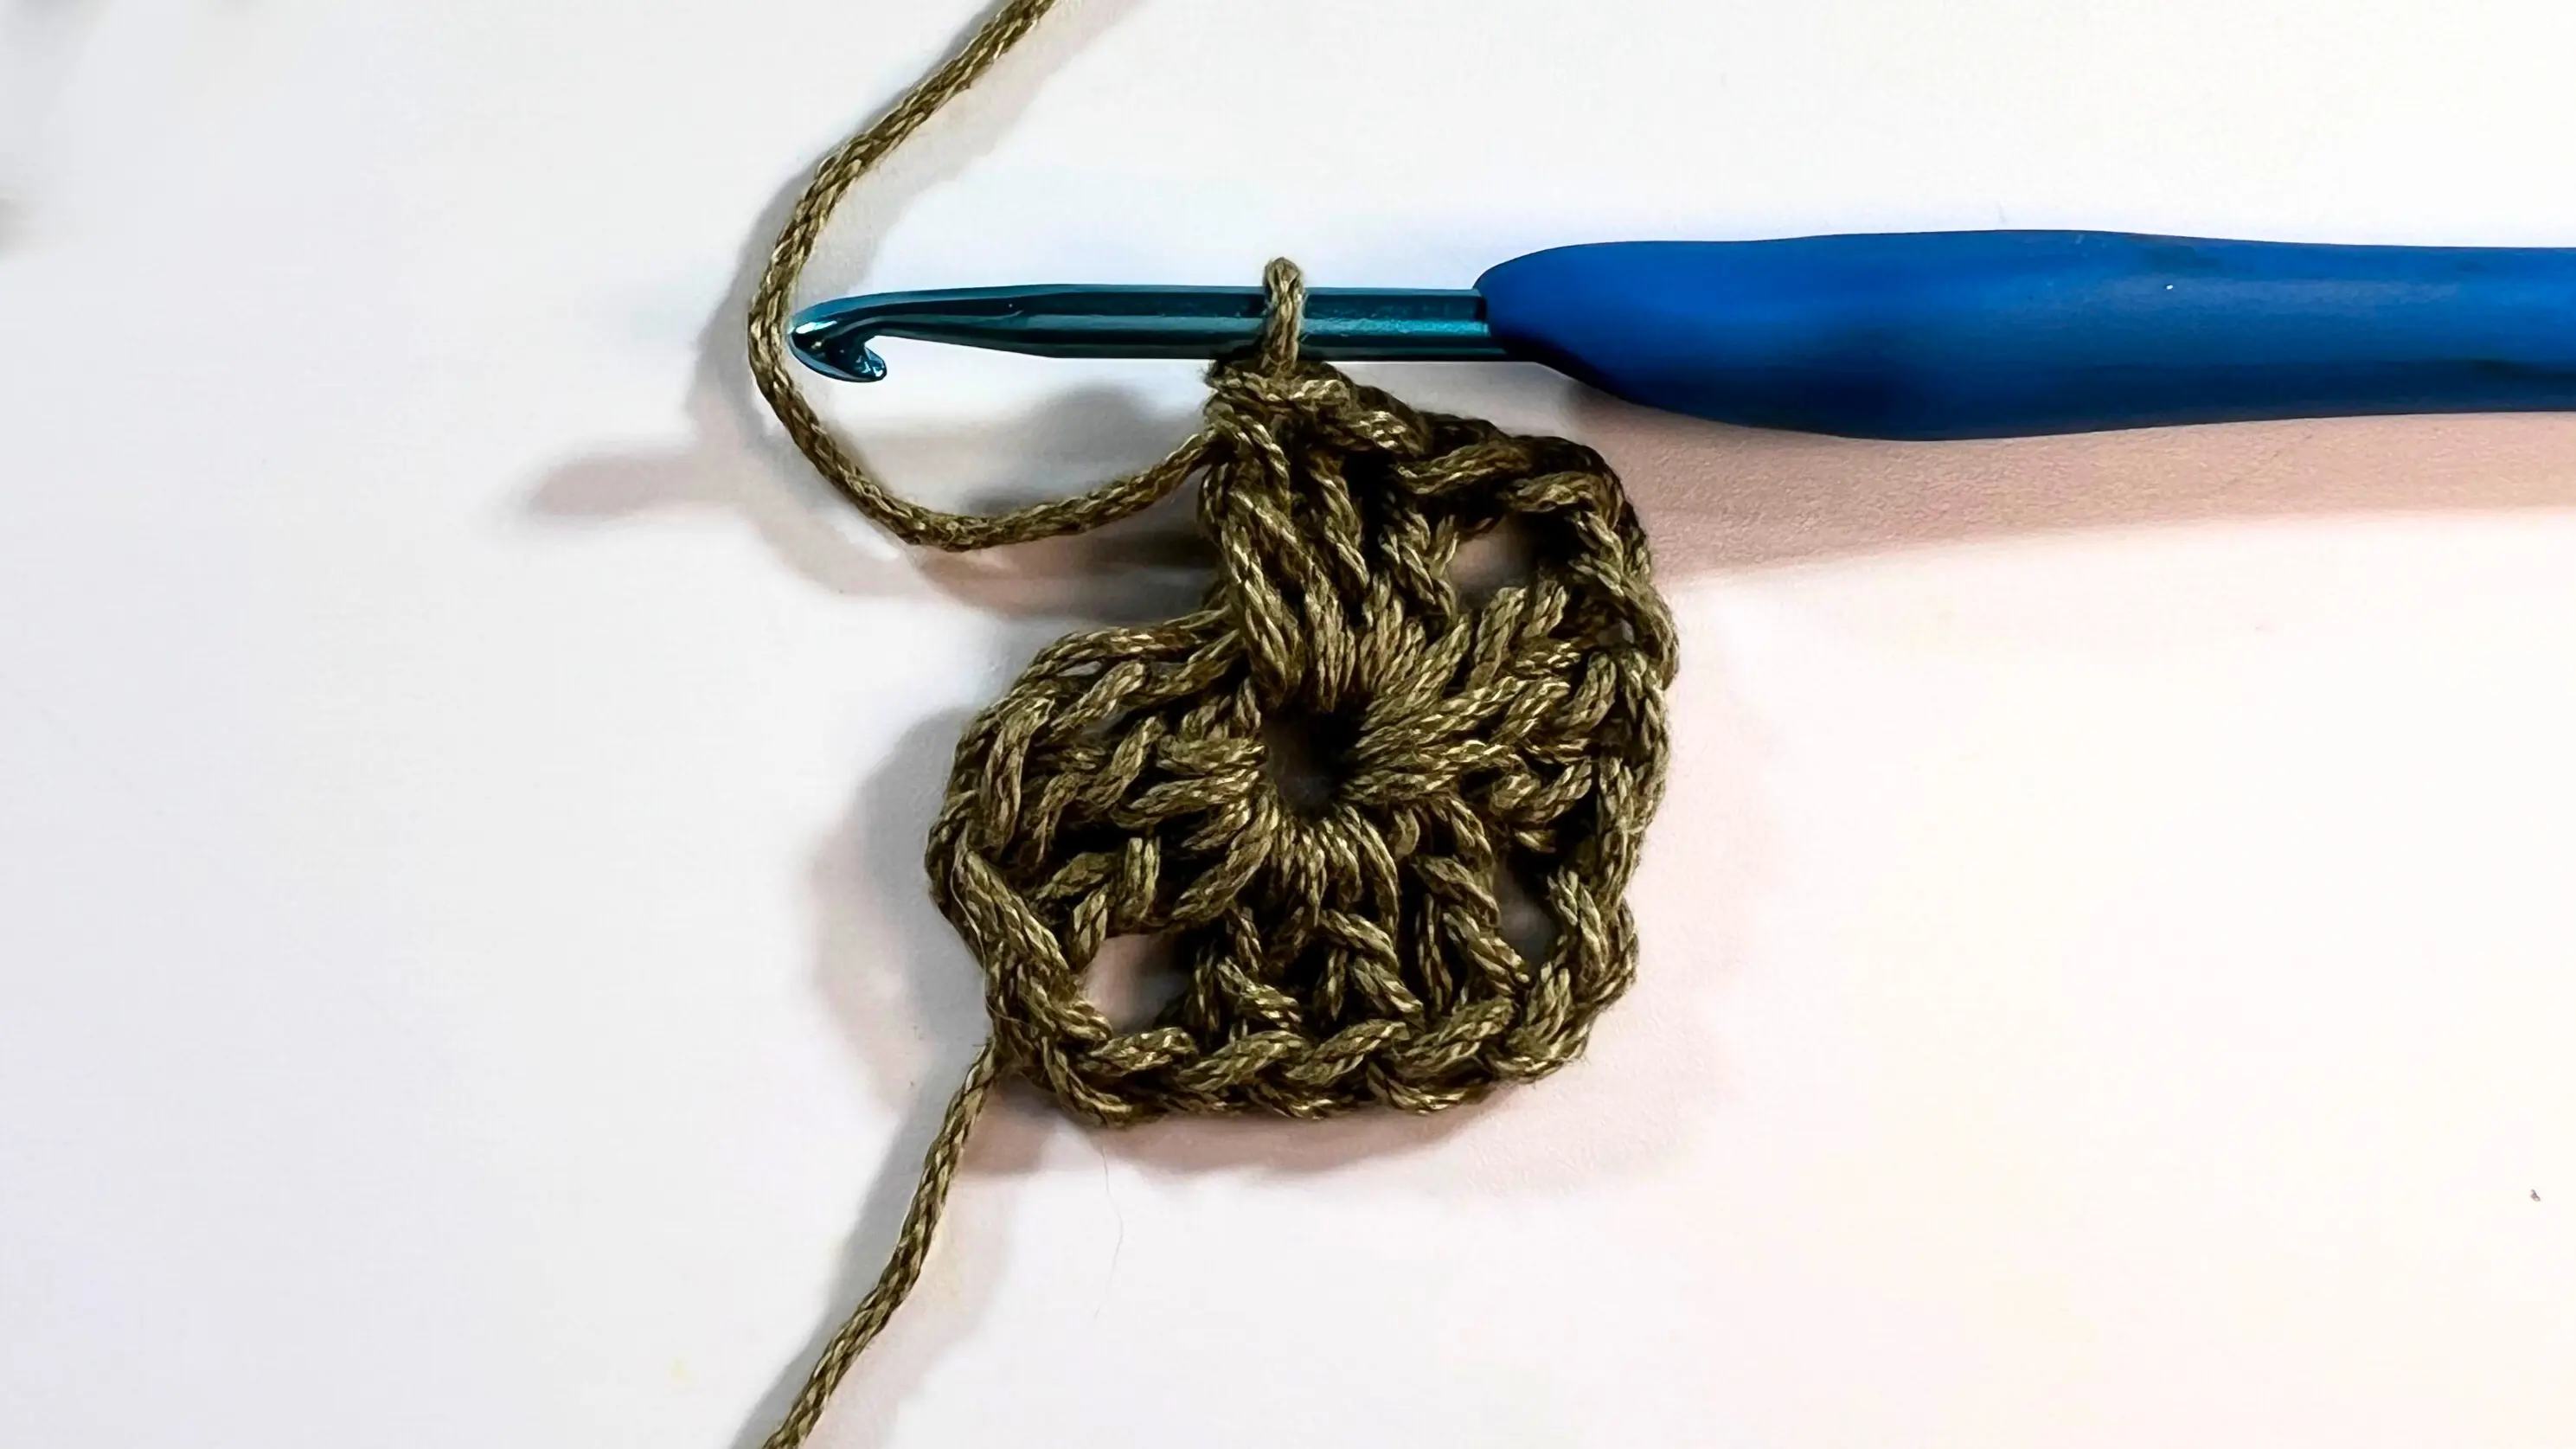
Round 2 - To begin, make Sl St into the next 2 stitches and then into the ch-2 space (this moves you into the first corner from the previous round). Ch 2 (counts as your first DC), then work 2 more DC into the same ch-2 space.
Ch 2, then make another 3 DC into the same space. You’ve now created your first corner of Round 2.
Repeat the corner combination (3DC, ch 2, 3DC into the next ch-2 space) three more times, working into each corner from the previous round. To finish Round 2, Sl St into the top of the beginning ch-2.
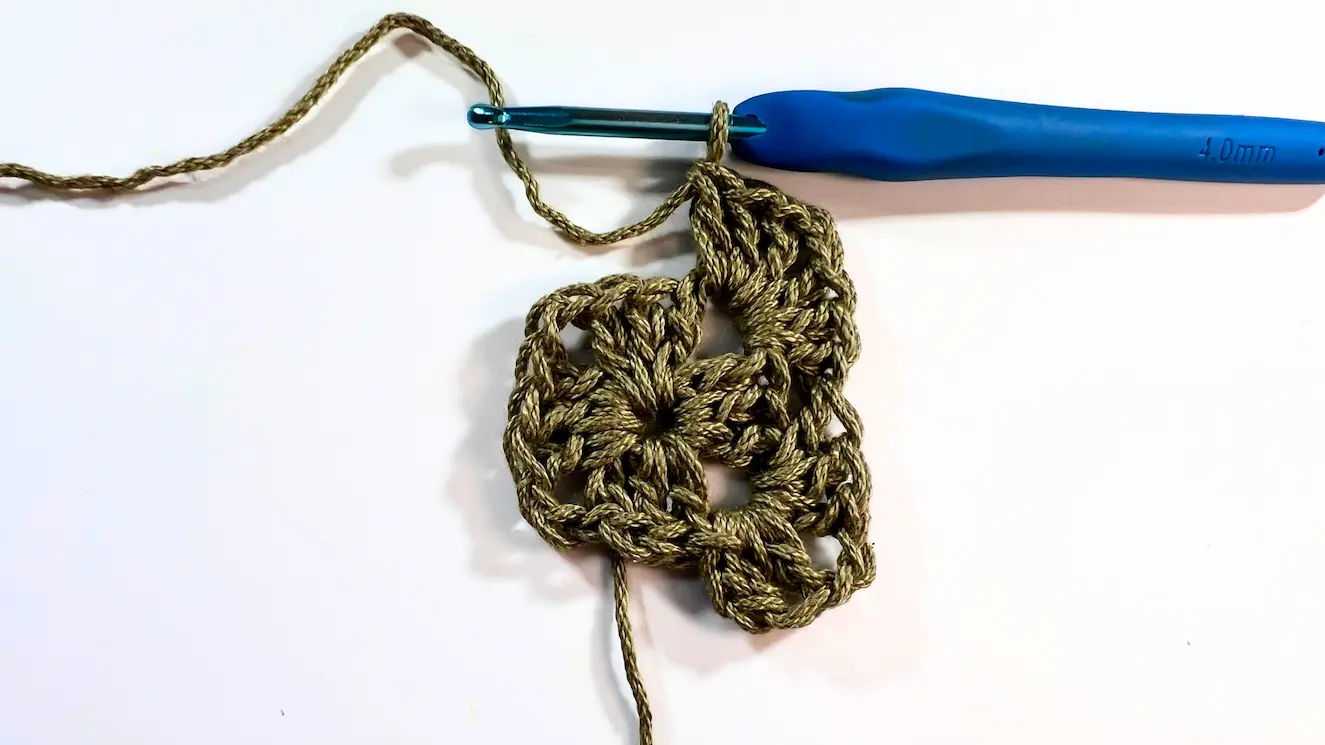
ROUND 3 - Start by making Sl St into the next 2 stitches and into the ch-2 space (your first corner). Ch 2 (counts as your first DC), then work 2 more DC into the same corner space. Ch 2, then make another 3 DC into the same space. That completes your first corner of Round 3.
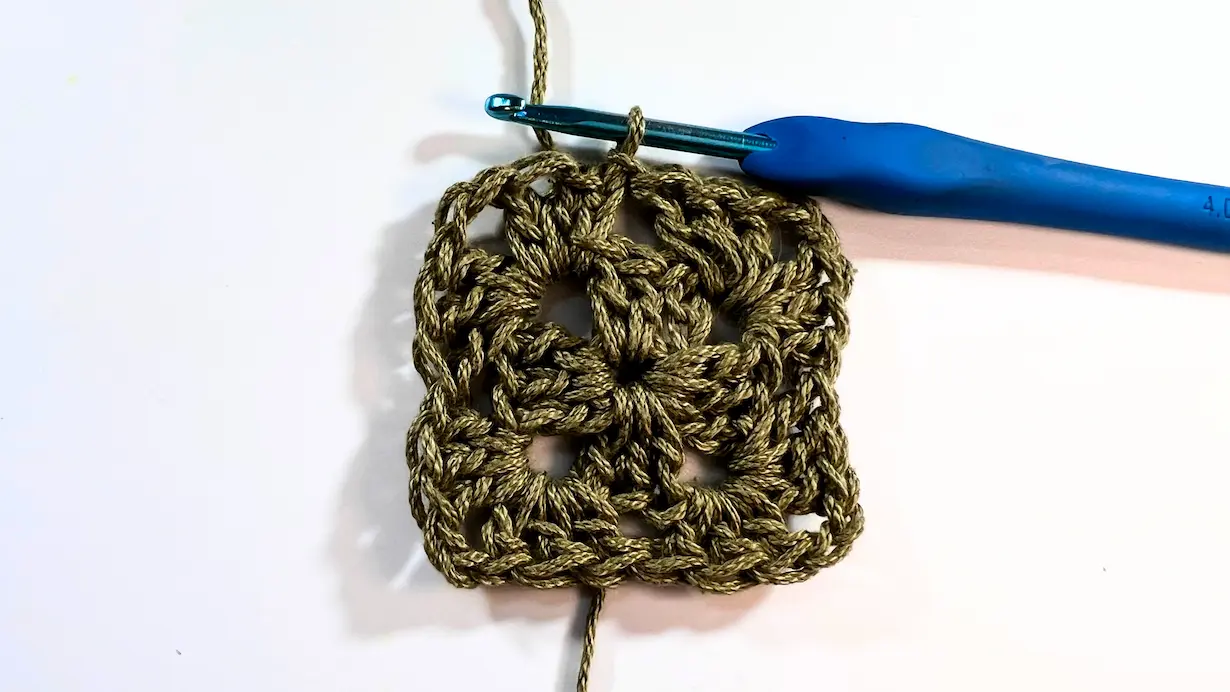
From this round on, each side of your square will grow by one 3-DC cluster. Start by working 3 DC into the space between the 3-DC clusters from the previous round. Next, work your corner combination (3 DC, ch 2, 3 DC) into the ch-2 space (corner from the previous round).
Continue repeating this pattern around: work one 3-DC cluster in each space between clusters, and a corner combination (3 DC, ch 2, 3 DC) in every ch-2 corner space. Once you reach your beginning ch-2, make a sl st.

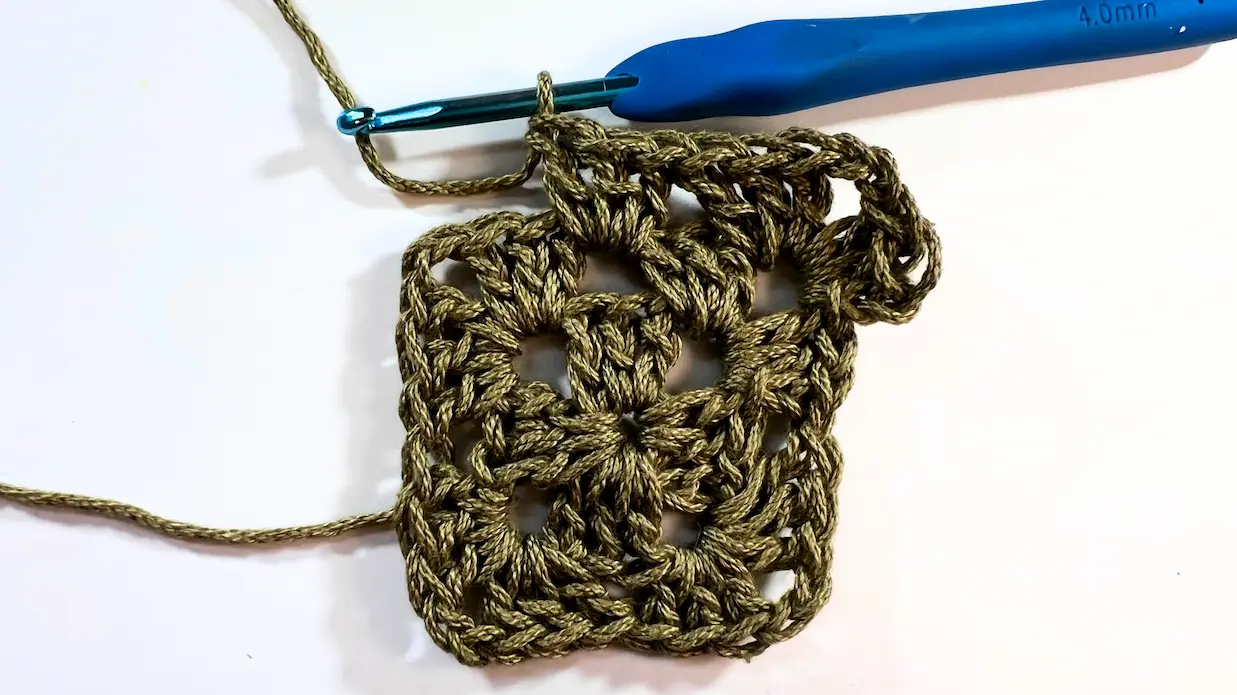
ROUND 4 - until desired length - Each new round begins by making Sl St into the next 2 stitches and into the ch-2 corner space. Start with the corner combination (ch 2 = first DC, 2 DC, ch 2, 3 DC). On each side of the square, work one 3-DC cluster into every space between clusters from the previous round. In every ch-2 space (the corners), work a new corner combination (3 DC, ch 2, 3 DC).
With each new round, the number of 3-DC clusters along each side increases by one.

And that’s it — your granny square is complete! Whether you make just one or a whole stack for a bigger project, this classic motif never goes out of style.
I’d love to see how your granny squares turn out! 💛
Share your finished squares or projects on Instagram and tag me @happyheartsy so I can cheer you on. Don’t forget to leave a comment below and let me know how you liked this tutorial. If you found this helpful, give it a share so more crochet lovers can join in!
Happy stitching,
Lenka














Comments